
Use the following links below if you have not completed the previous steps:
- The Body (View Instructions)
Step 1:
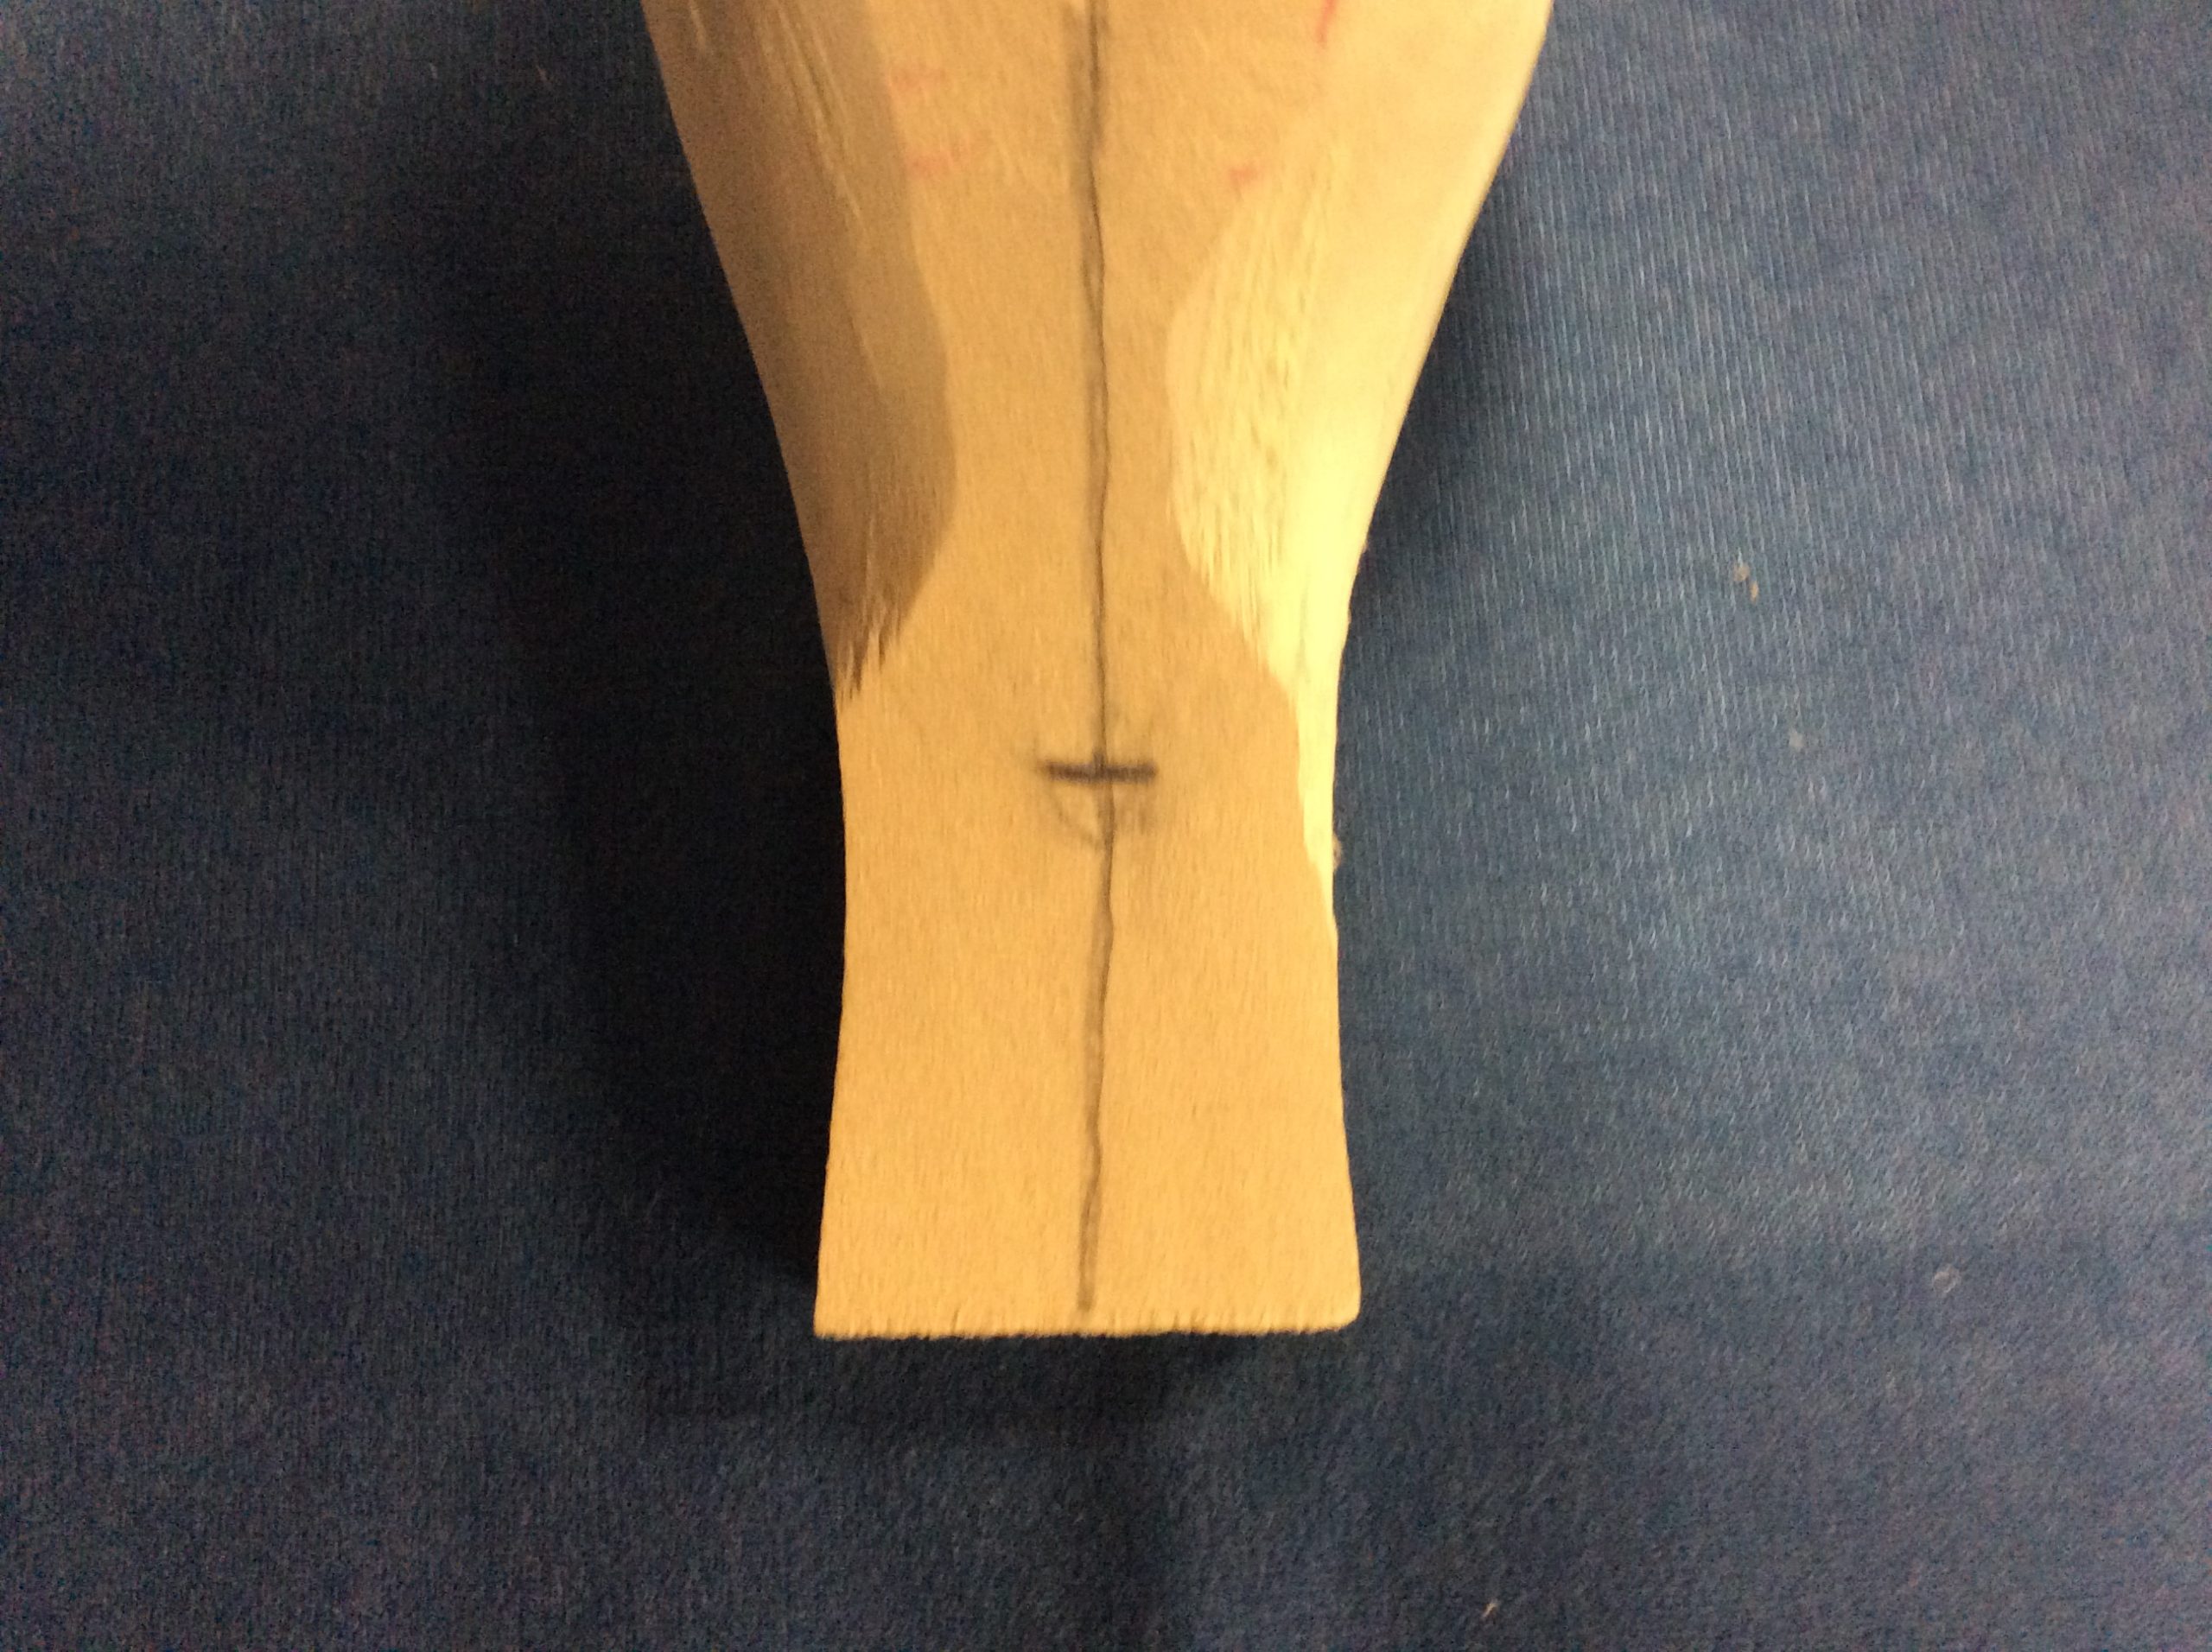
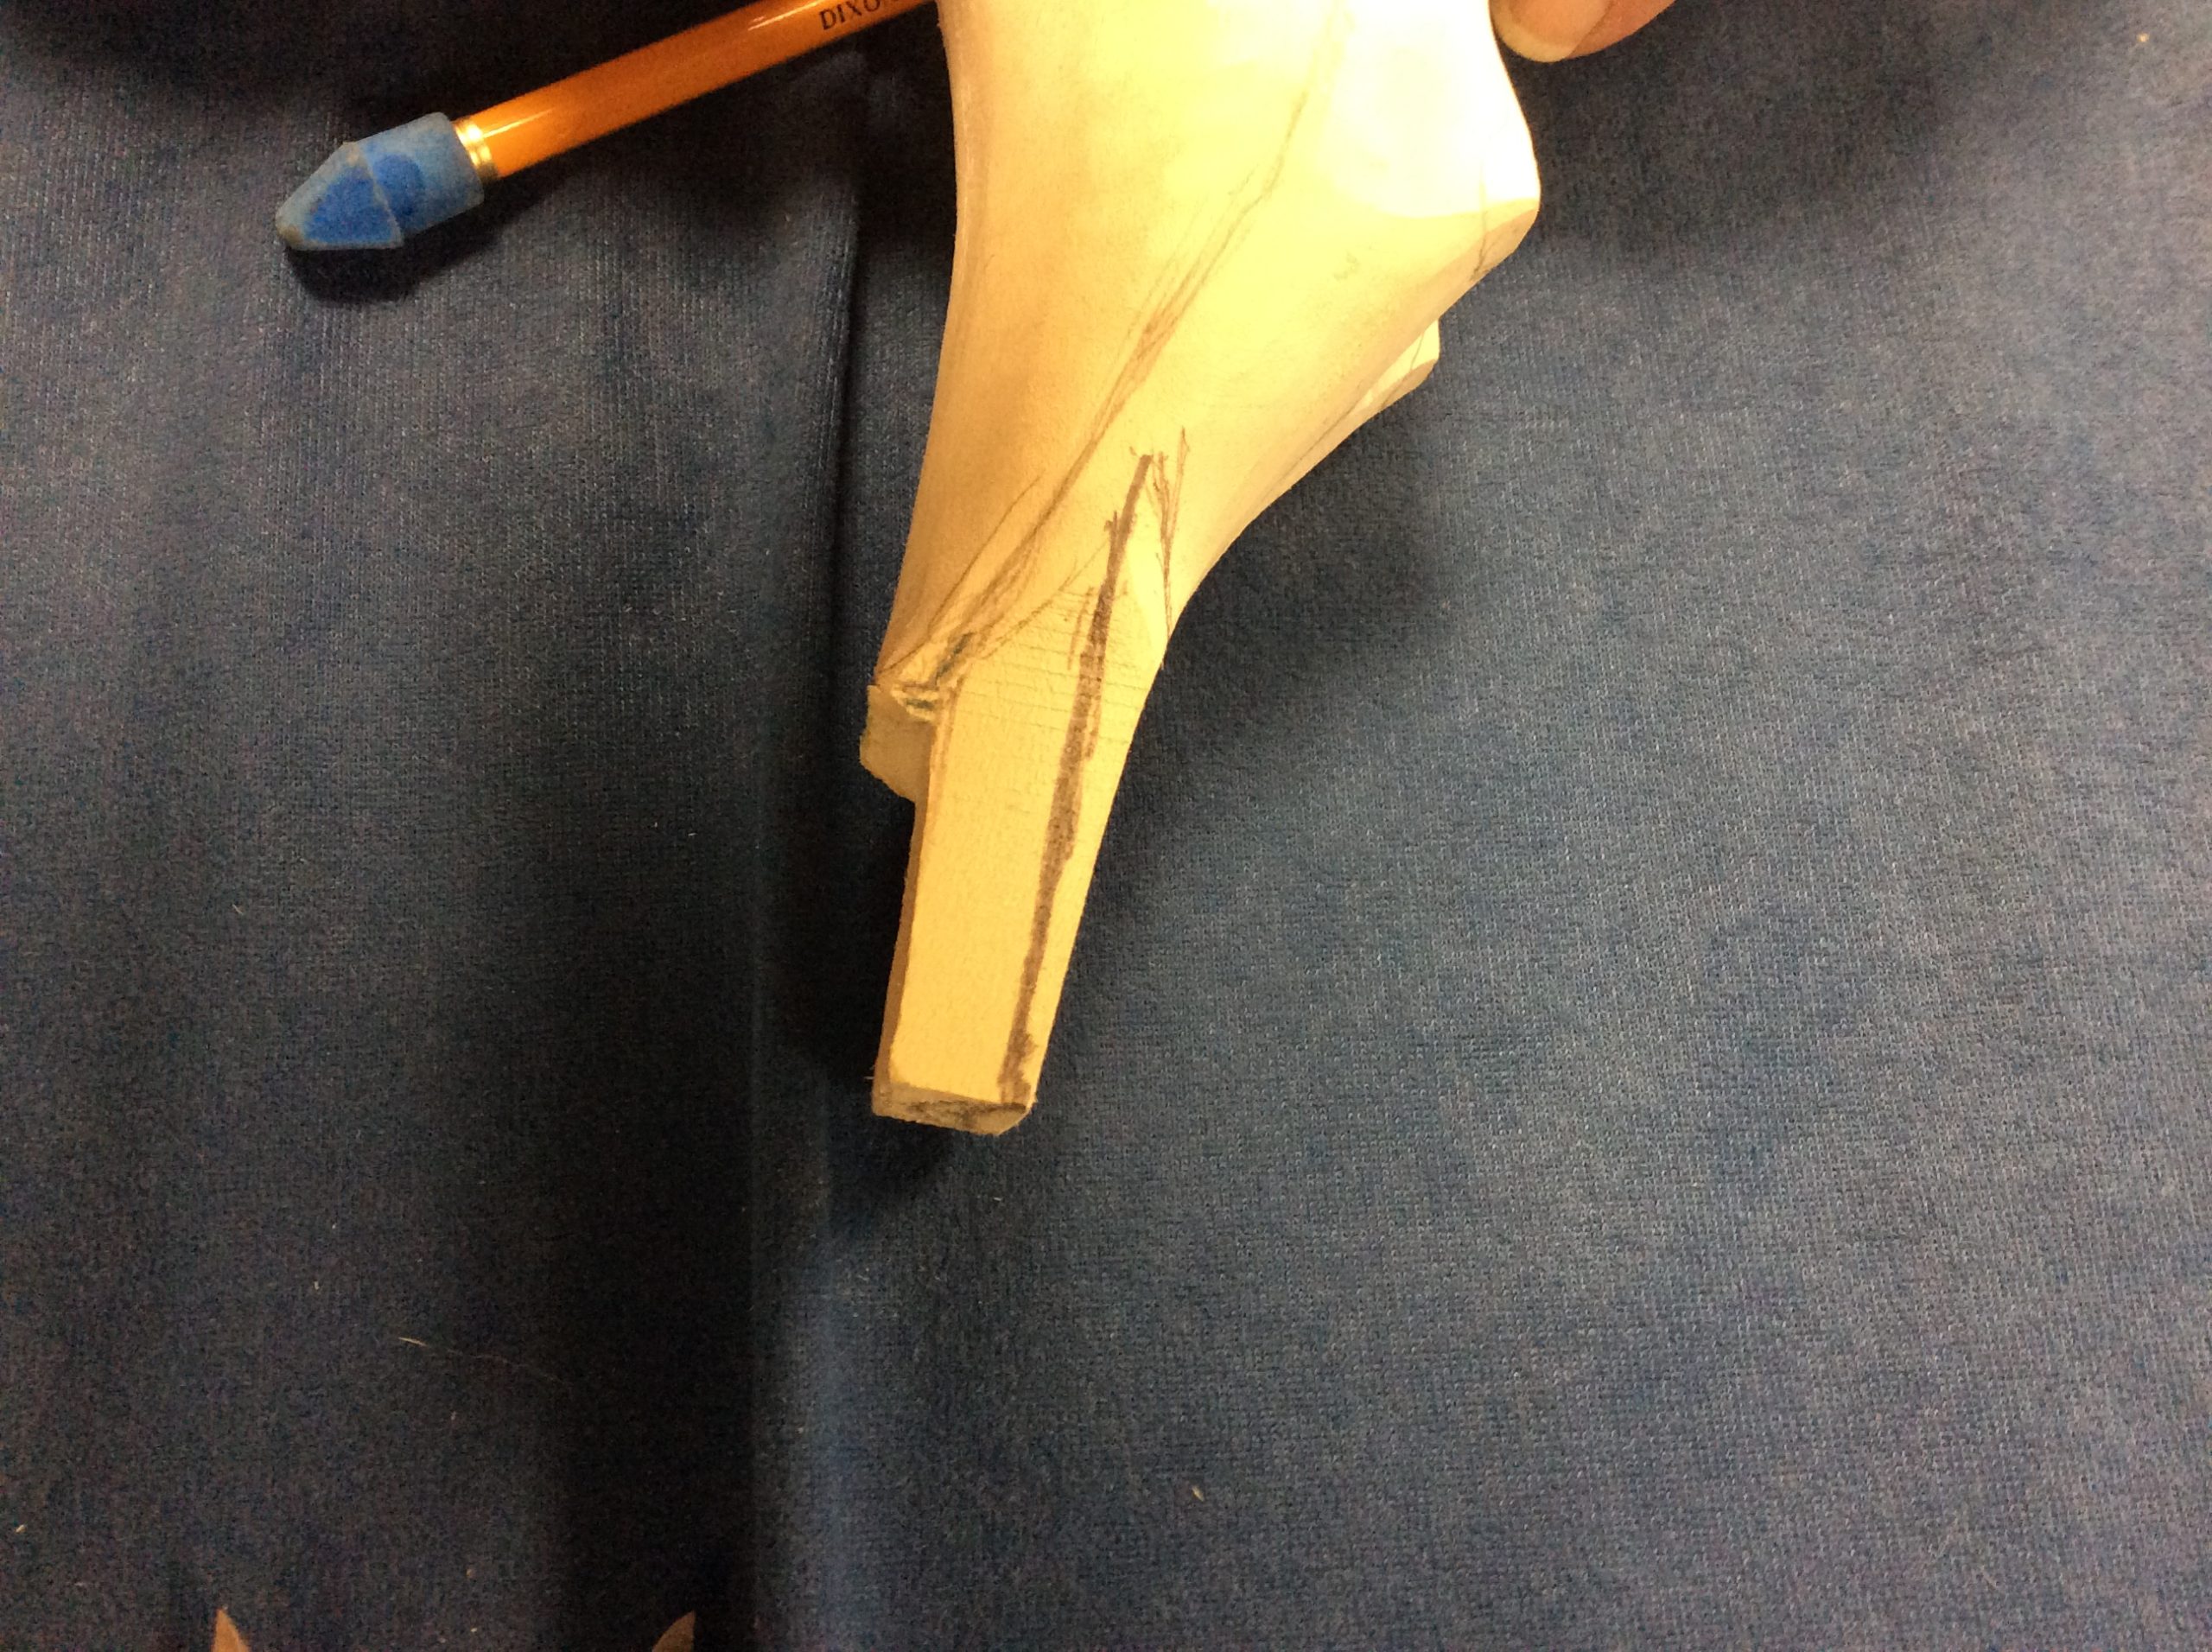
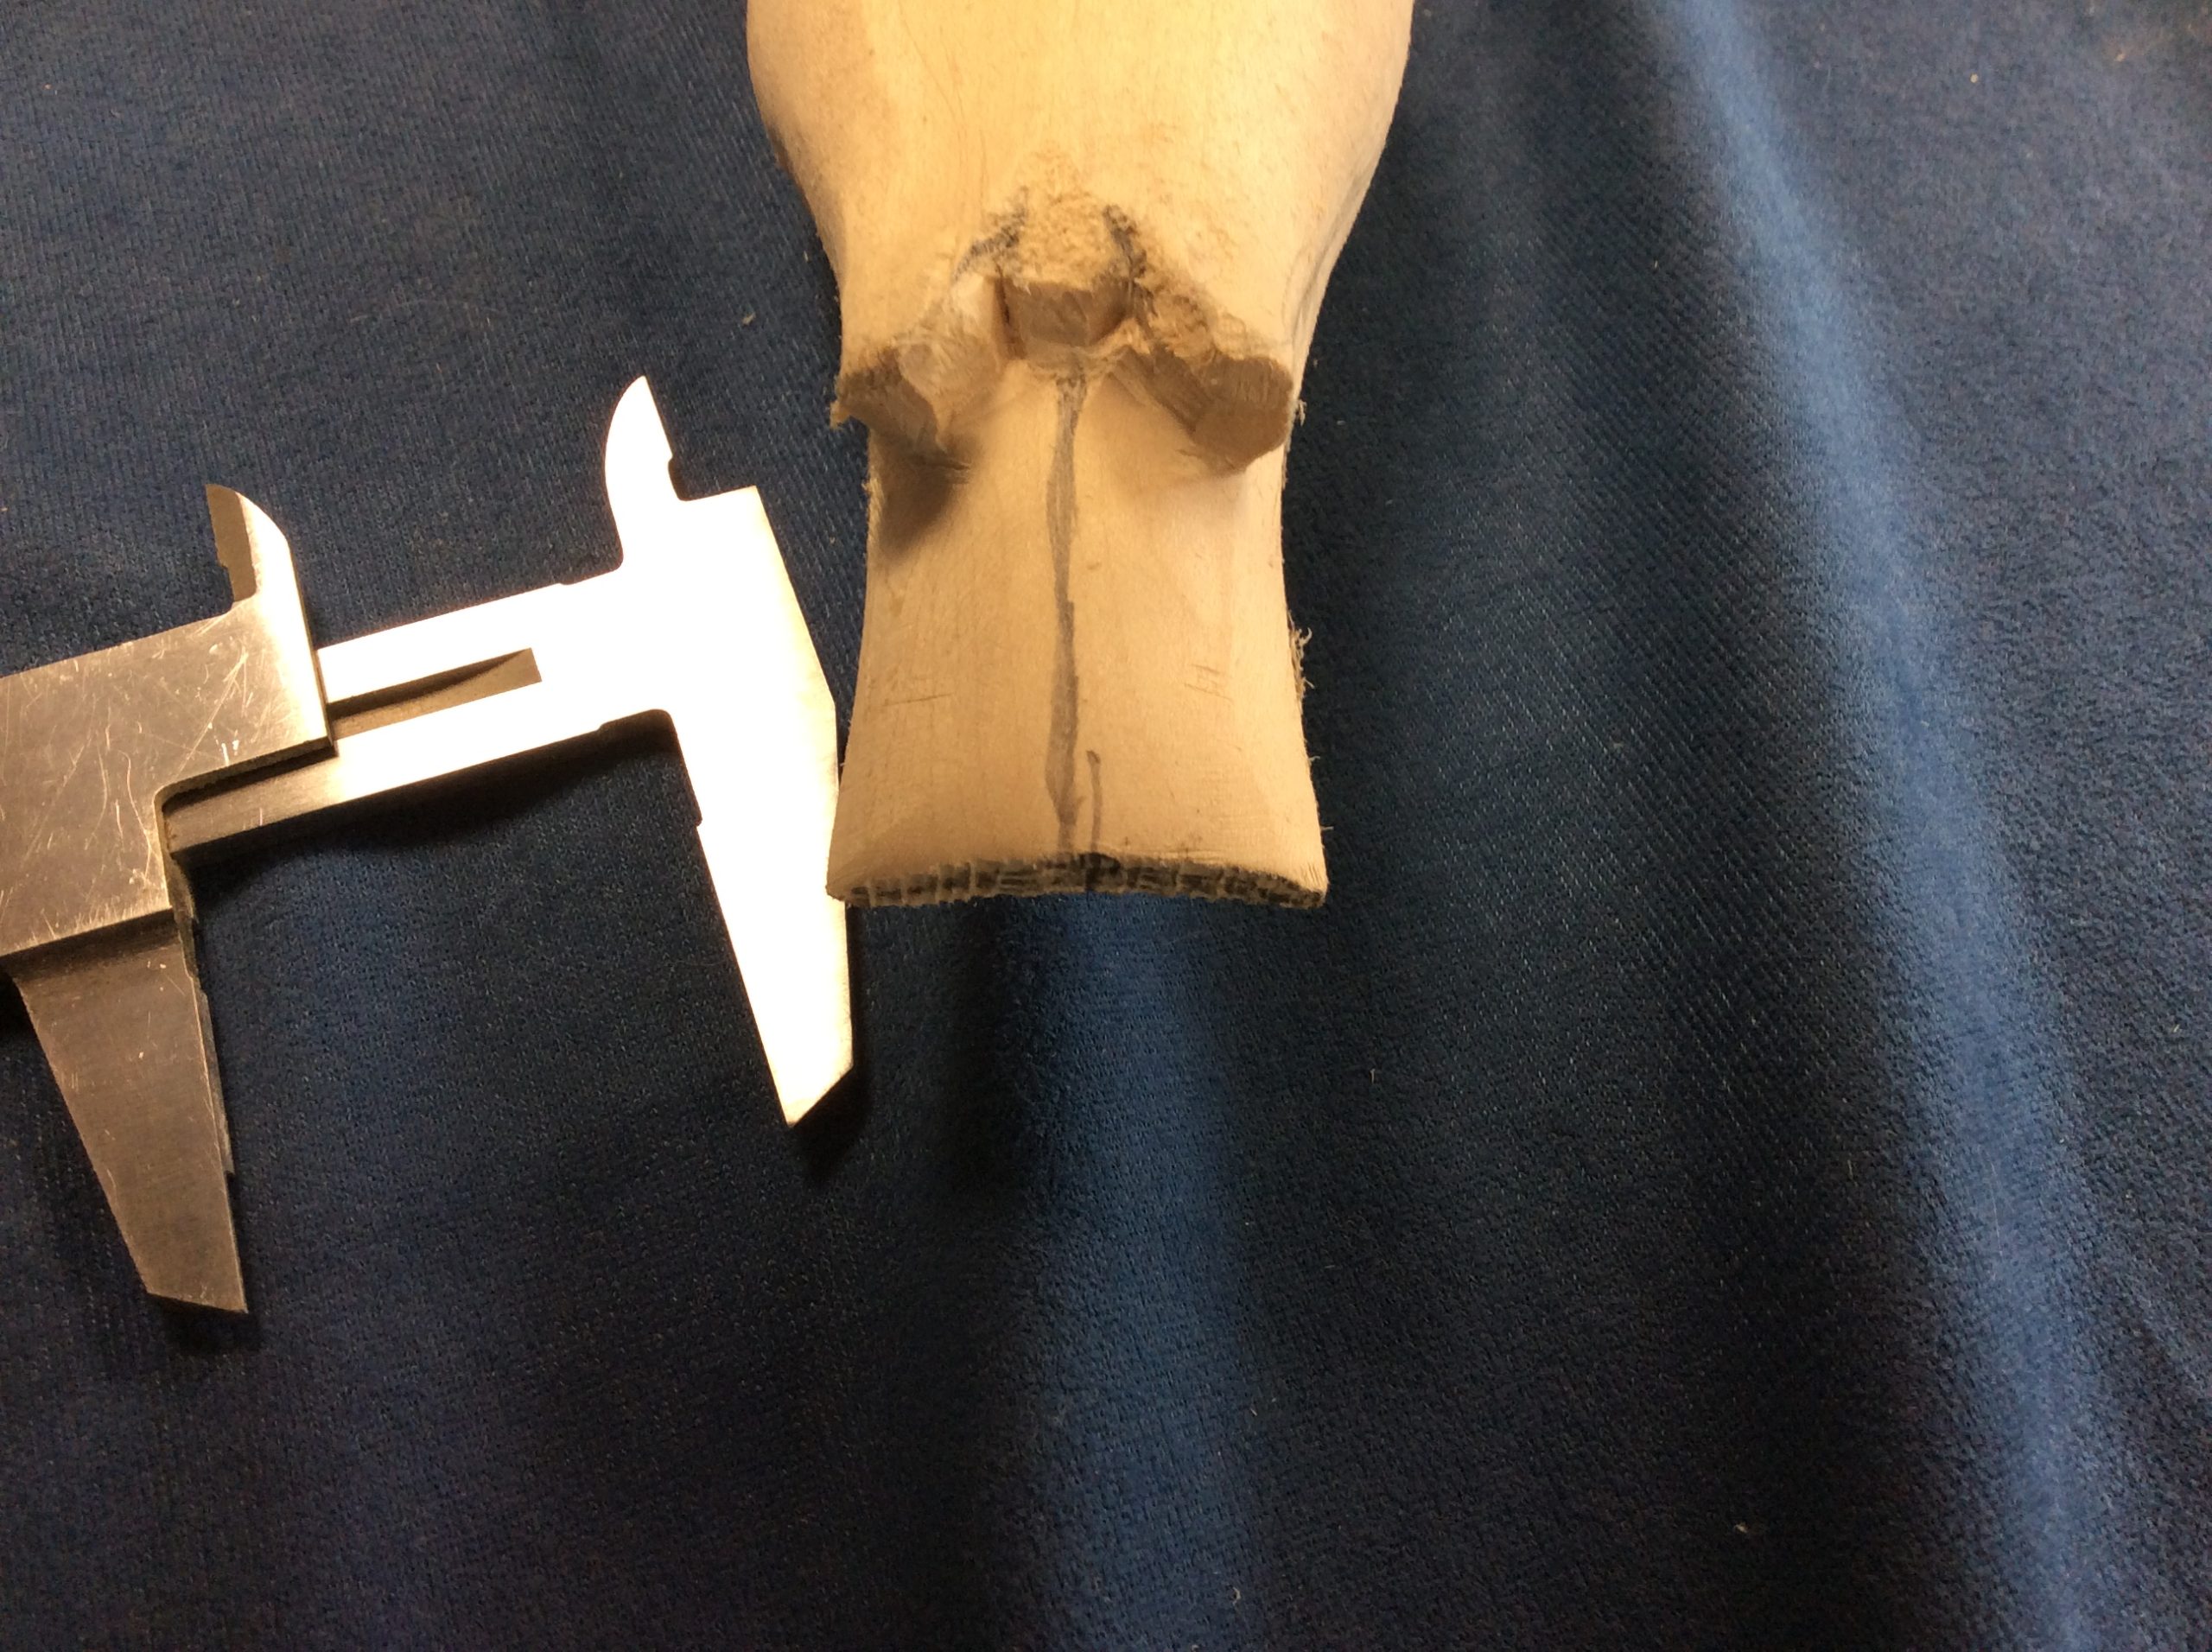
Measure from the tail tip to locate the end of the primary wing tips. Remove the surplus wood. This will let us know how much of the tail is visible. Redraw the center line. With this pattern the wings are divided and the back and rump are partly visible.
Step 2:
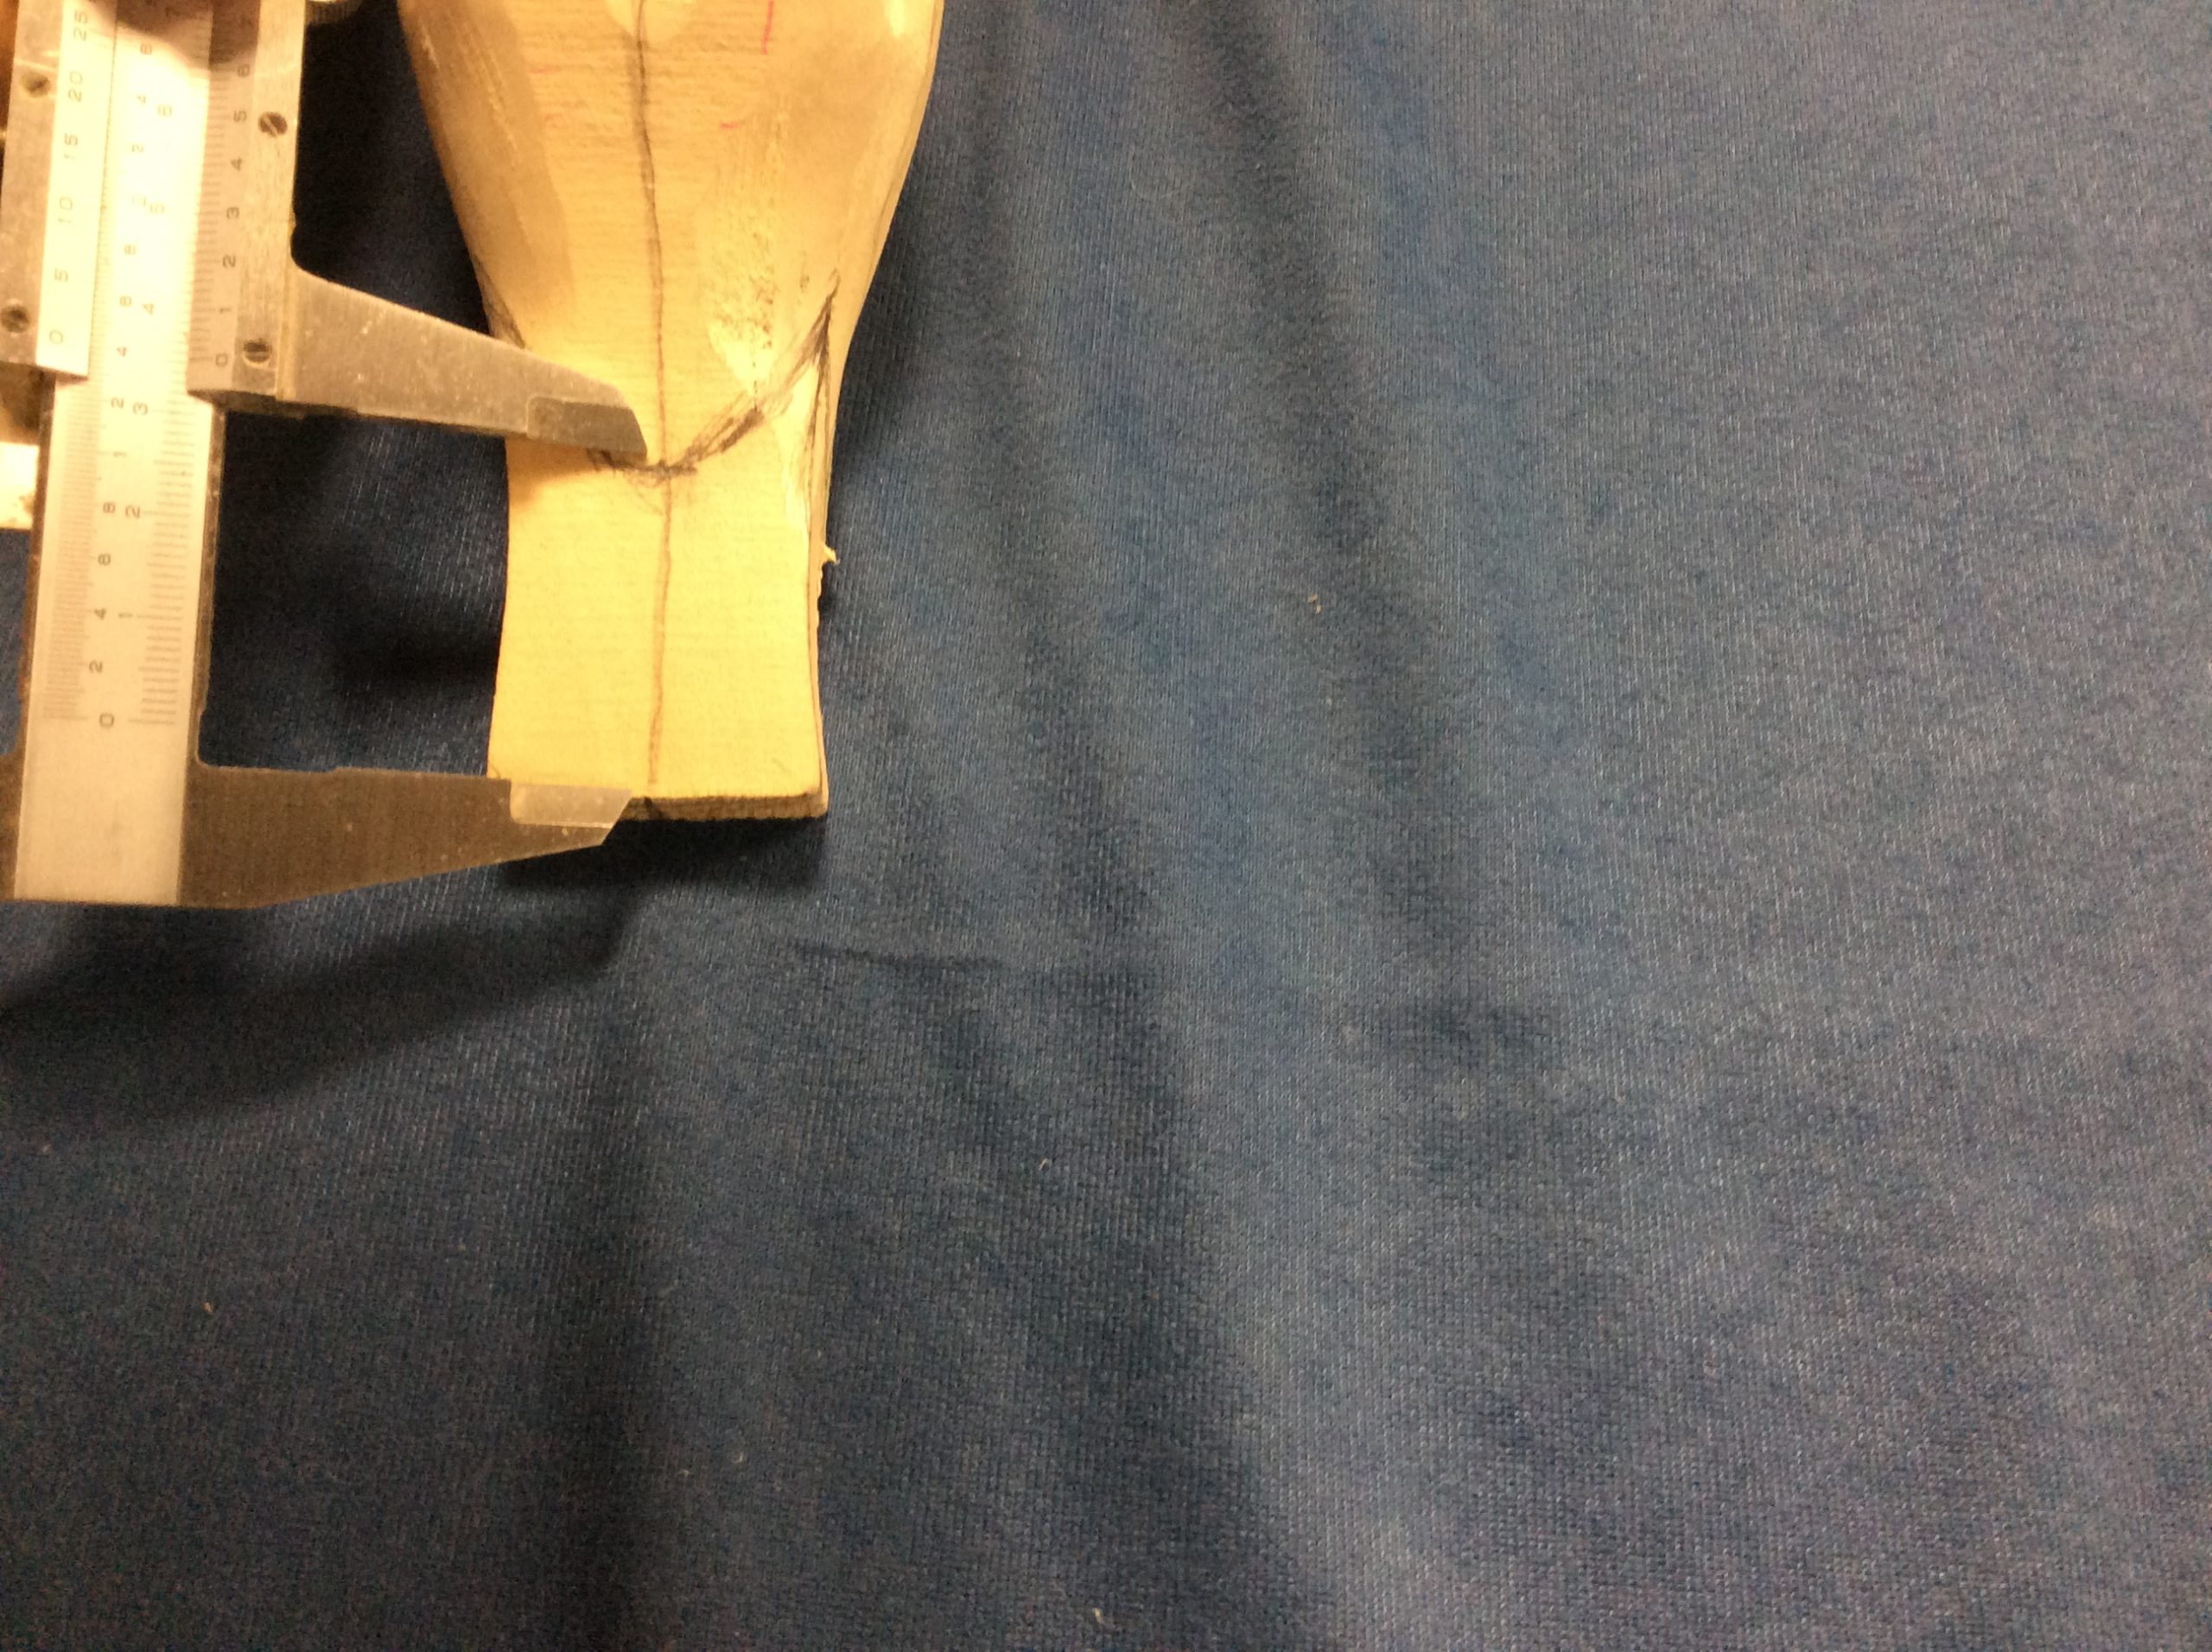
Measure from the tail tip to locate the end of the upper and lower tail coverlets. We may not be able to see much of the upper tail coverlets, because they will be under the primary wing feathers.
Step 3:
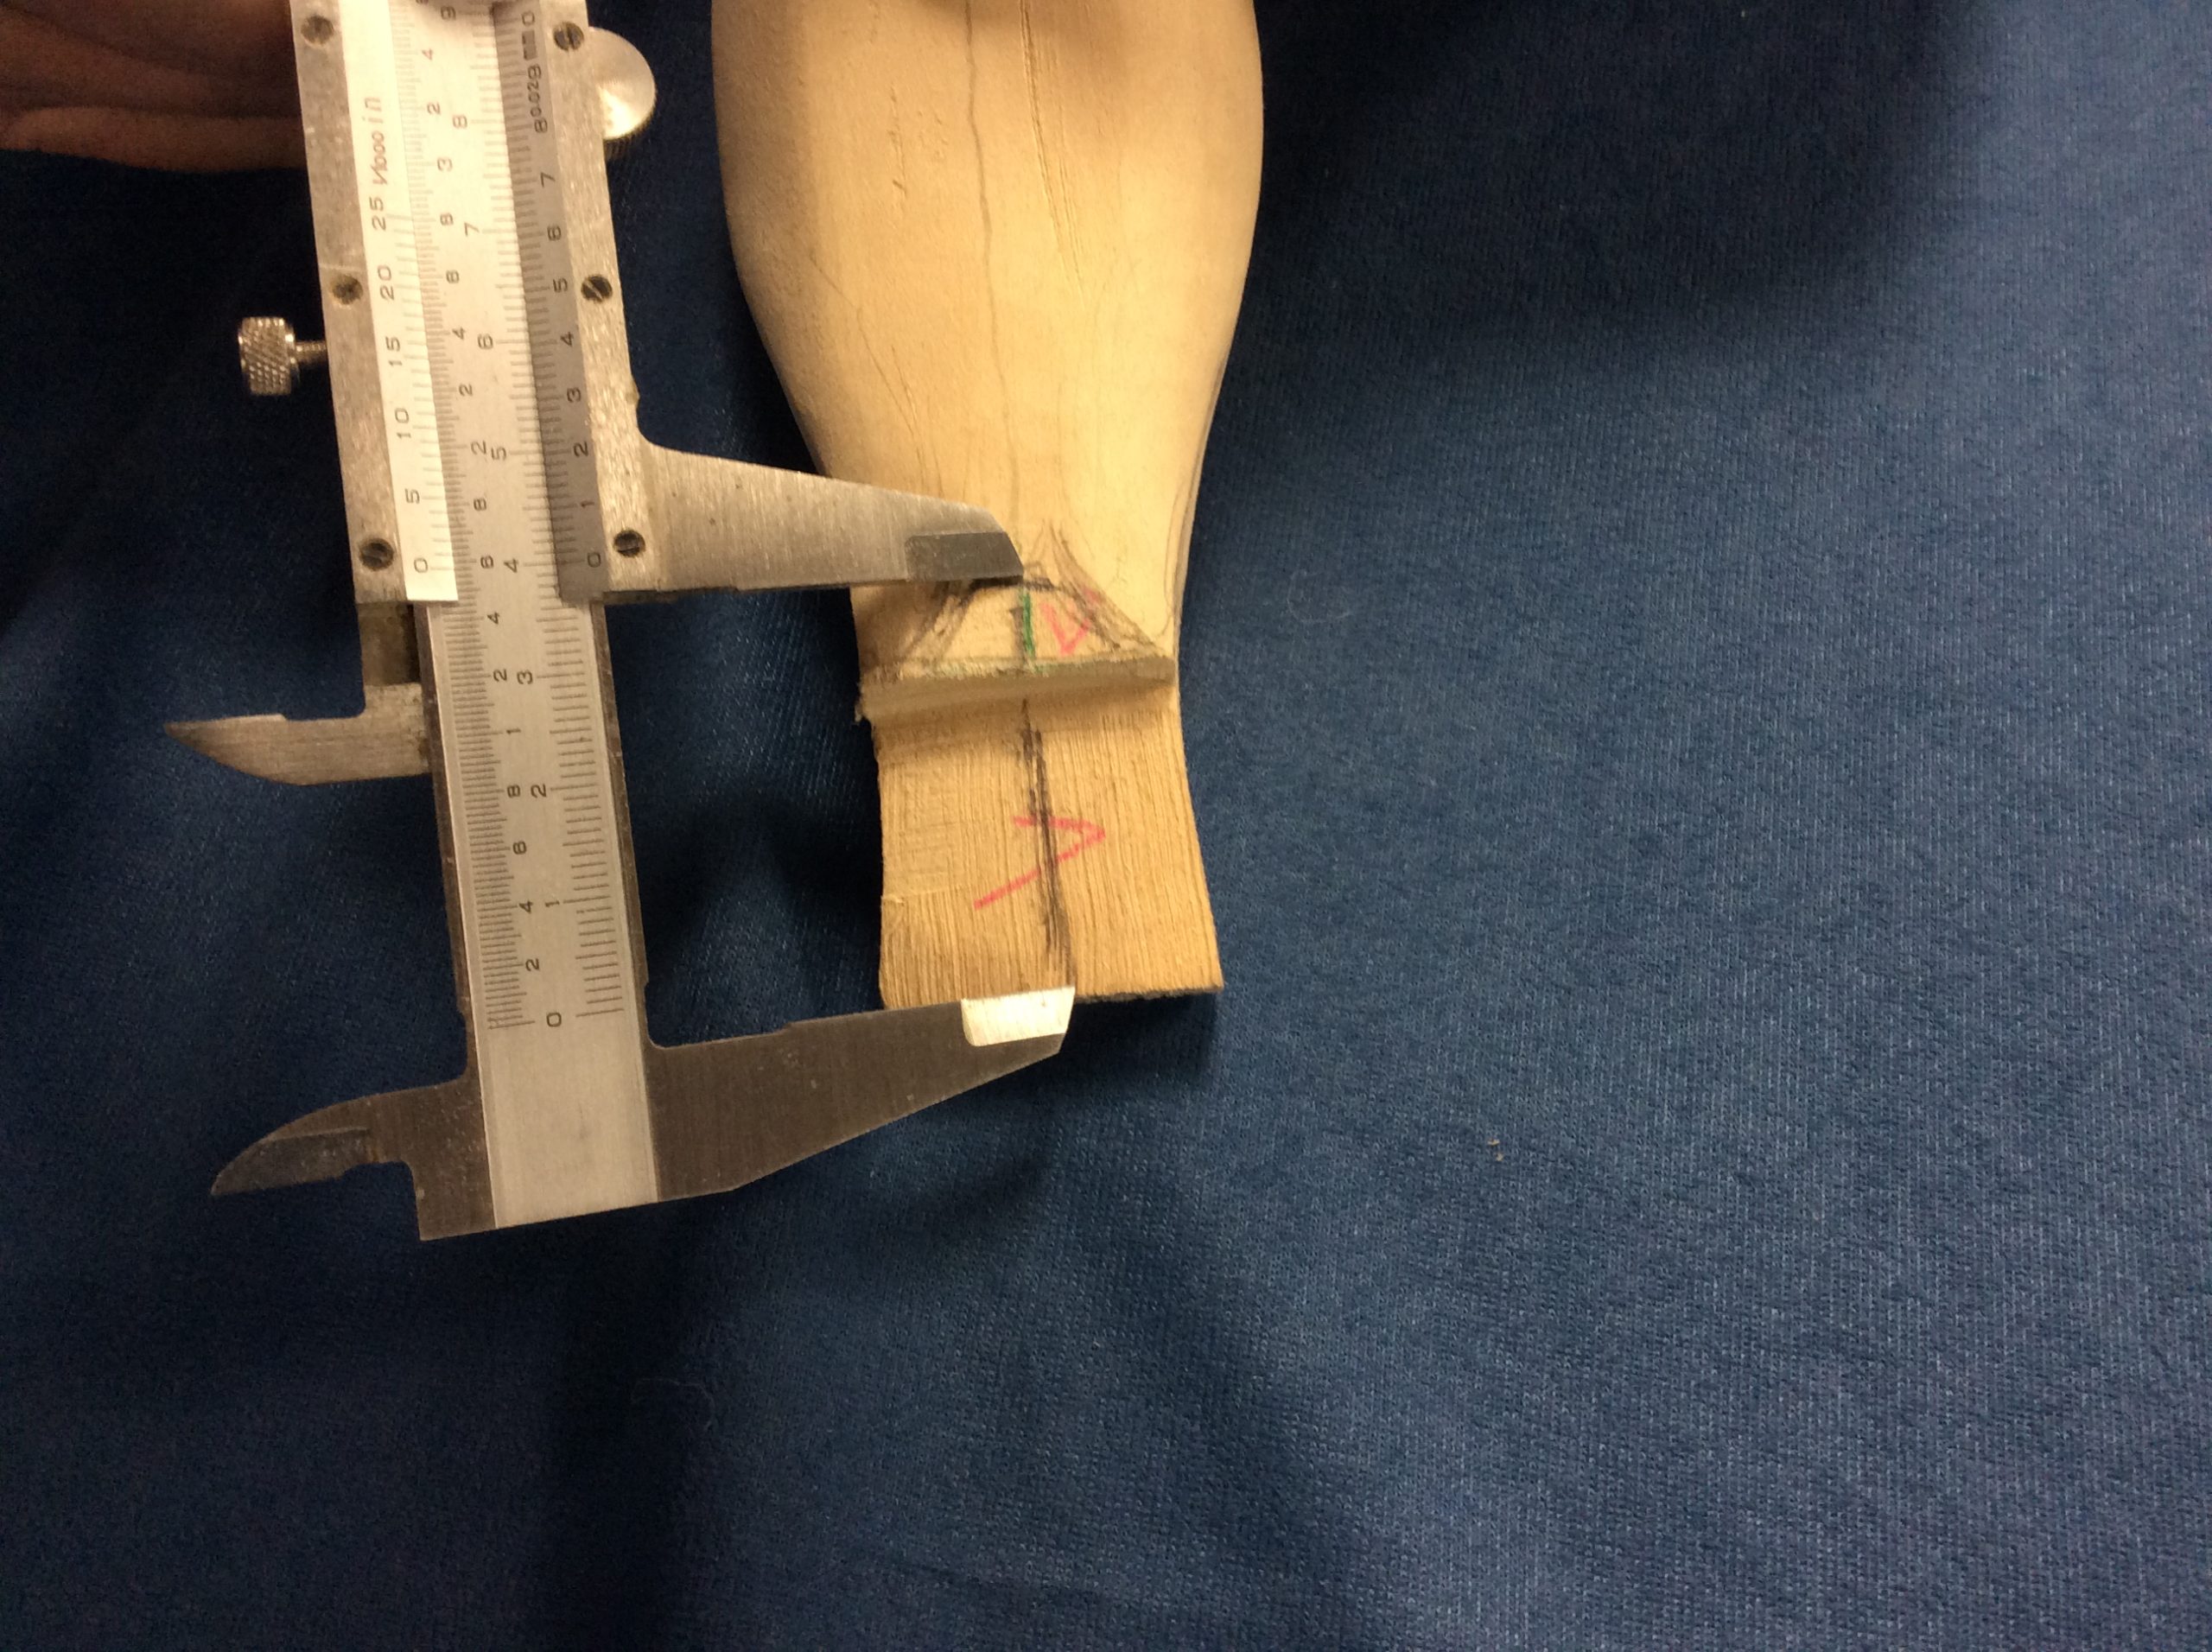
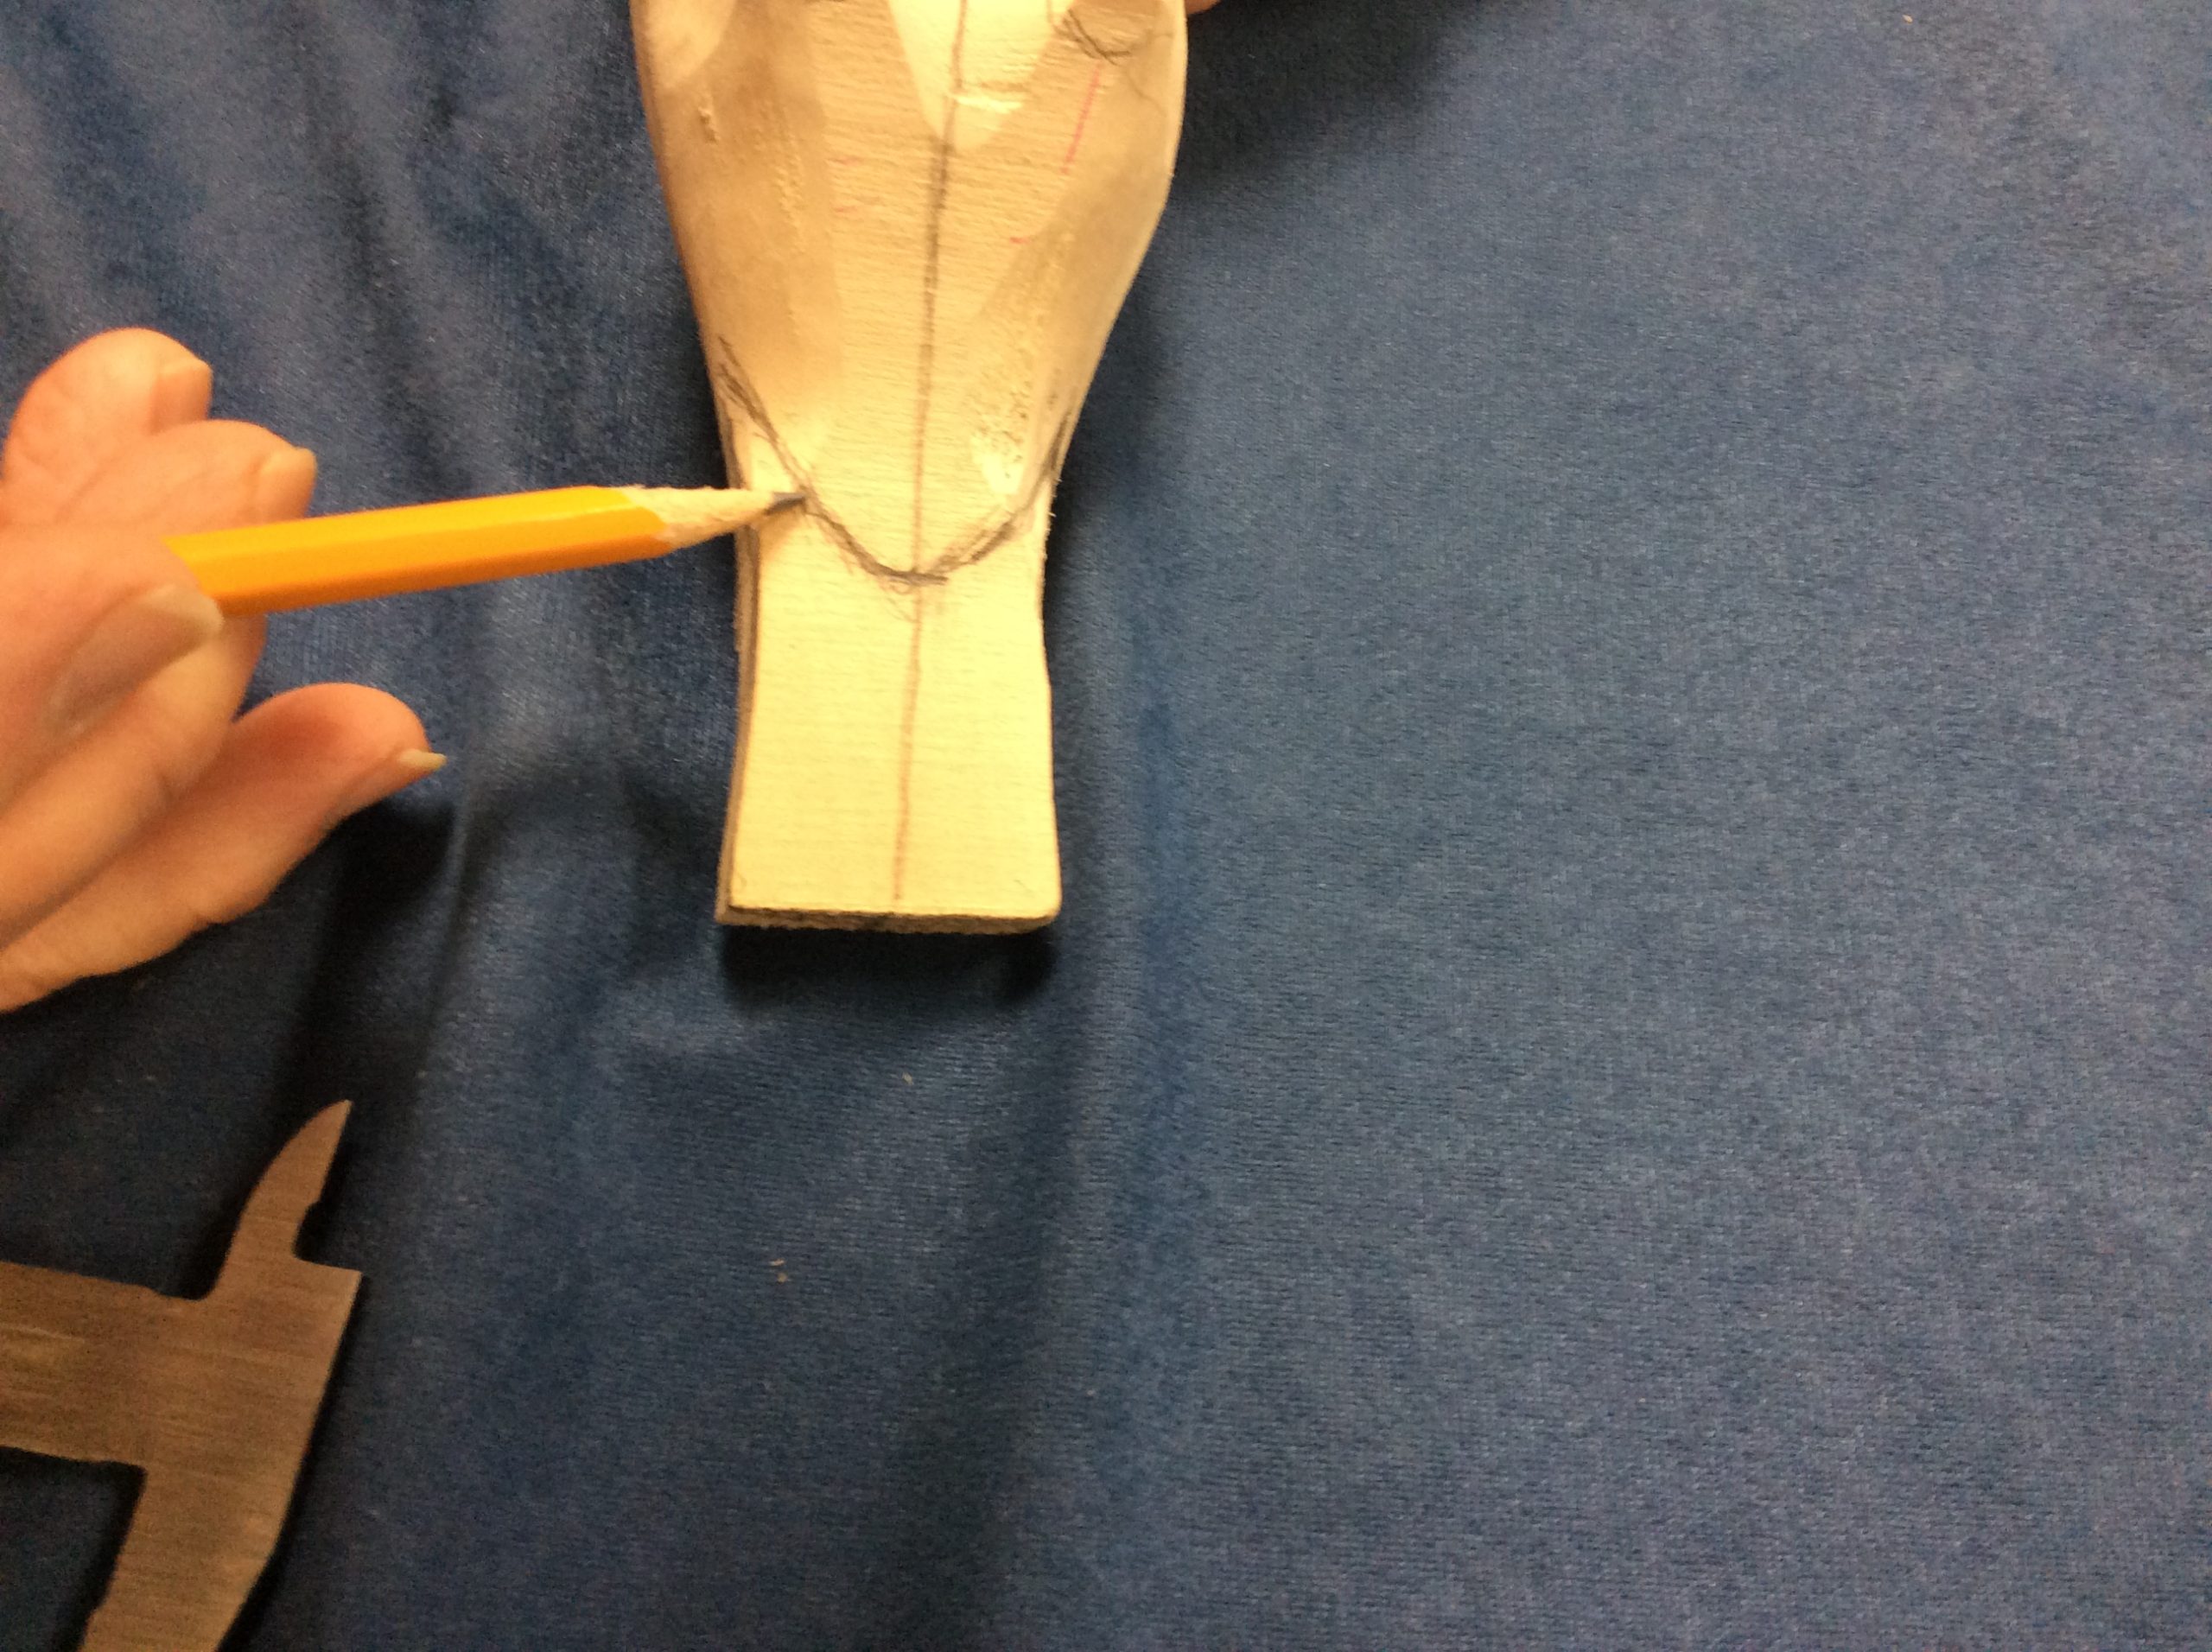
Draw on the curved line to indicate the upper and lower tail coverlets. They should look like a continuation of the curve from the side of the bird’s body. These two coverets meet on the sides with the tail feathers sandwiched between them.
Step 4:
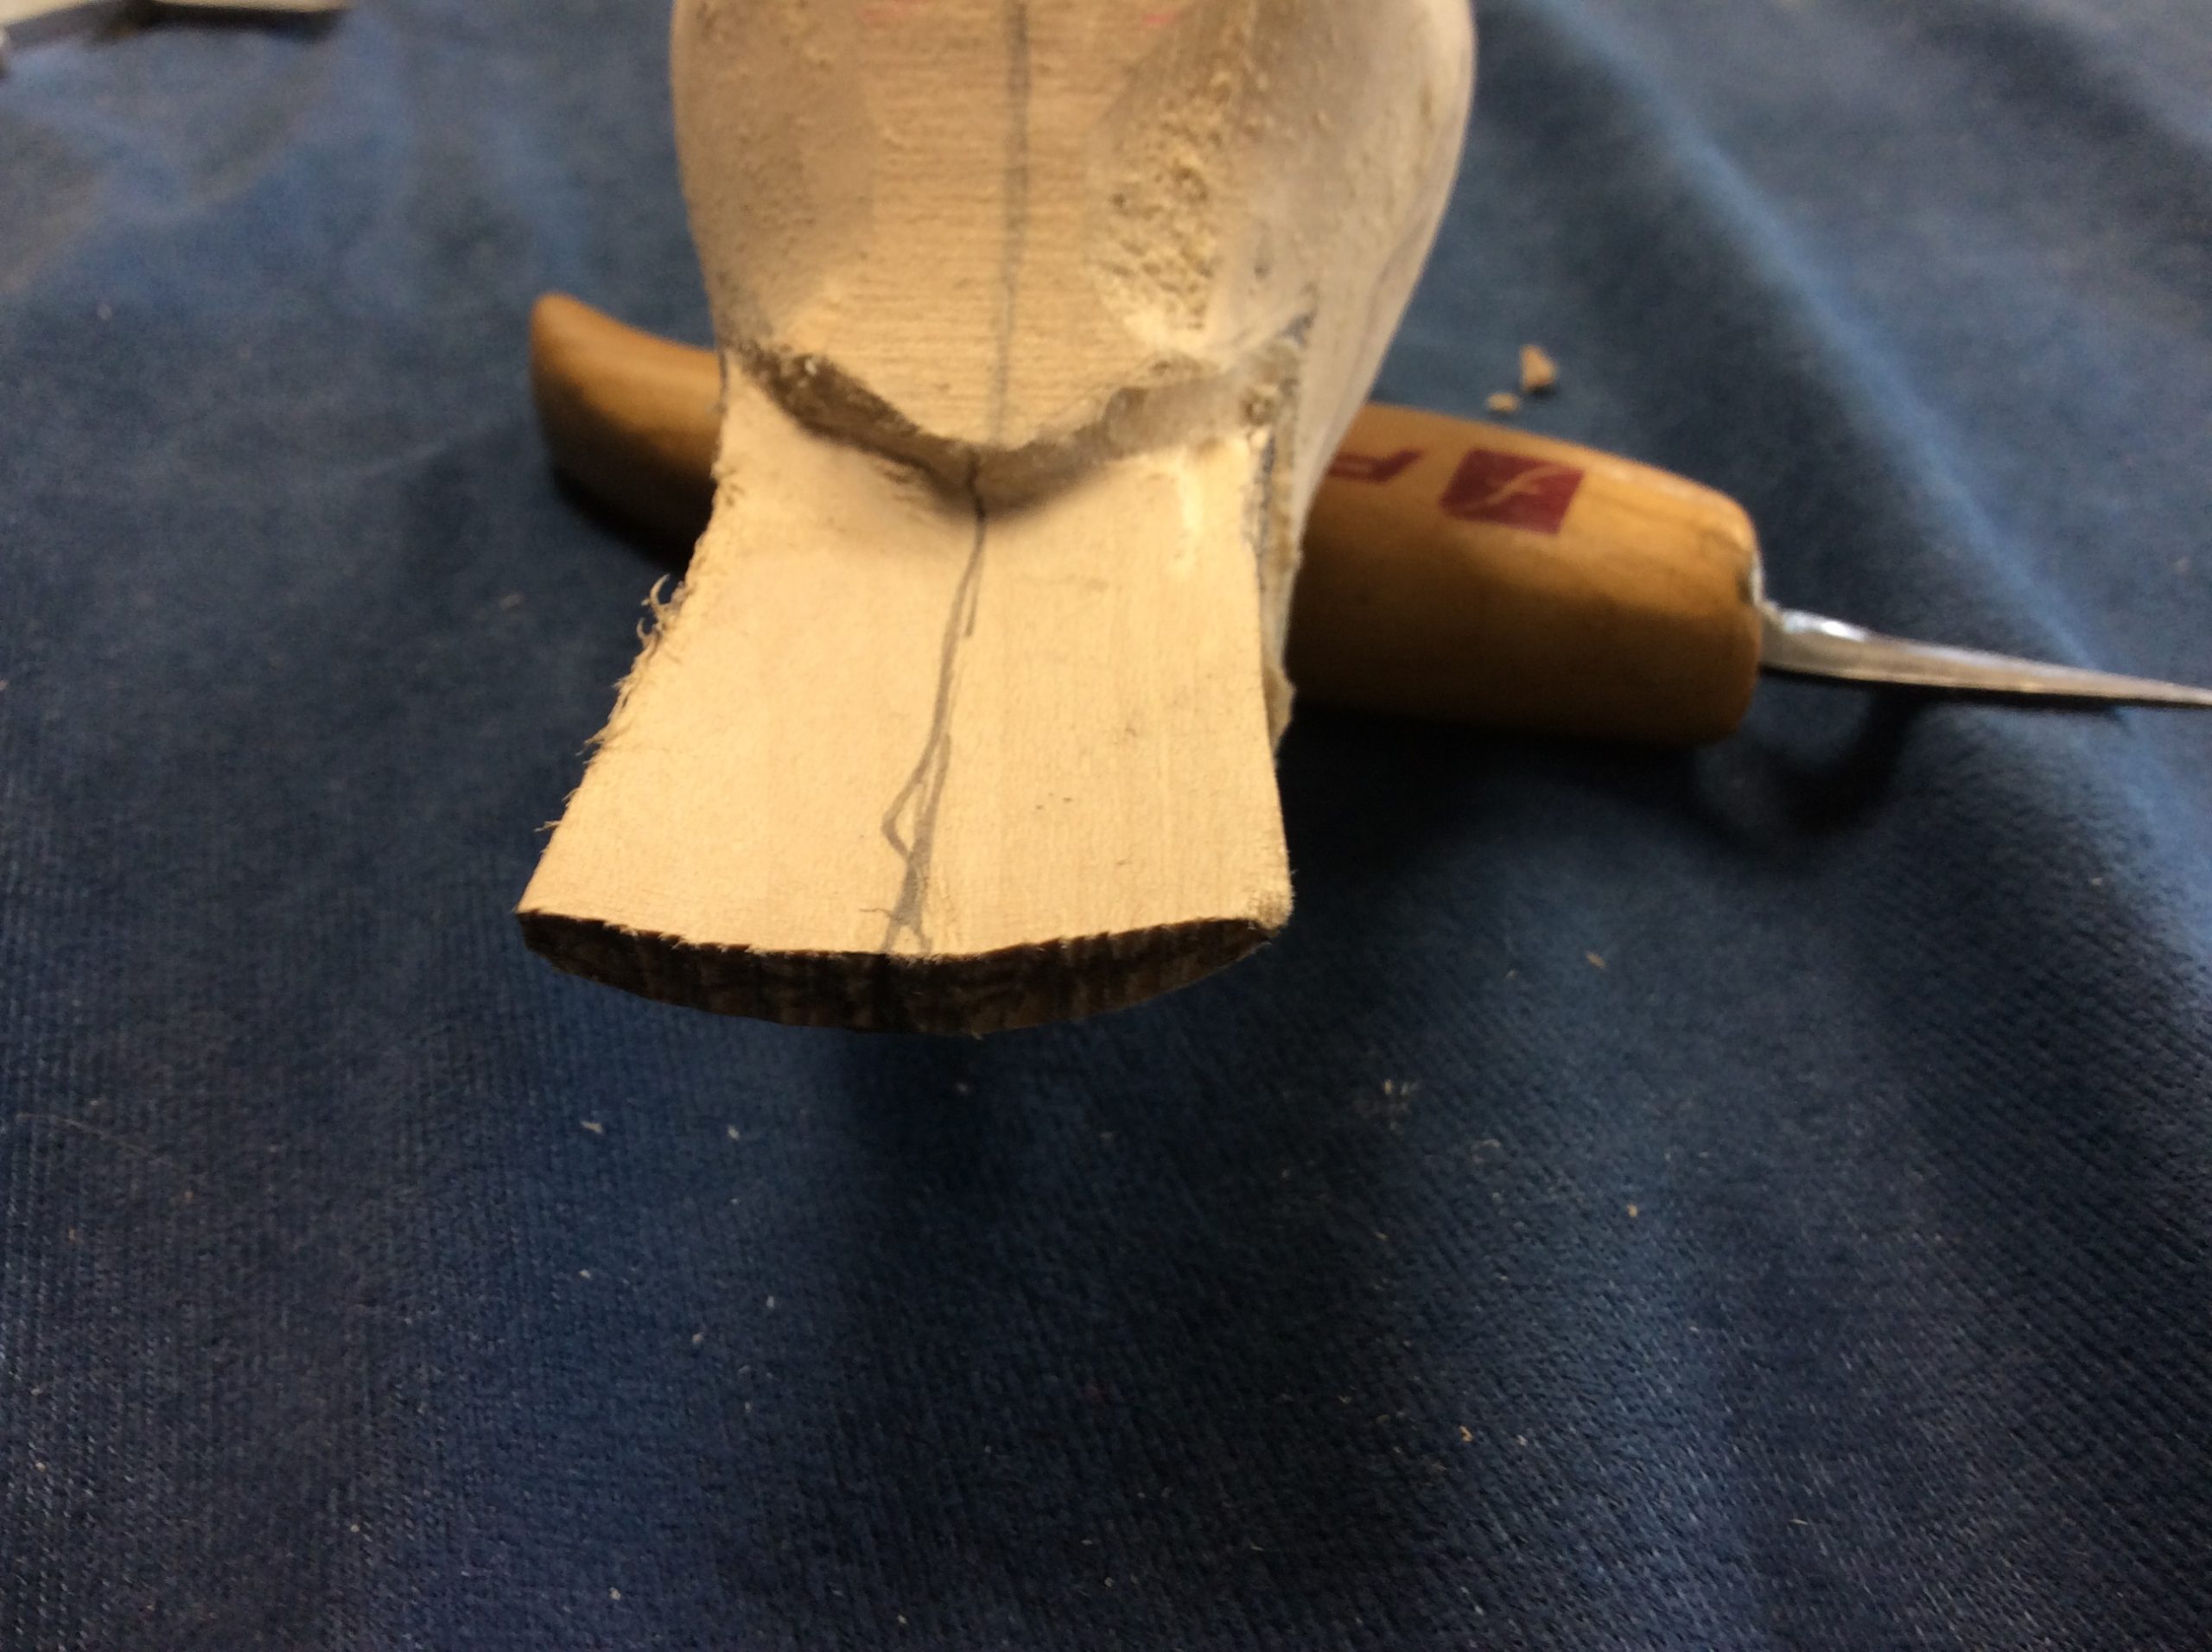
Draw the edge of the tail feathers down the sides. This line should join where the top and bottom coverlets meet on the sides of the tail piece. This line should be near the bottom of the remaining wood.
Step 5:
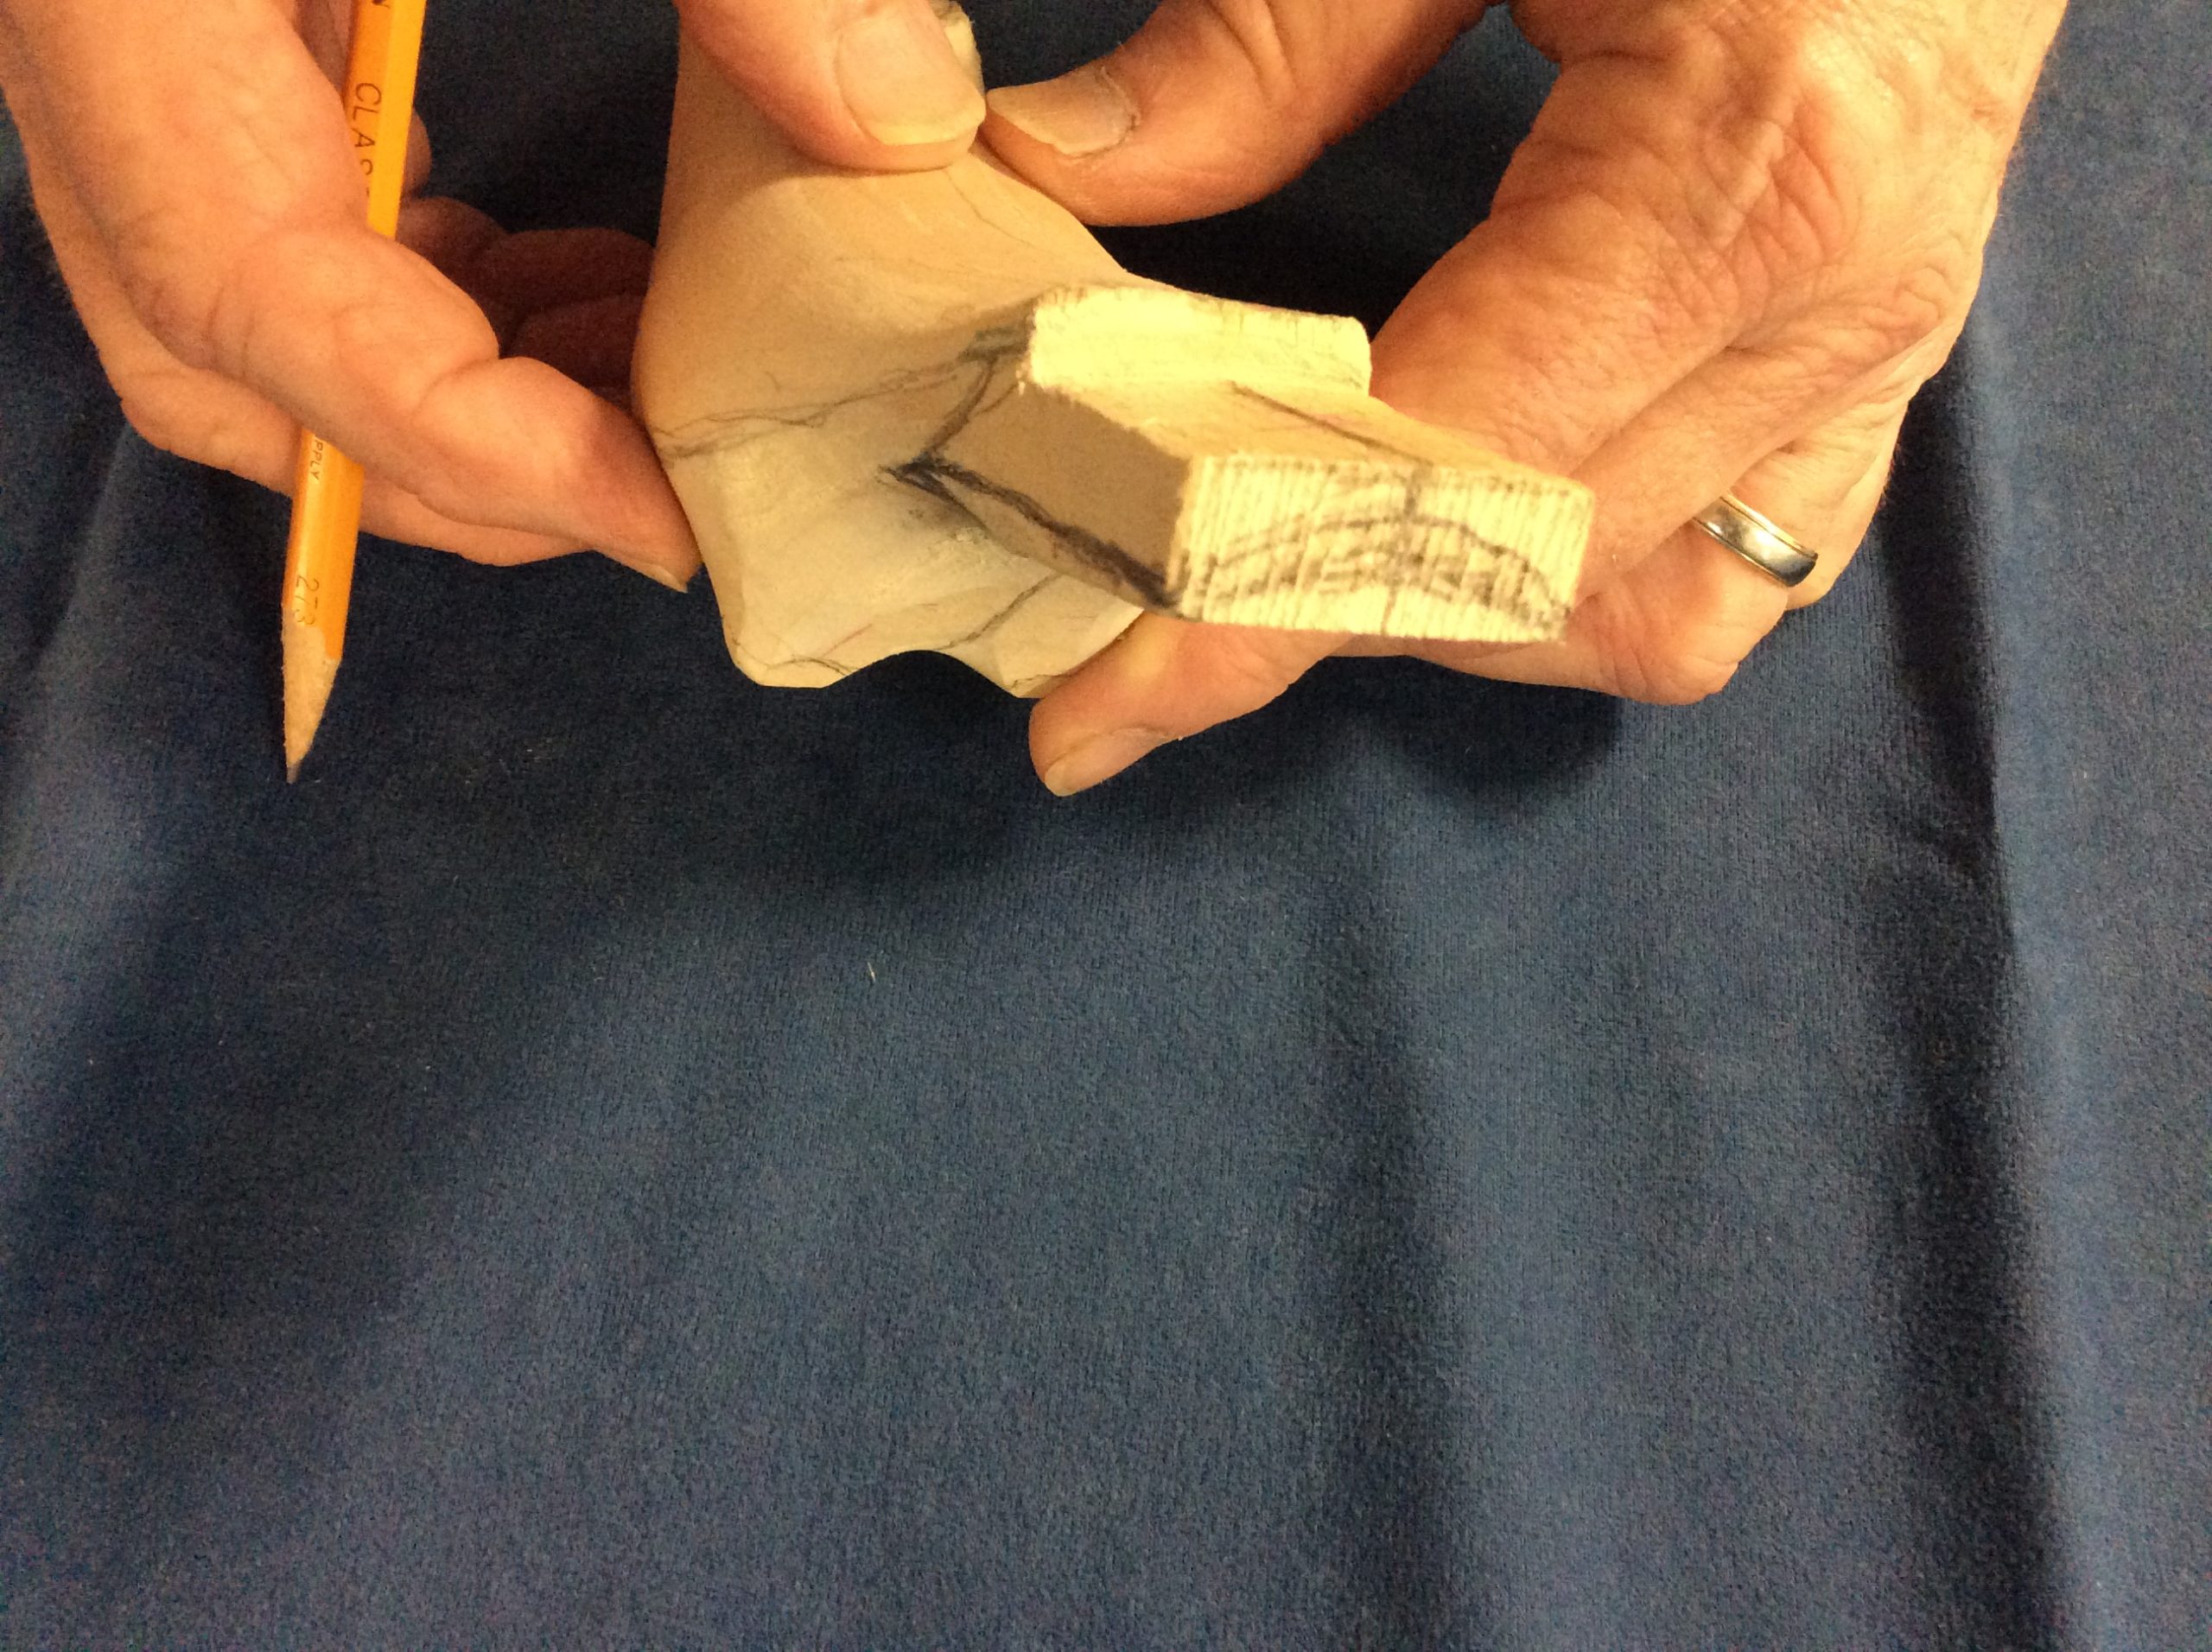
Draw on the curved end of the tail to indicate the convexed top and concaved bottom.
Step 6:
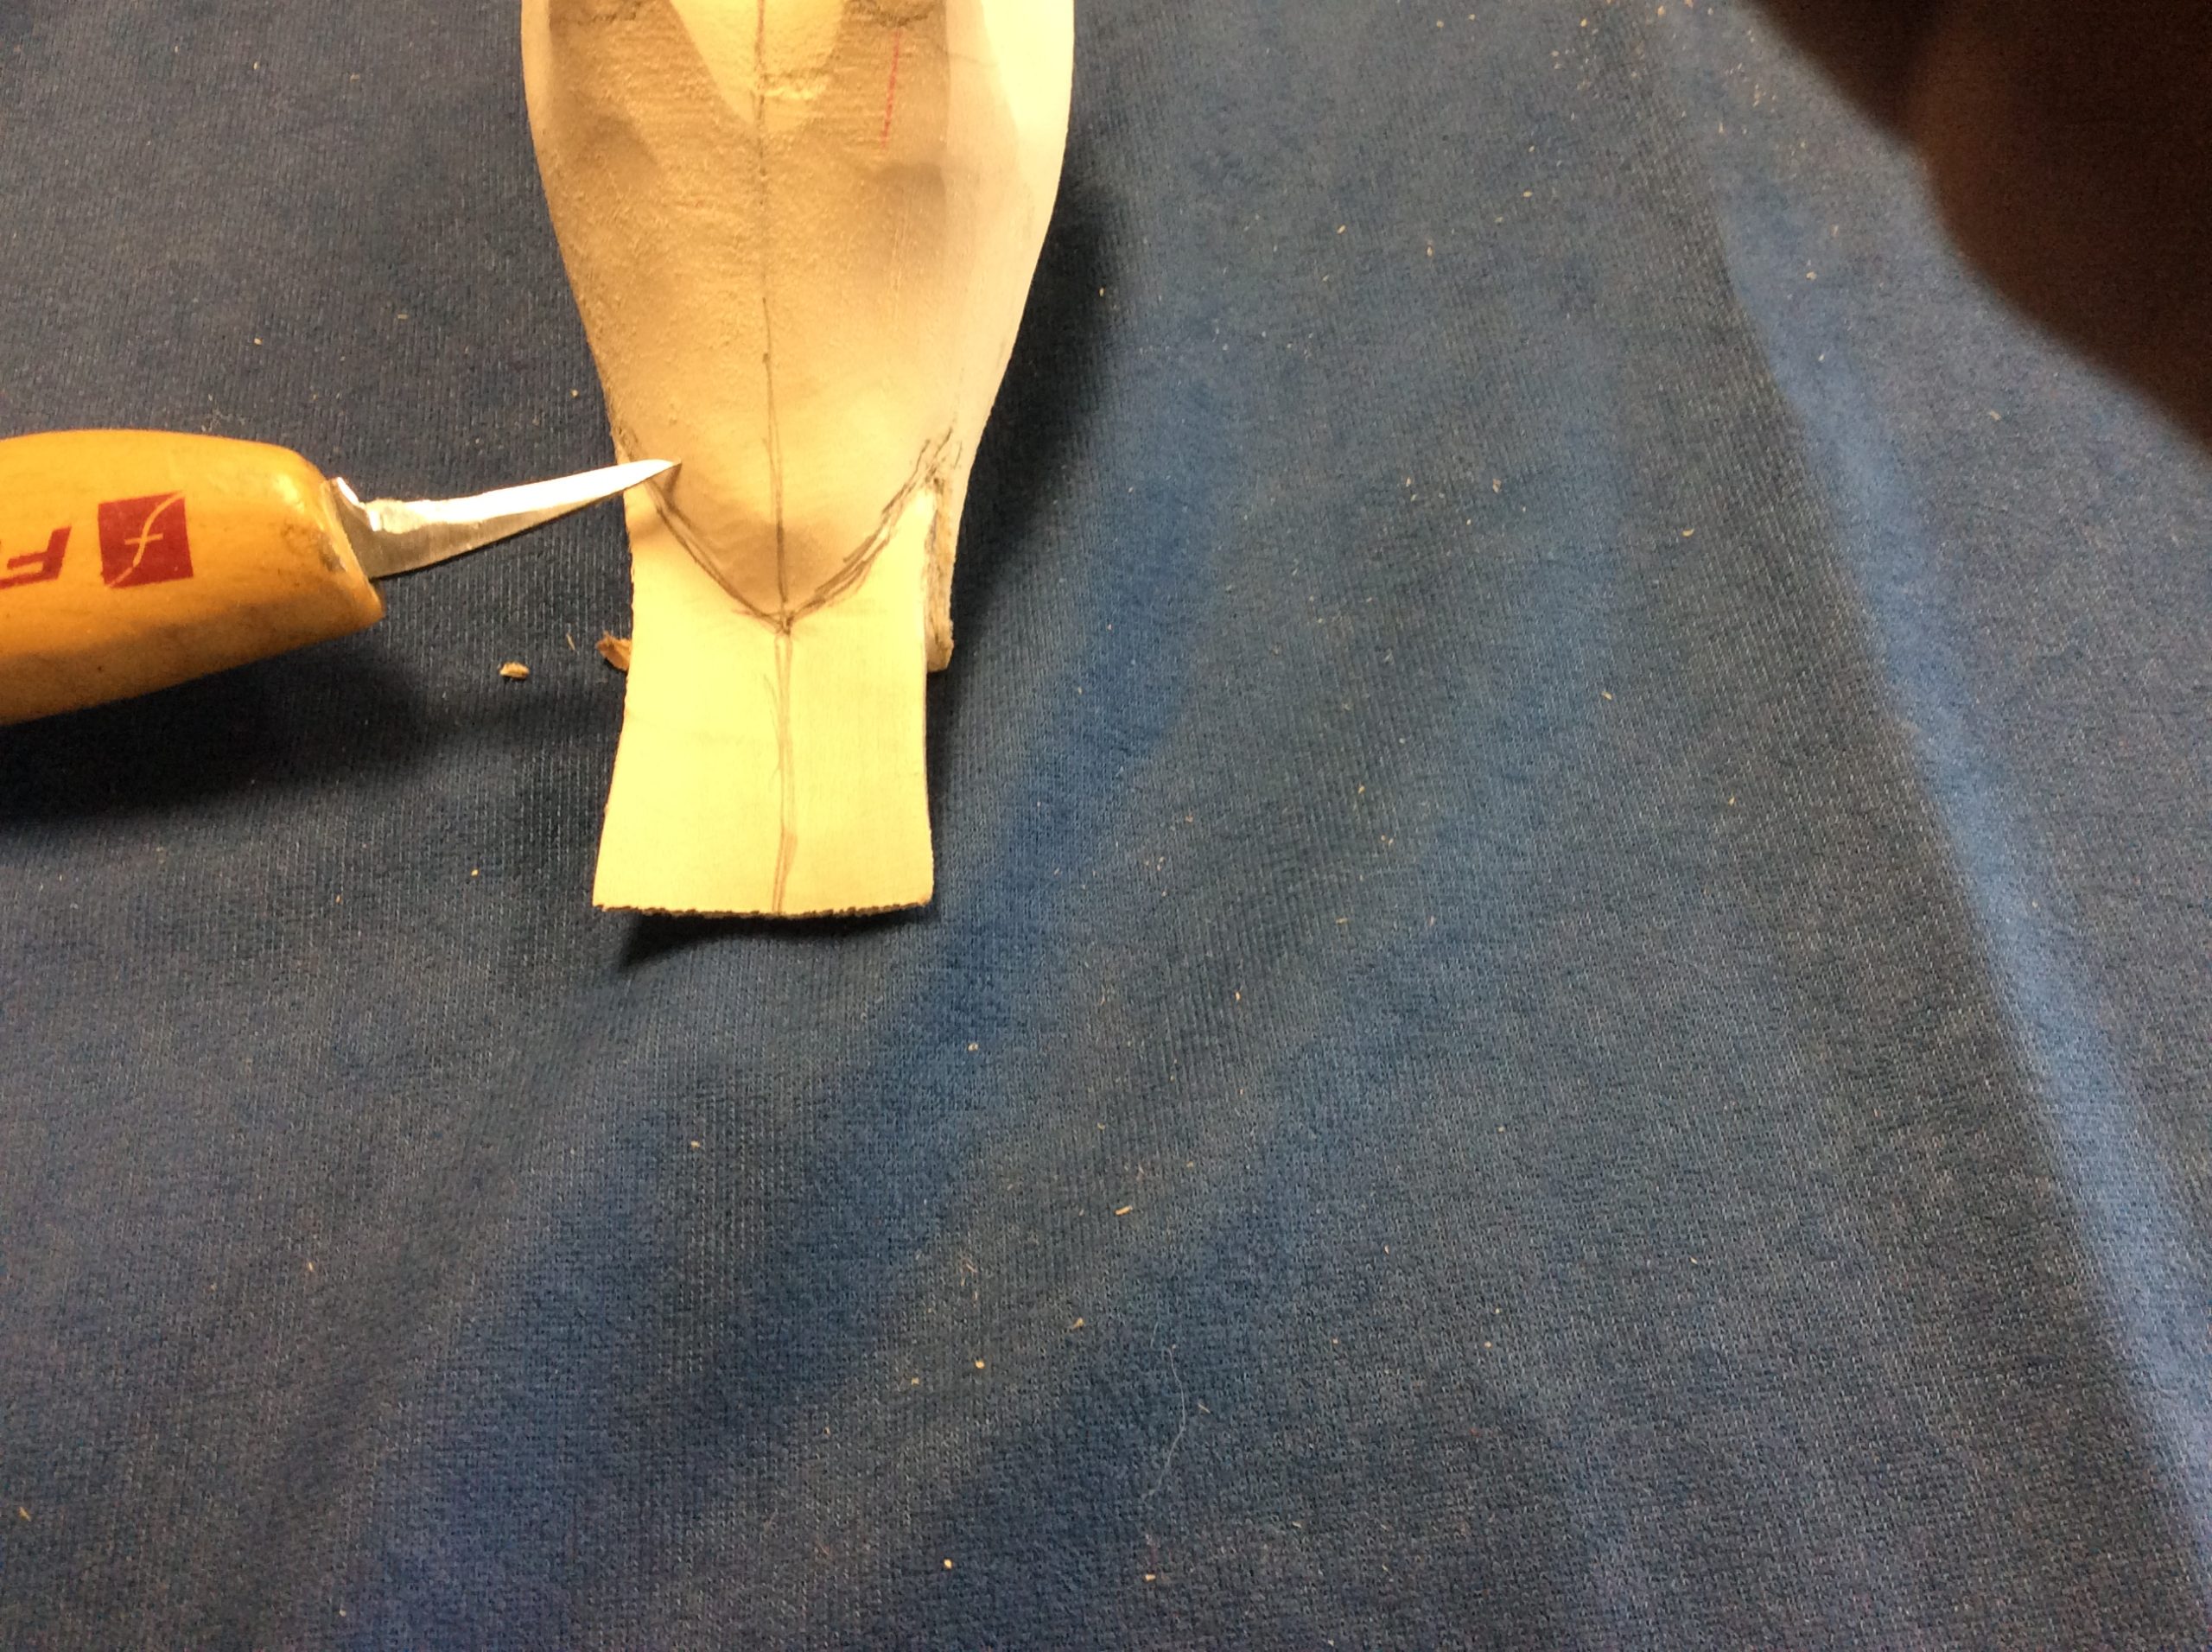
Cut in the top and bottom tail coverlets. Check your pattern to see how much of the top is visible.
Step 7:
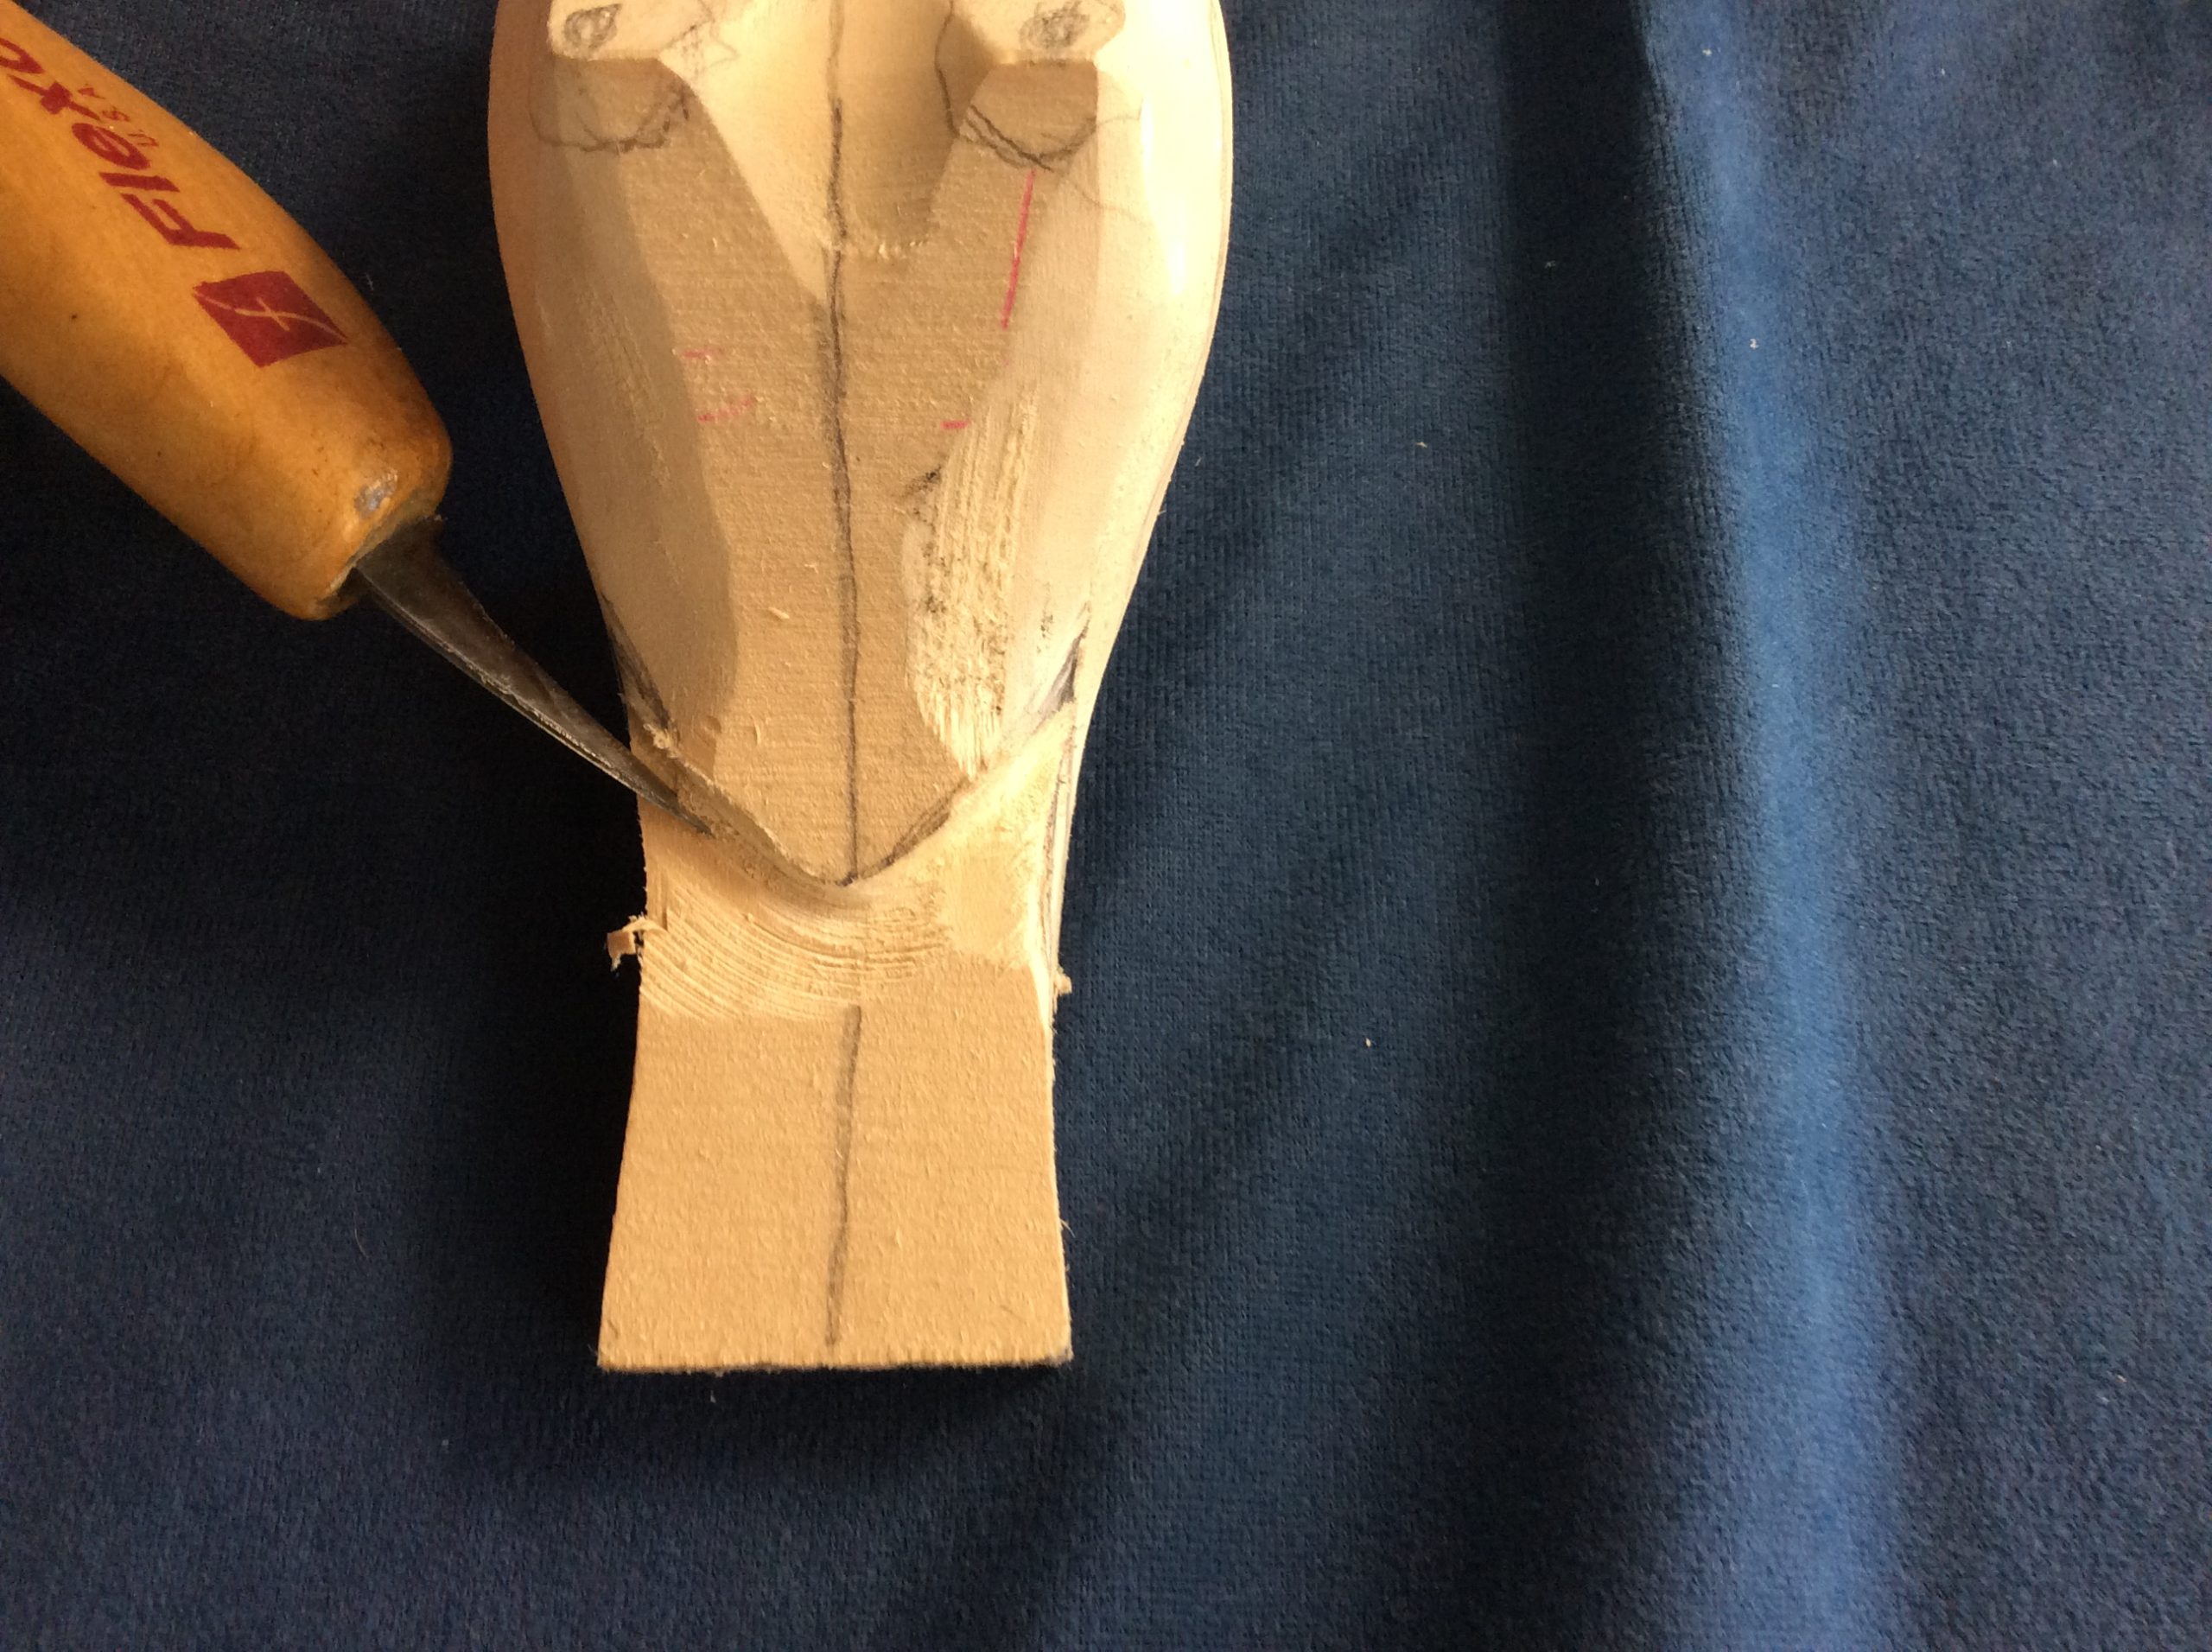
Remove the extra wood from the centre line to the edges of the tail. Remember to keep the top convexed.
Step 8:
Using a gouge, remove the wood from the bottom of the tail to make it concaved. Check the thickness often by pinching with your fingers. It can be thicker down the middle and thin out as you get toward the edges: not too thin at this point.
Step 9:
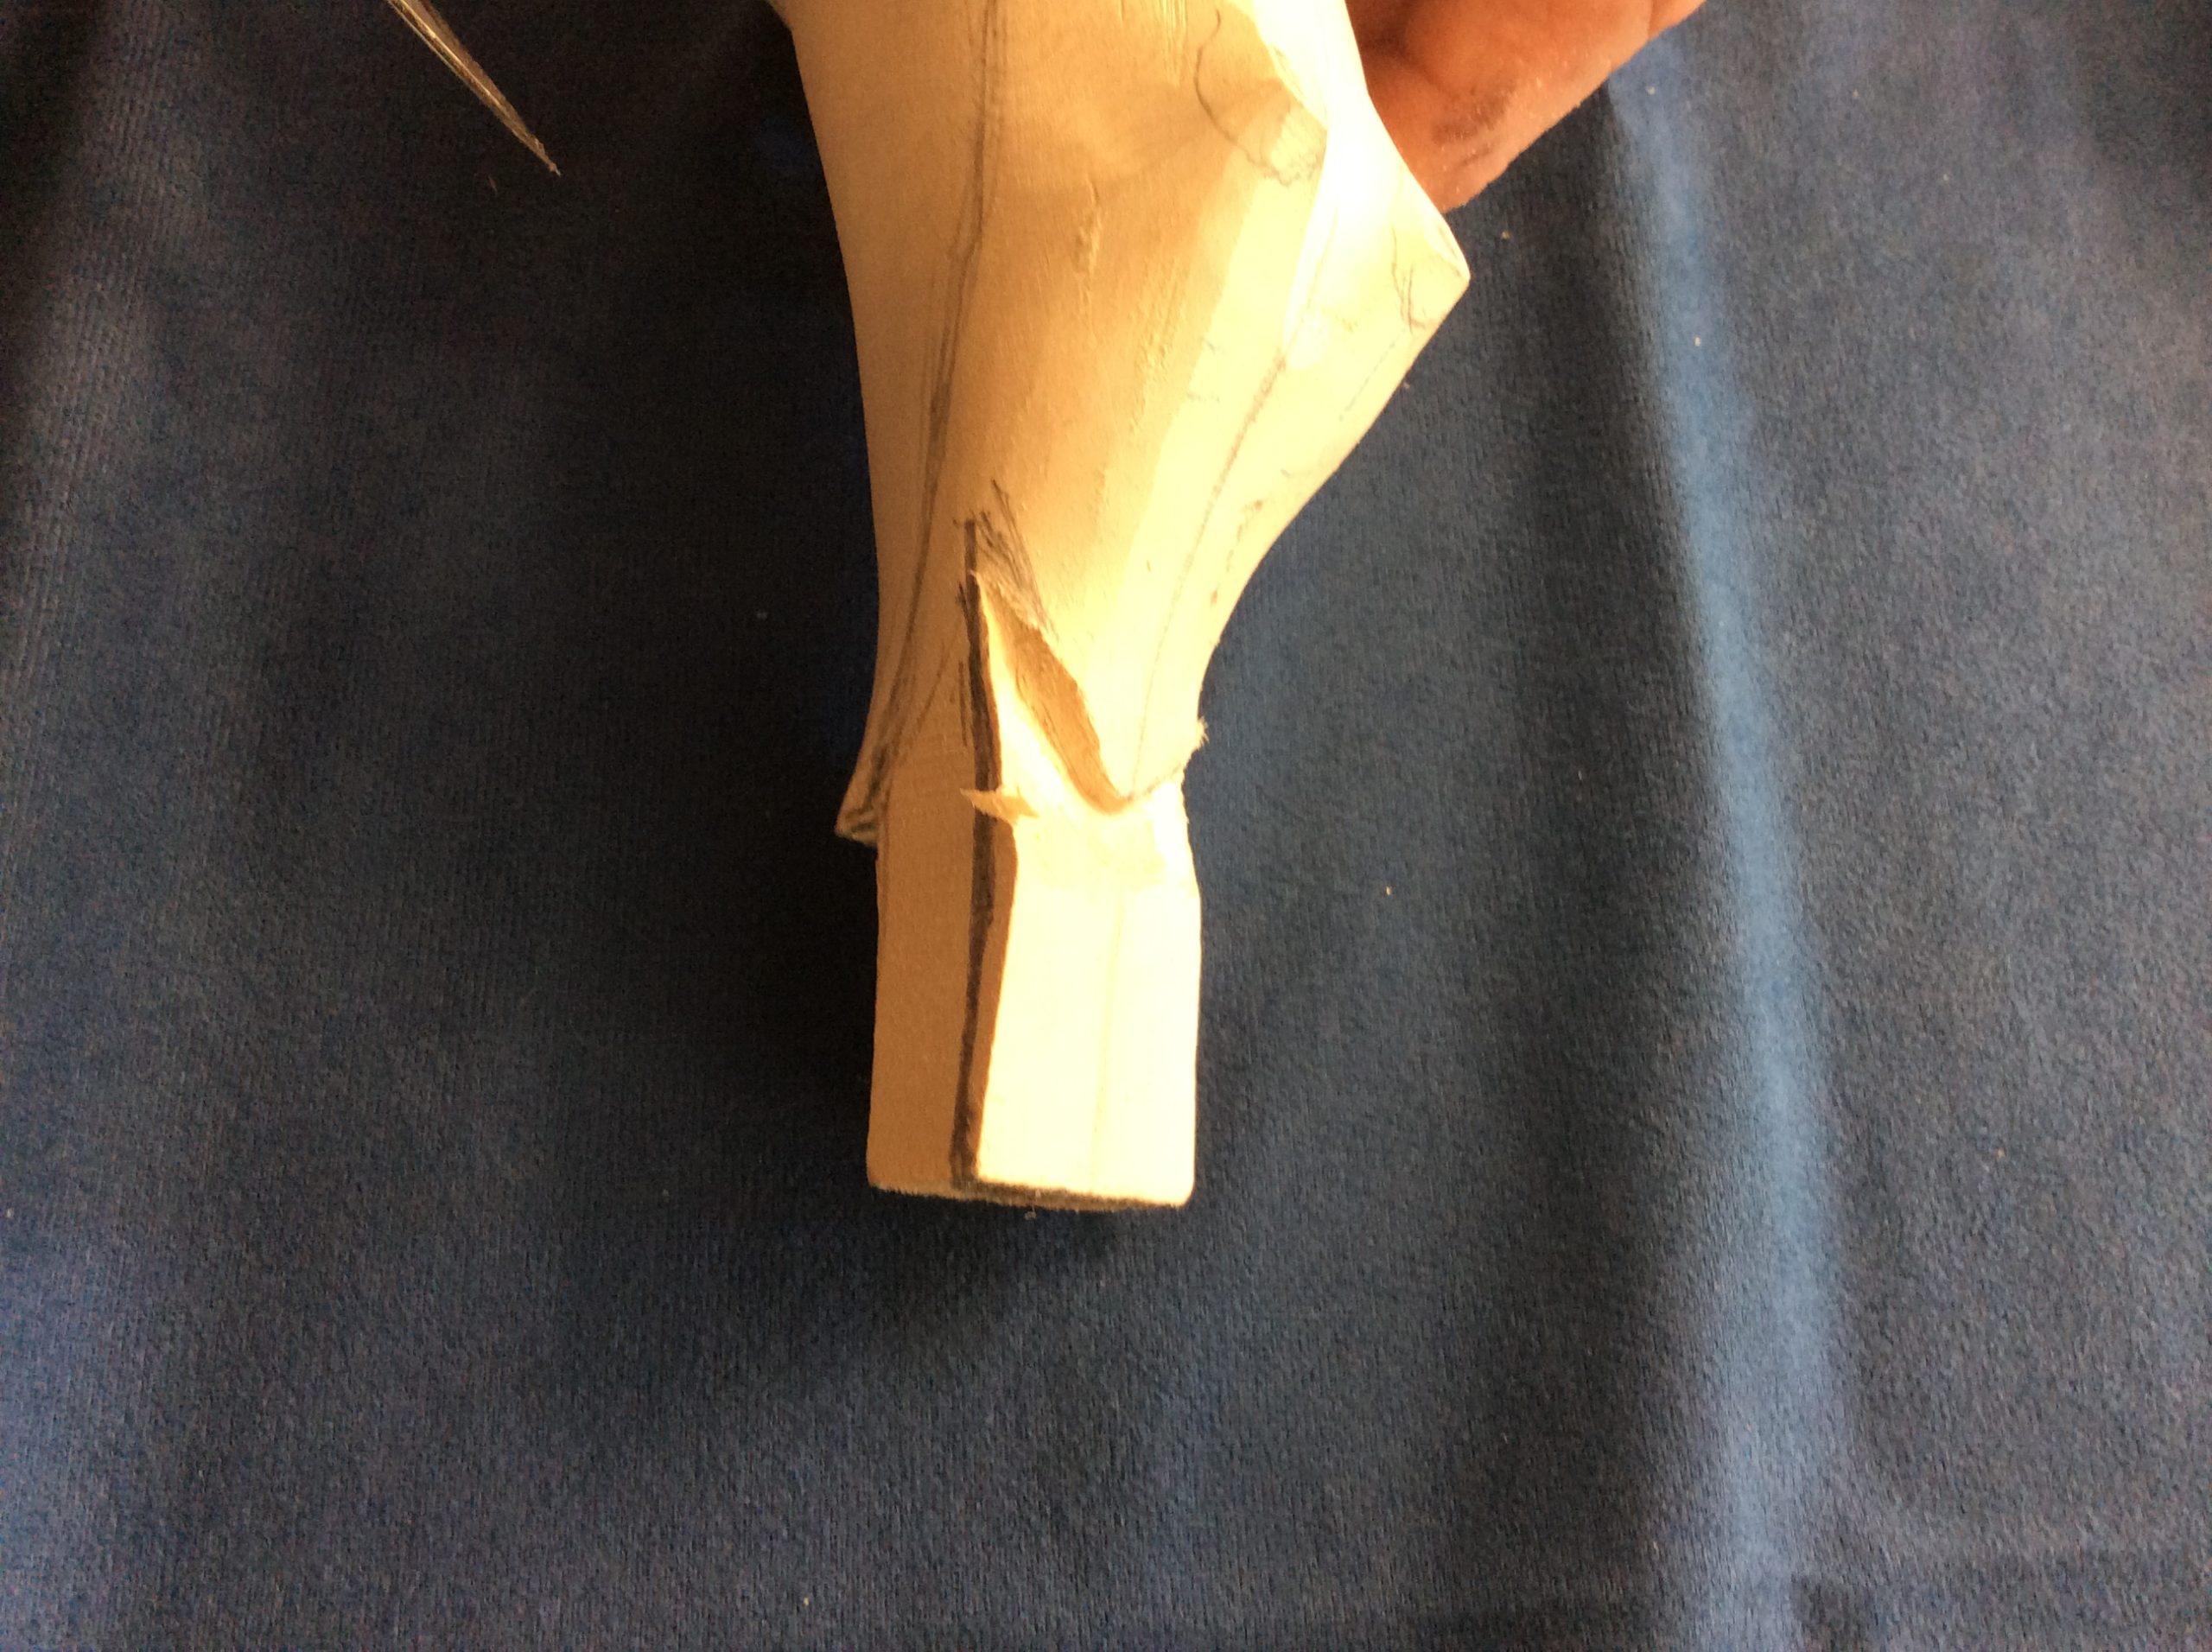
Taper the edges of the tail coverlets to indicate feathers covering the main tail feathers. There should not be a “drop off”.
Step 10:
Leave the lower edge of the tail square at this time. Feathers will be cut in later.
Step 11:
Lightly sand surfaces. This will make it easier to redraw lines you have removed, and put on future lines.