
Use the following links below if you have not completed the previous steps:
- The Body (View Instructions)
- The Tail (View Instructions)
The head an beak is the part when you create a life like look and put interest in your work. It requires that you measure and mark your outlines very carefully. They can not be changed very easily later. Some of these steps will help establish the head which we will discuss in our next stage. Work slowly, re drawing you lines, and checking your measurements as needed. This section we are going to work on the beak. Next week we will be working on the head .
Step 1:
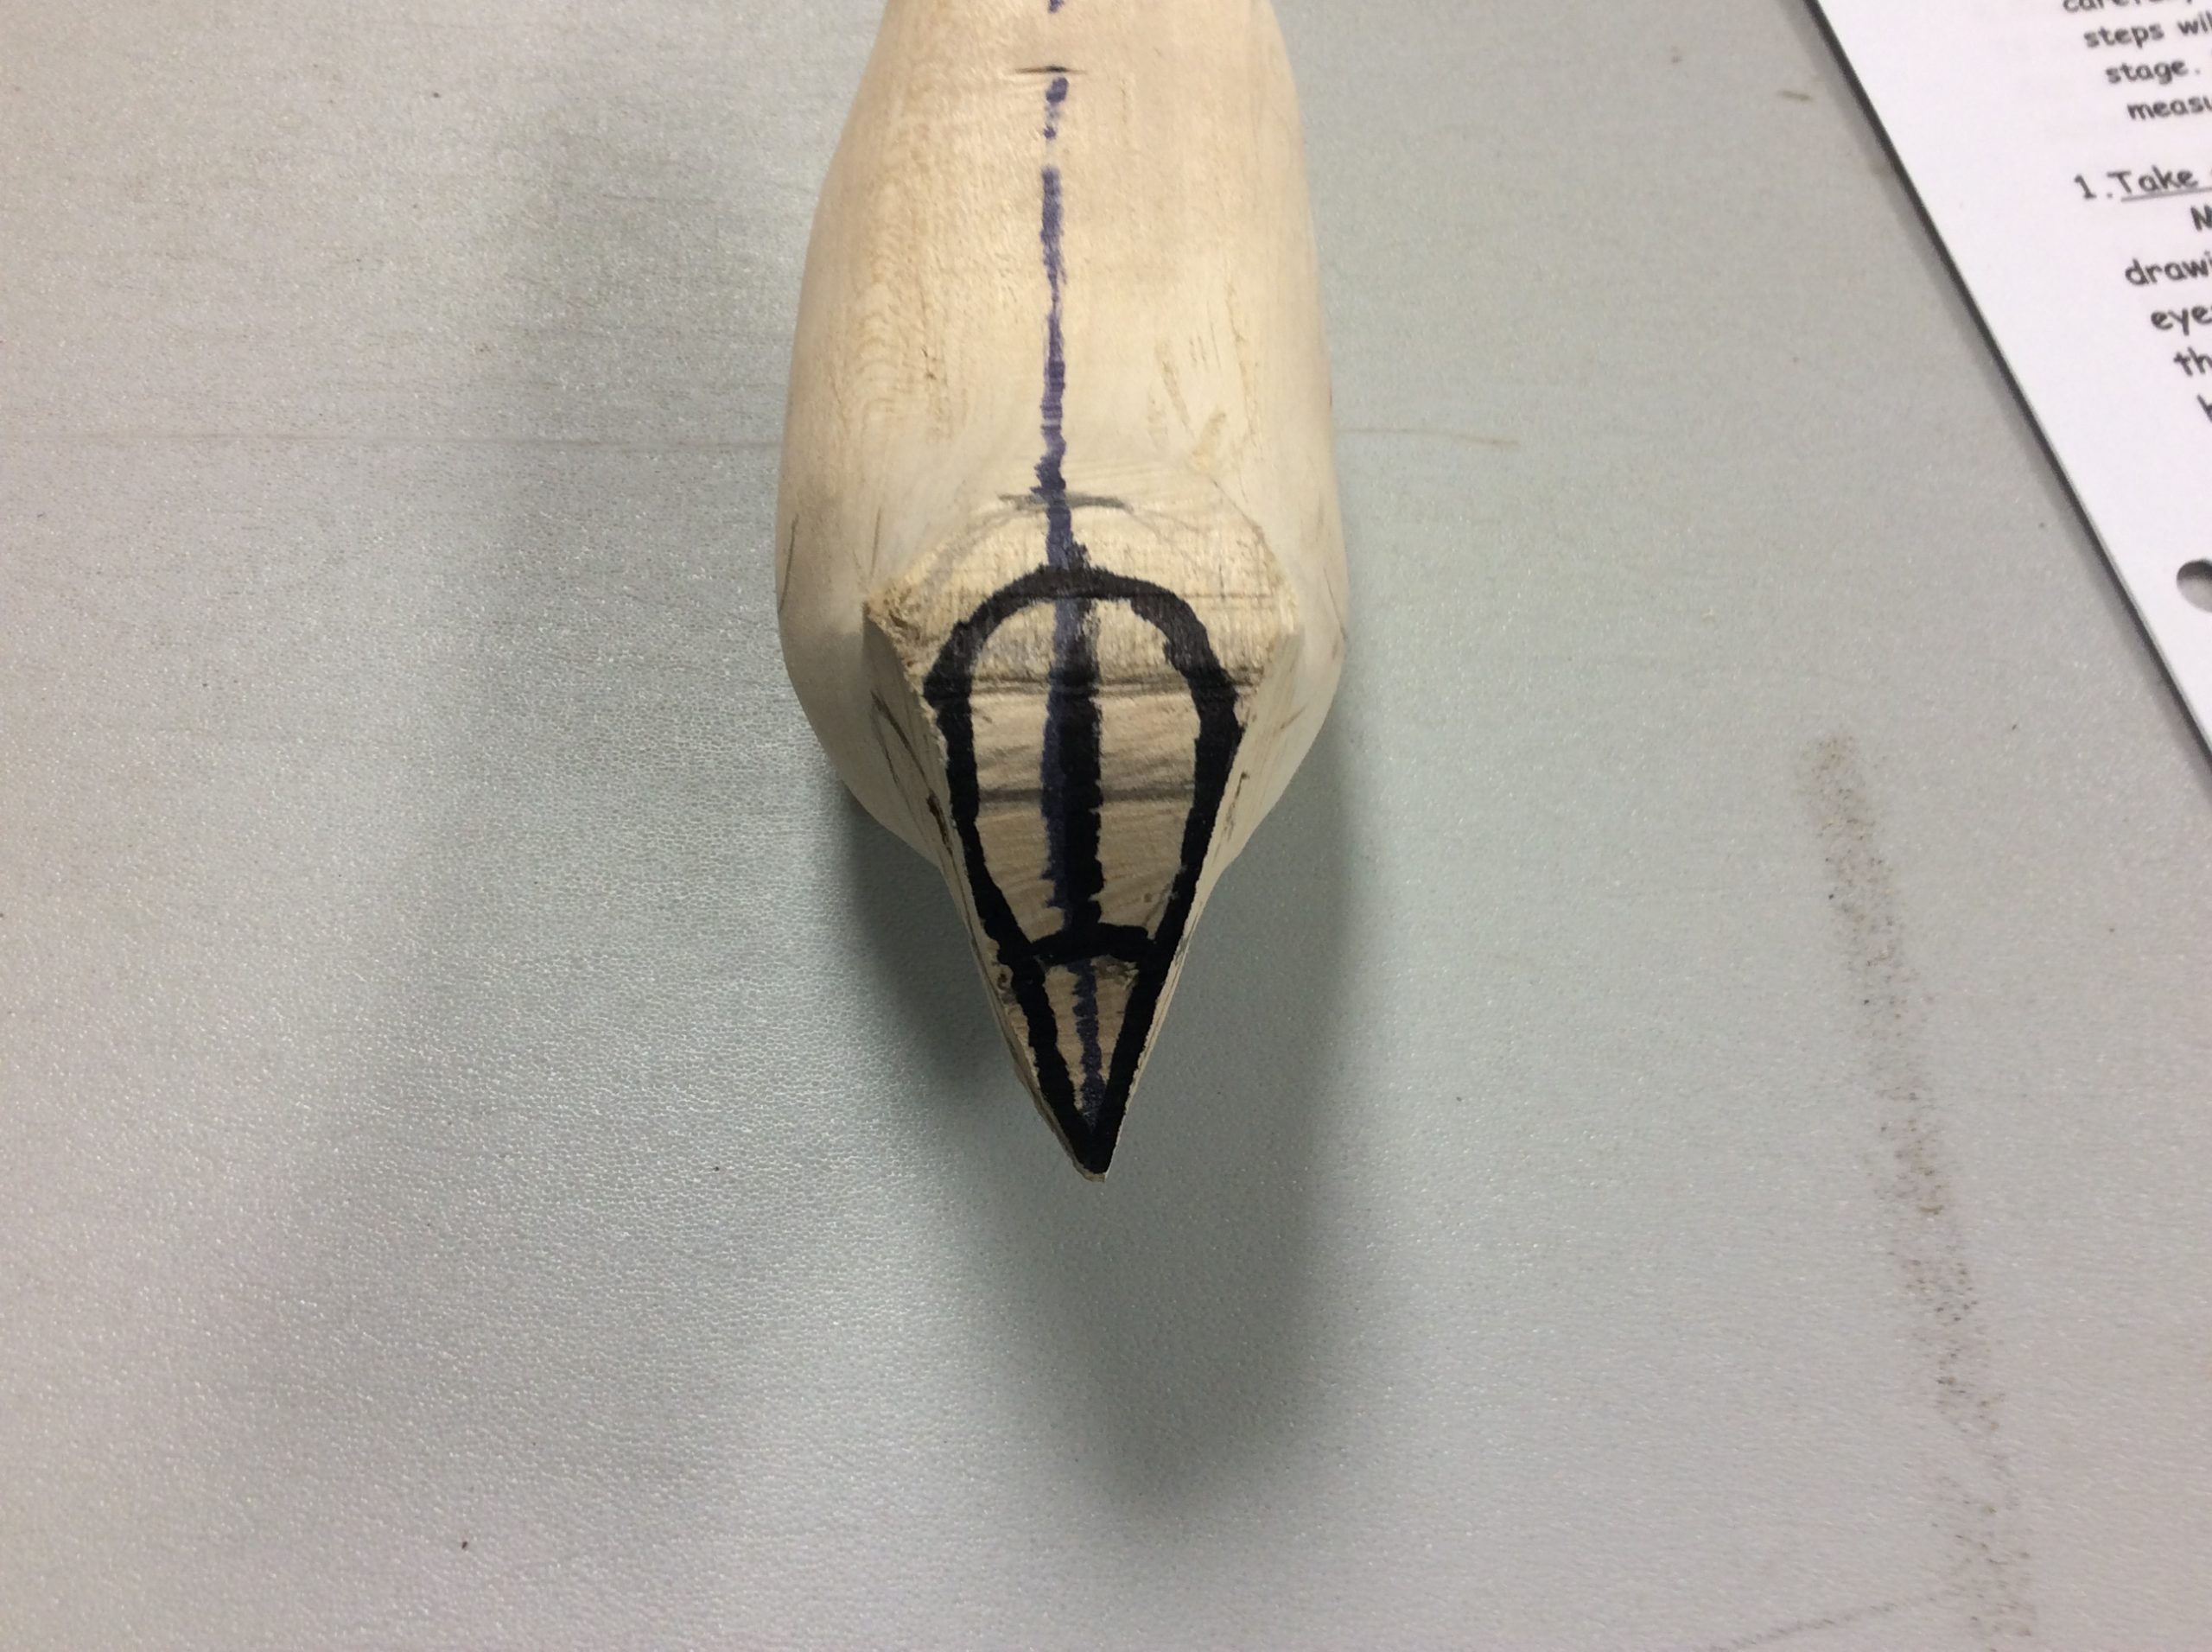
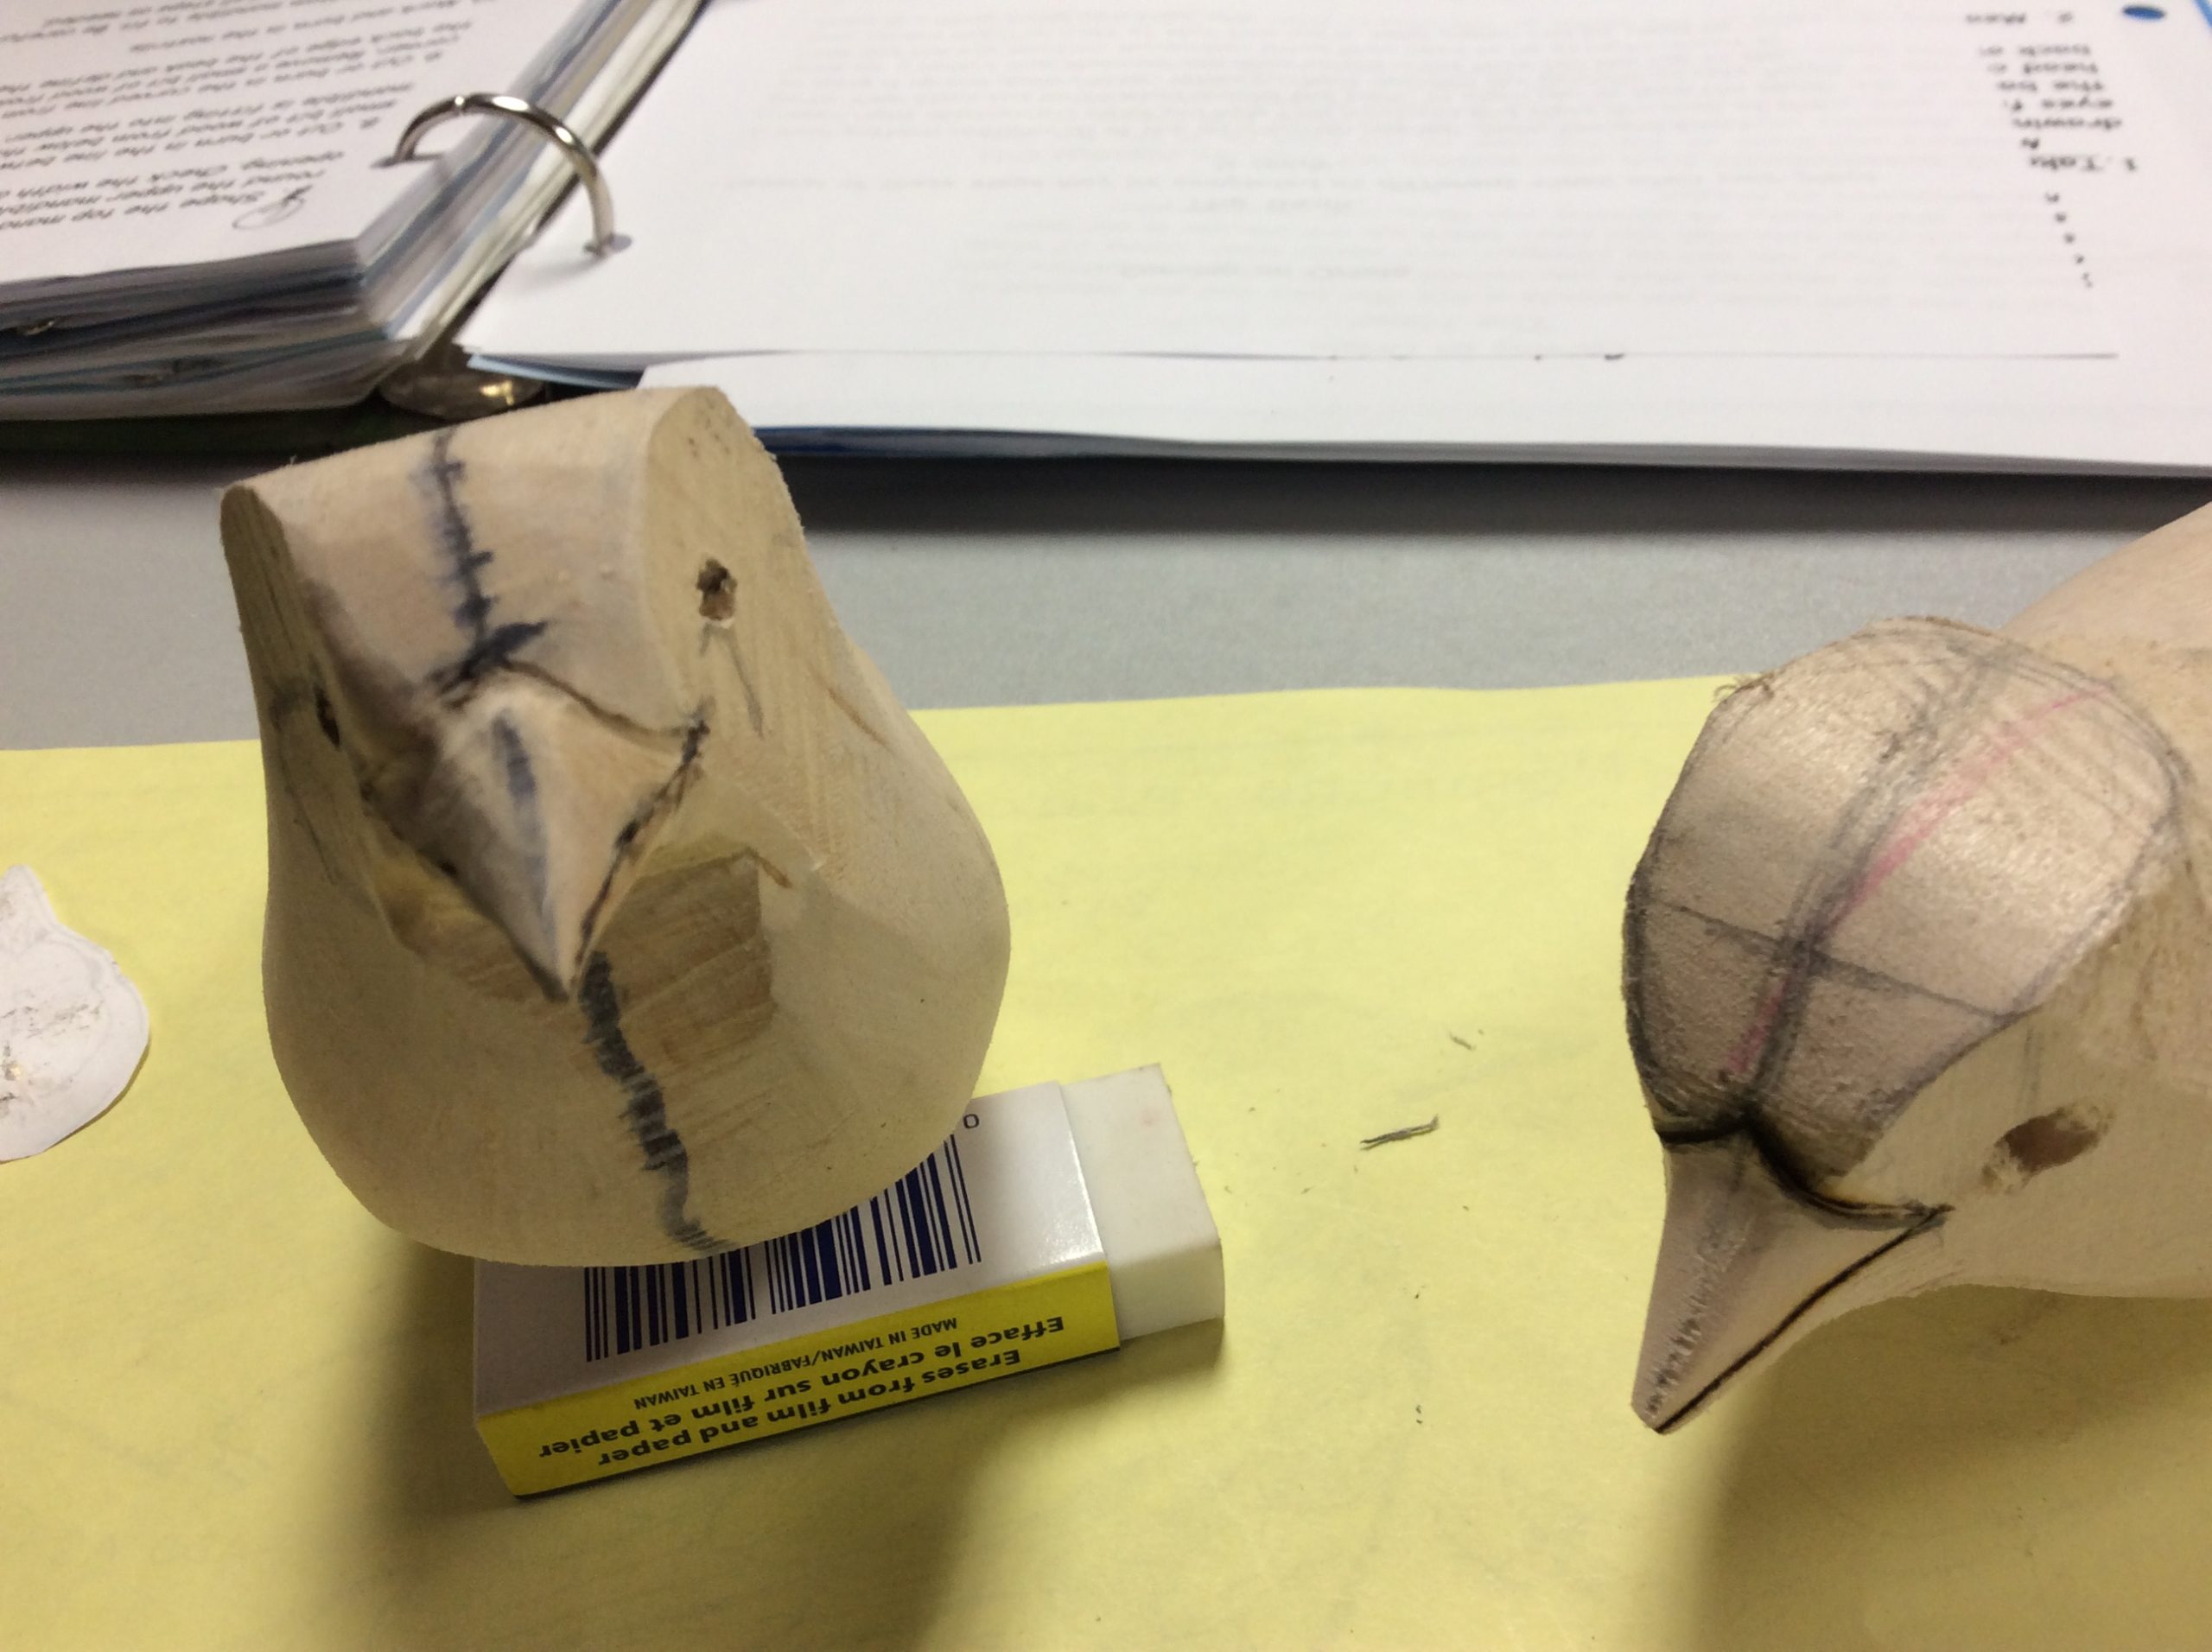
Your pattern contains all of the information needed. Side, top and front ( lower right illustration) views will help find locations and sizes for each of the parts. Your blank has extra wood around the beak, to allow you to turn the head or move it up and down a little. When you have decided the position of your head, draw on a centre line. Measure and draw on the cross lines for the top of the beak and the eye location. Remember these lines need to be at right angles to your centre line.

Step 2:
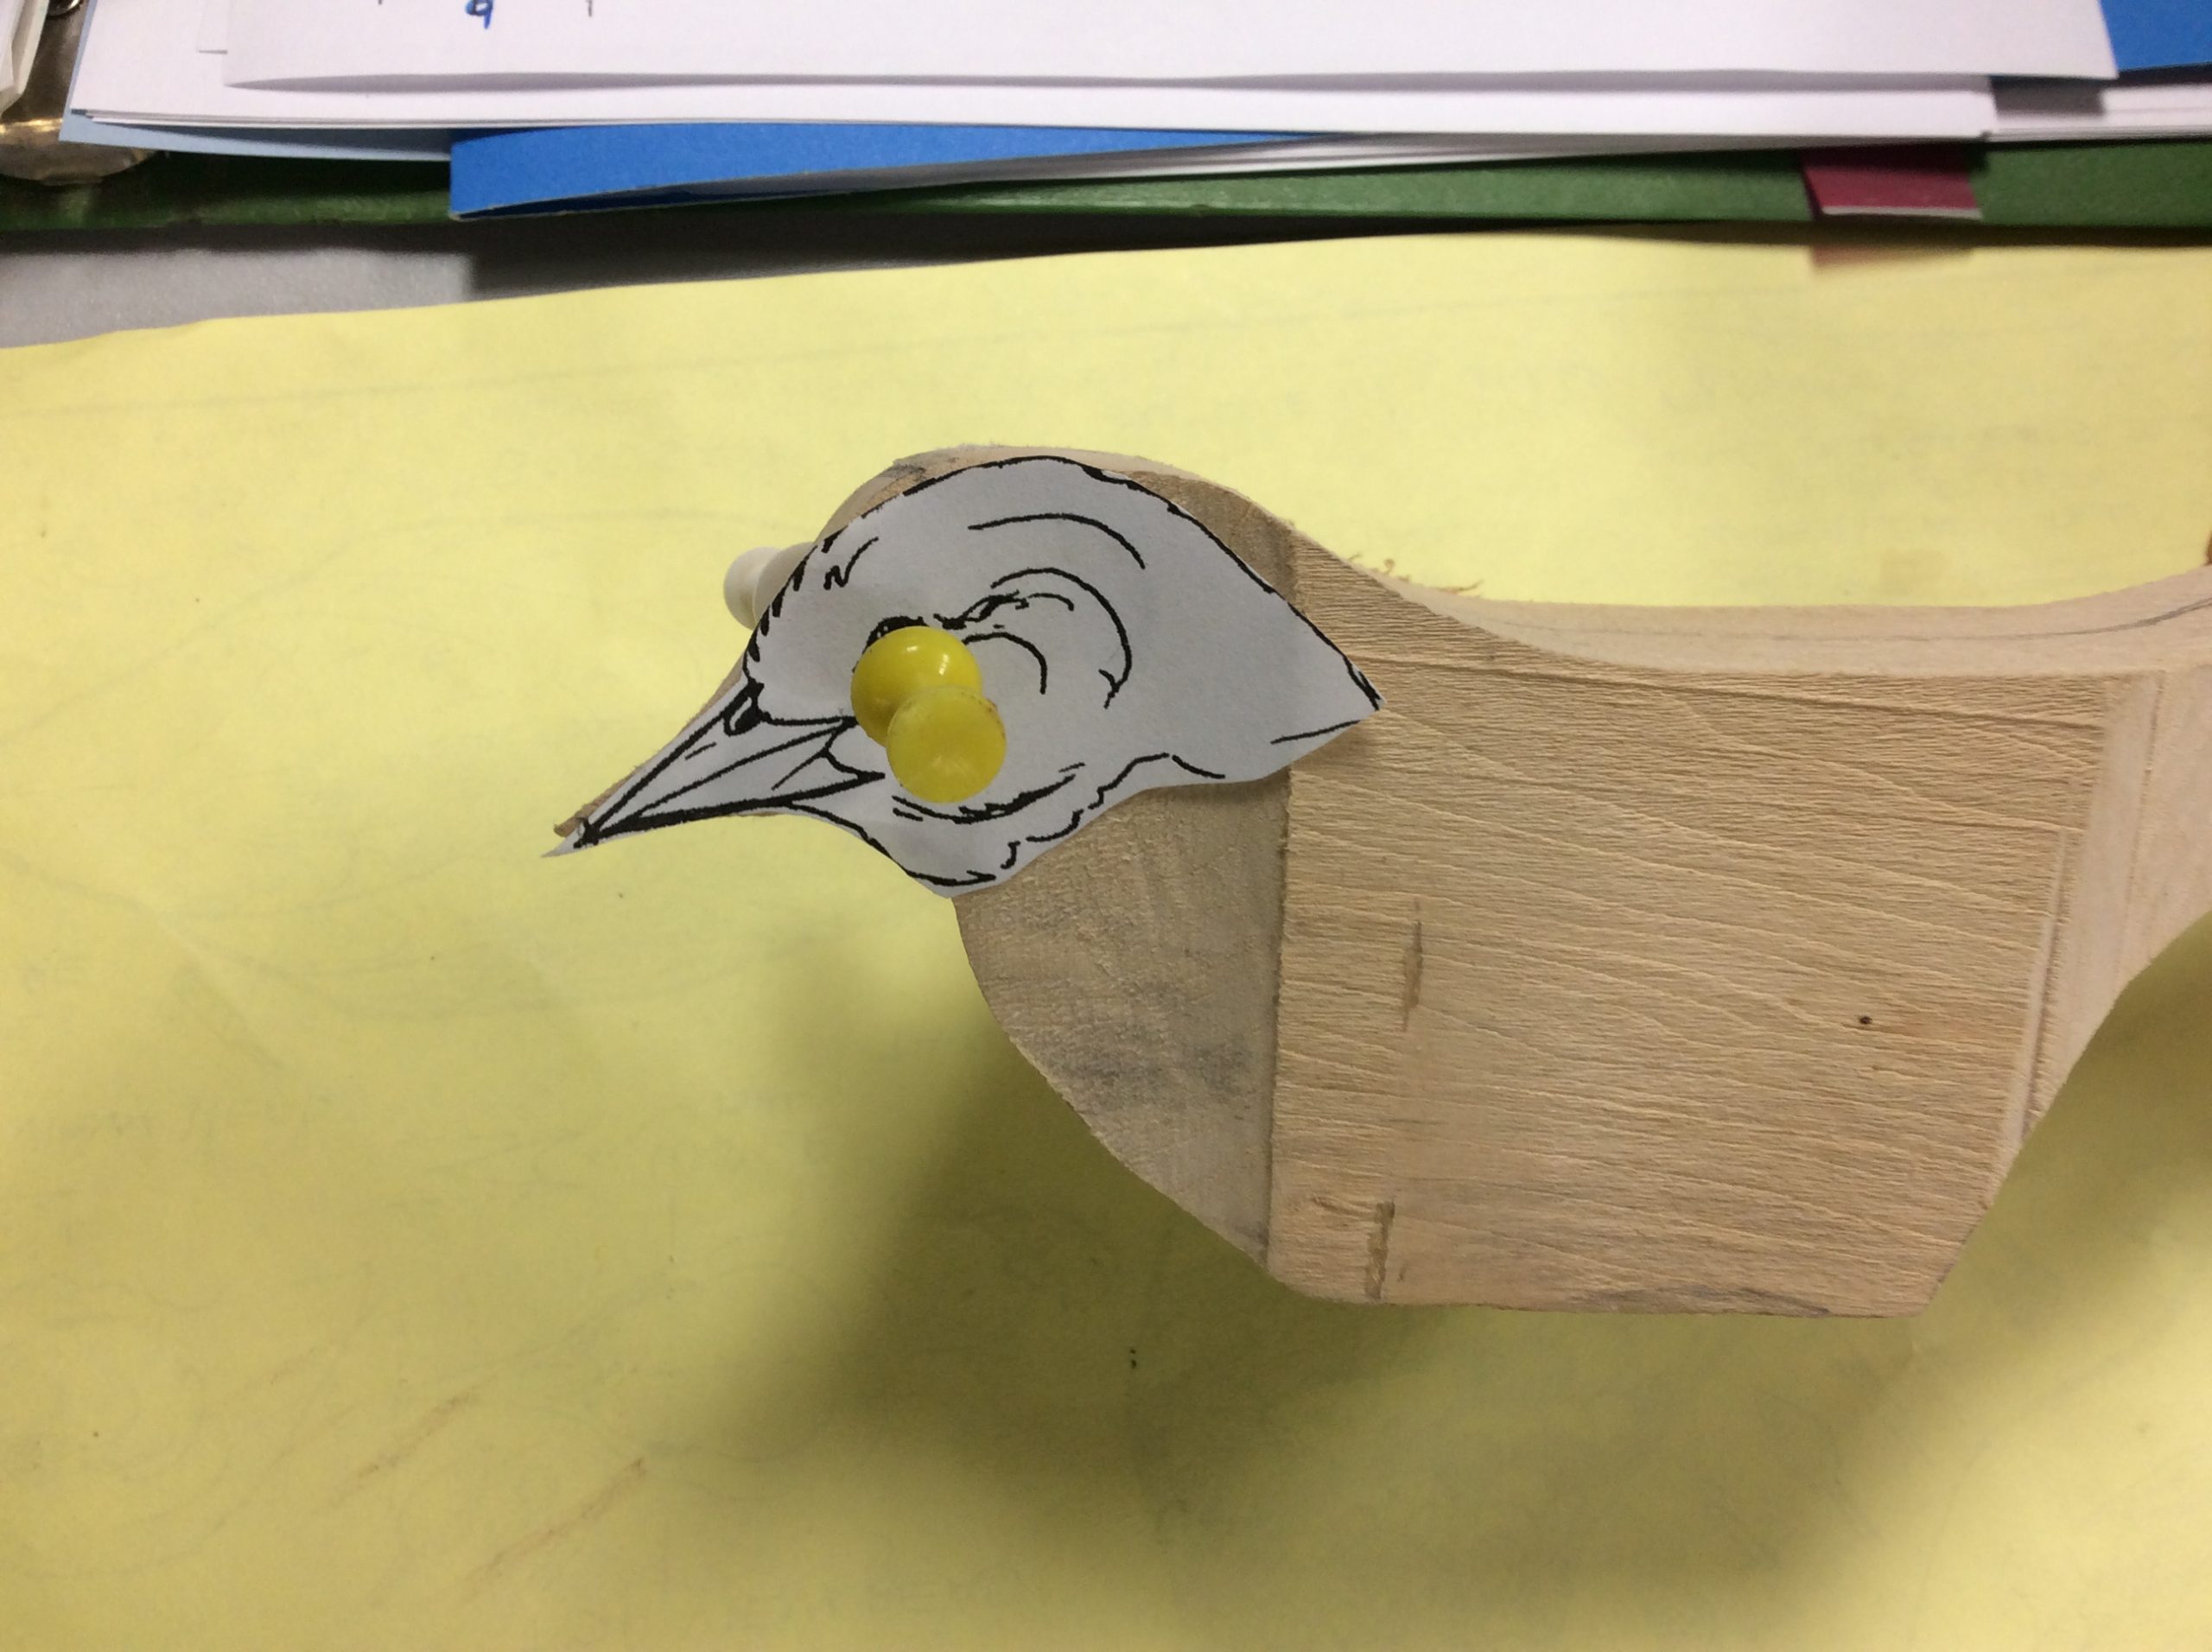
Draw on the top view and side view of the beak. If you are not comfortable drawing or just what to check you work, trace the pattern head view and try it against your blank.
Step 3:
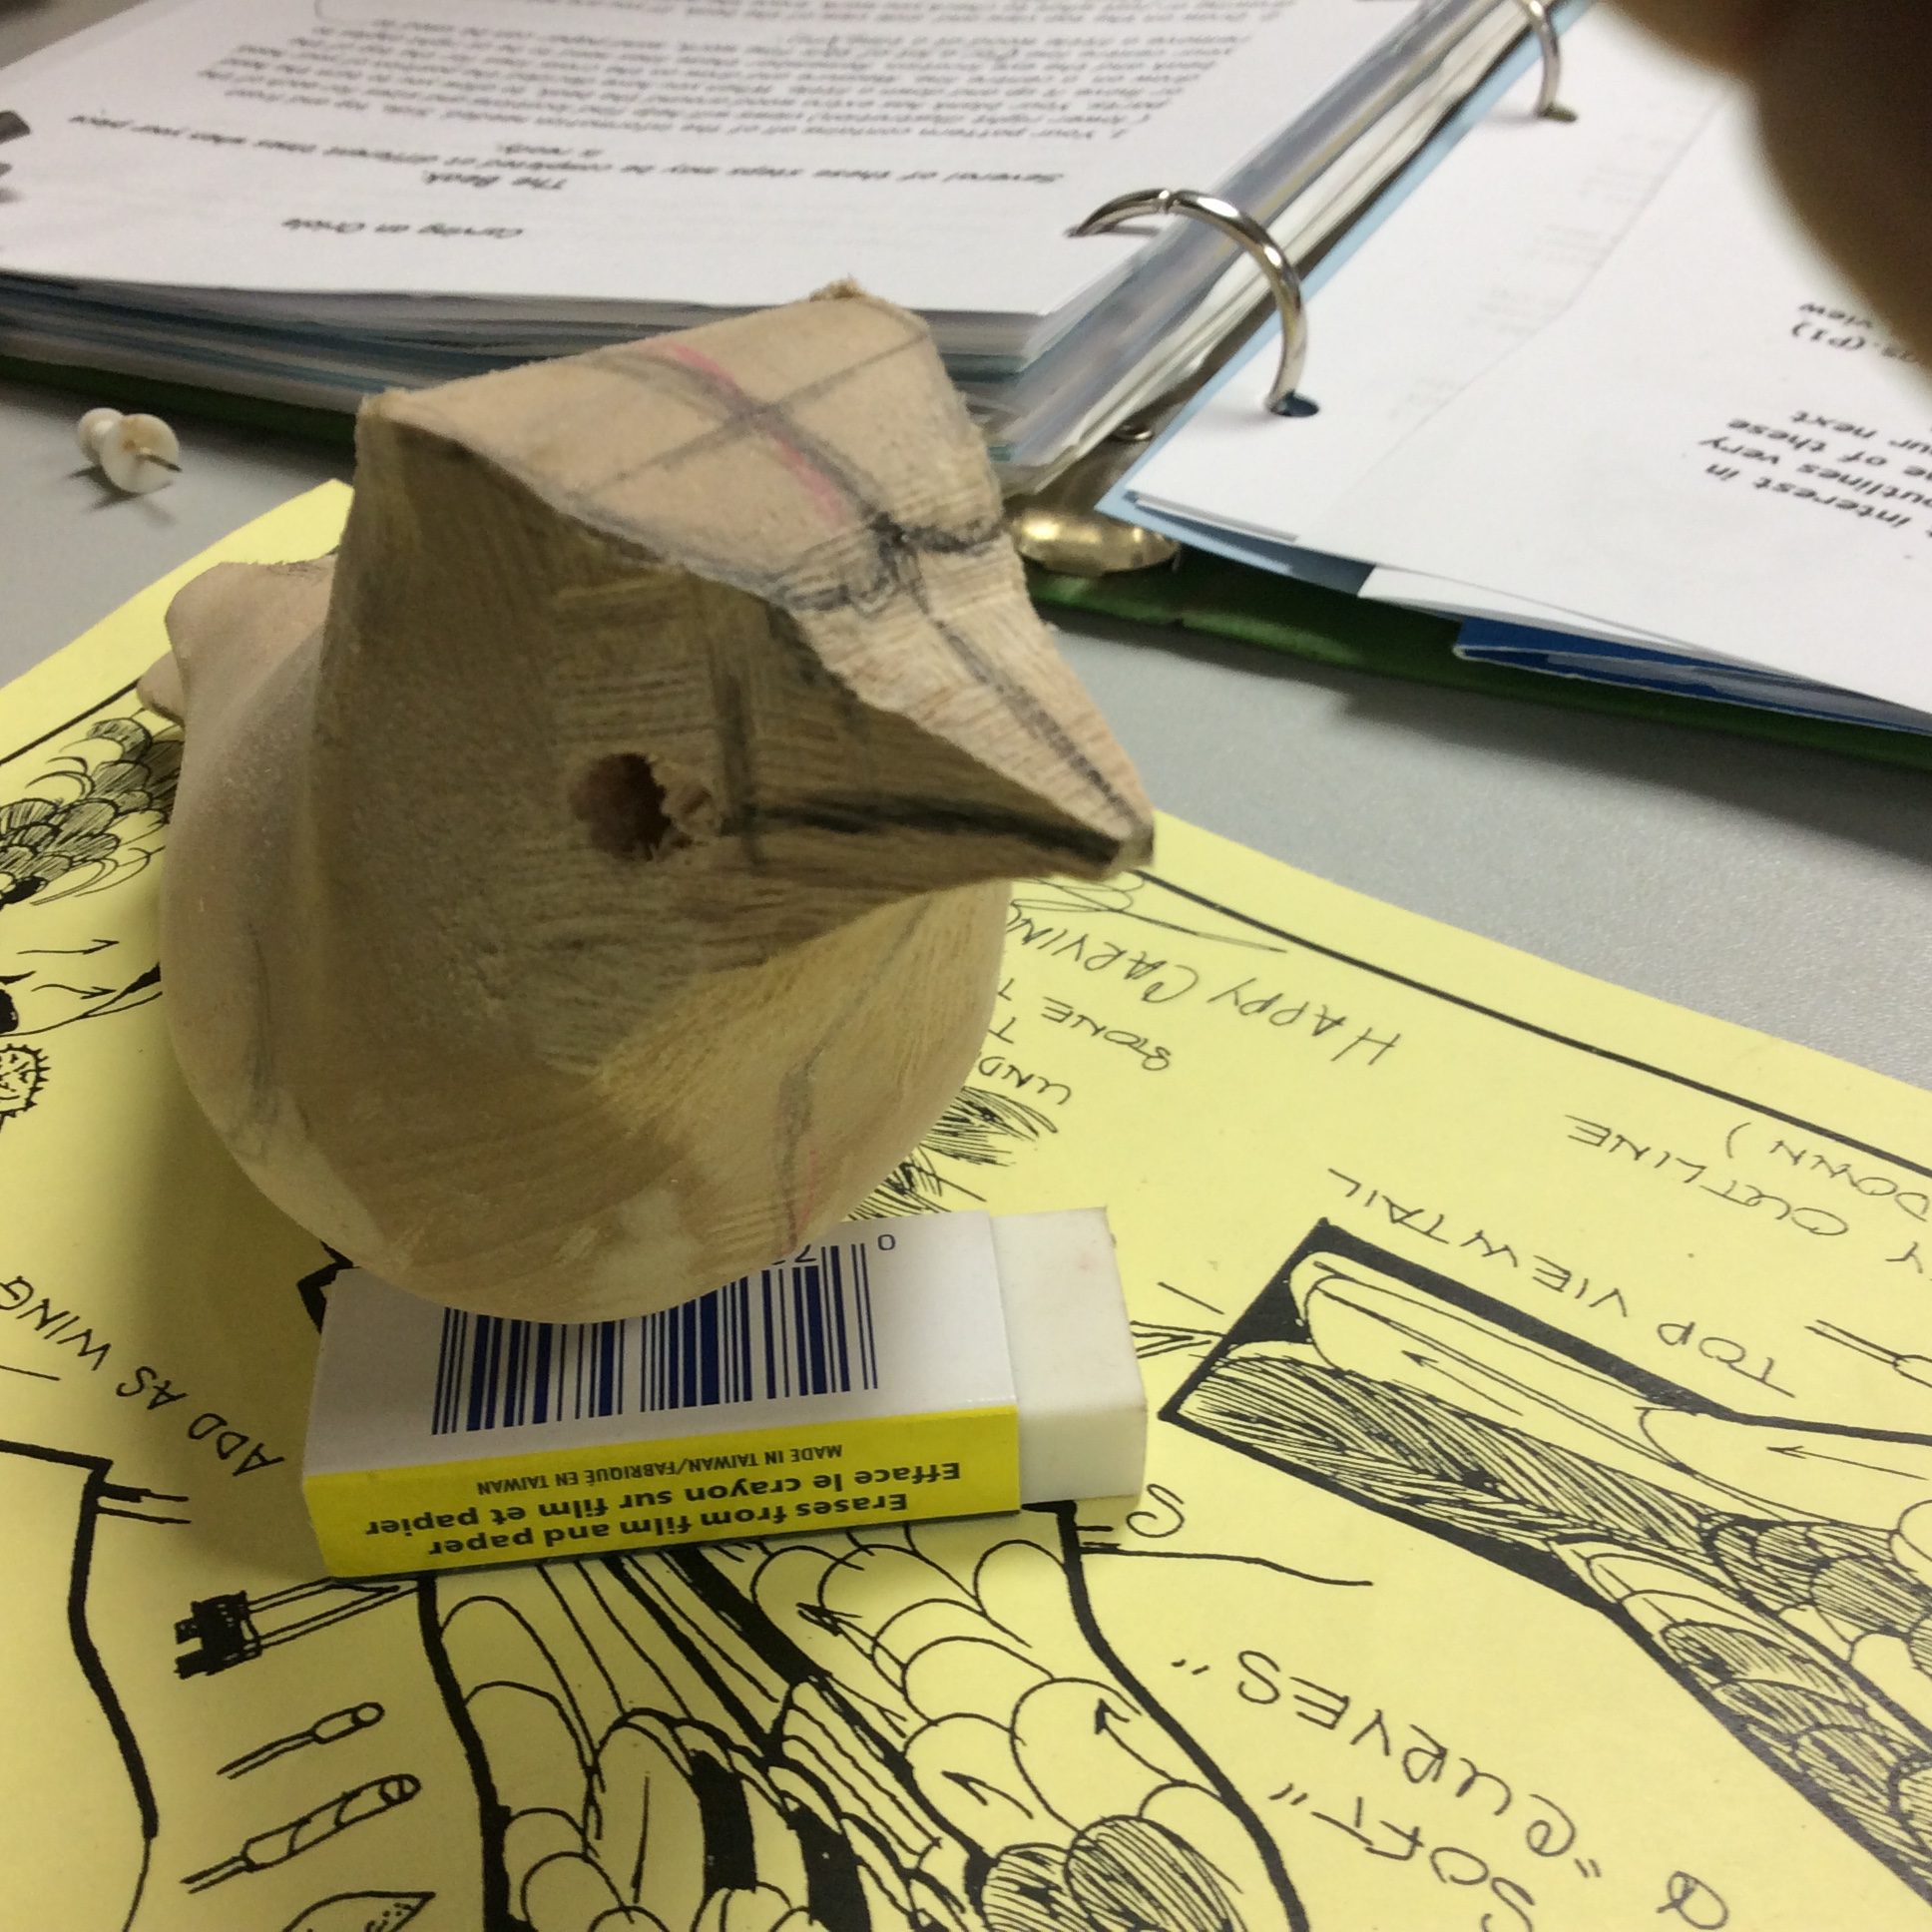
Trim away the extra wood from above and below the beak. This will create a squared shape. Do not get it too thin at this time. For a lot of this fine work, sand paper can be used to remove a little wood at a time.
Step 4:
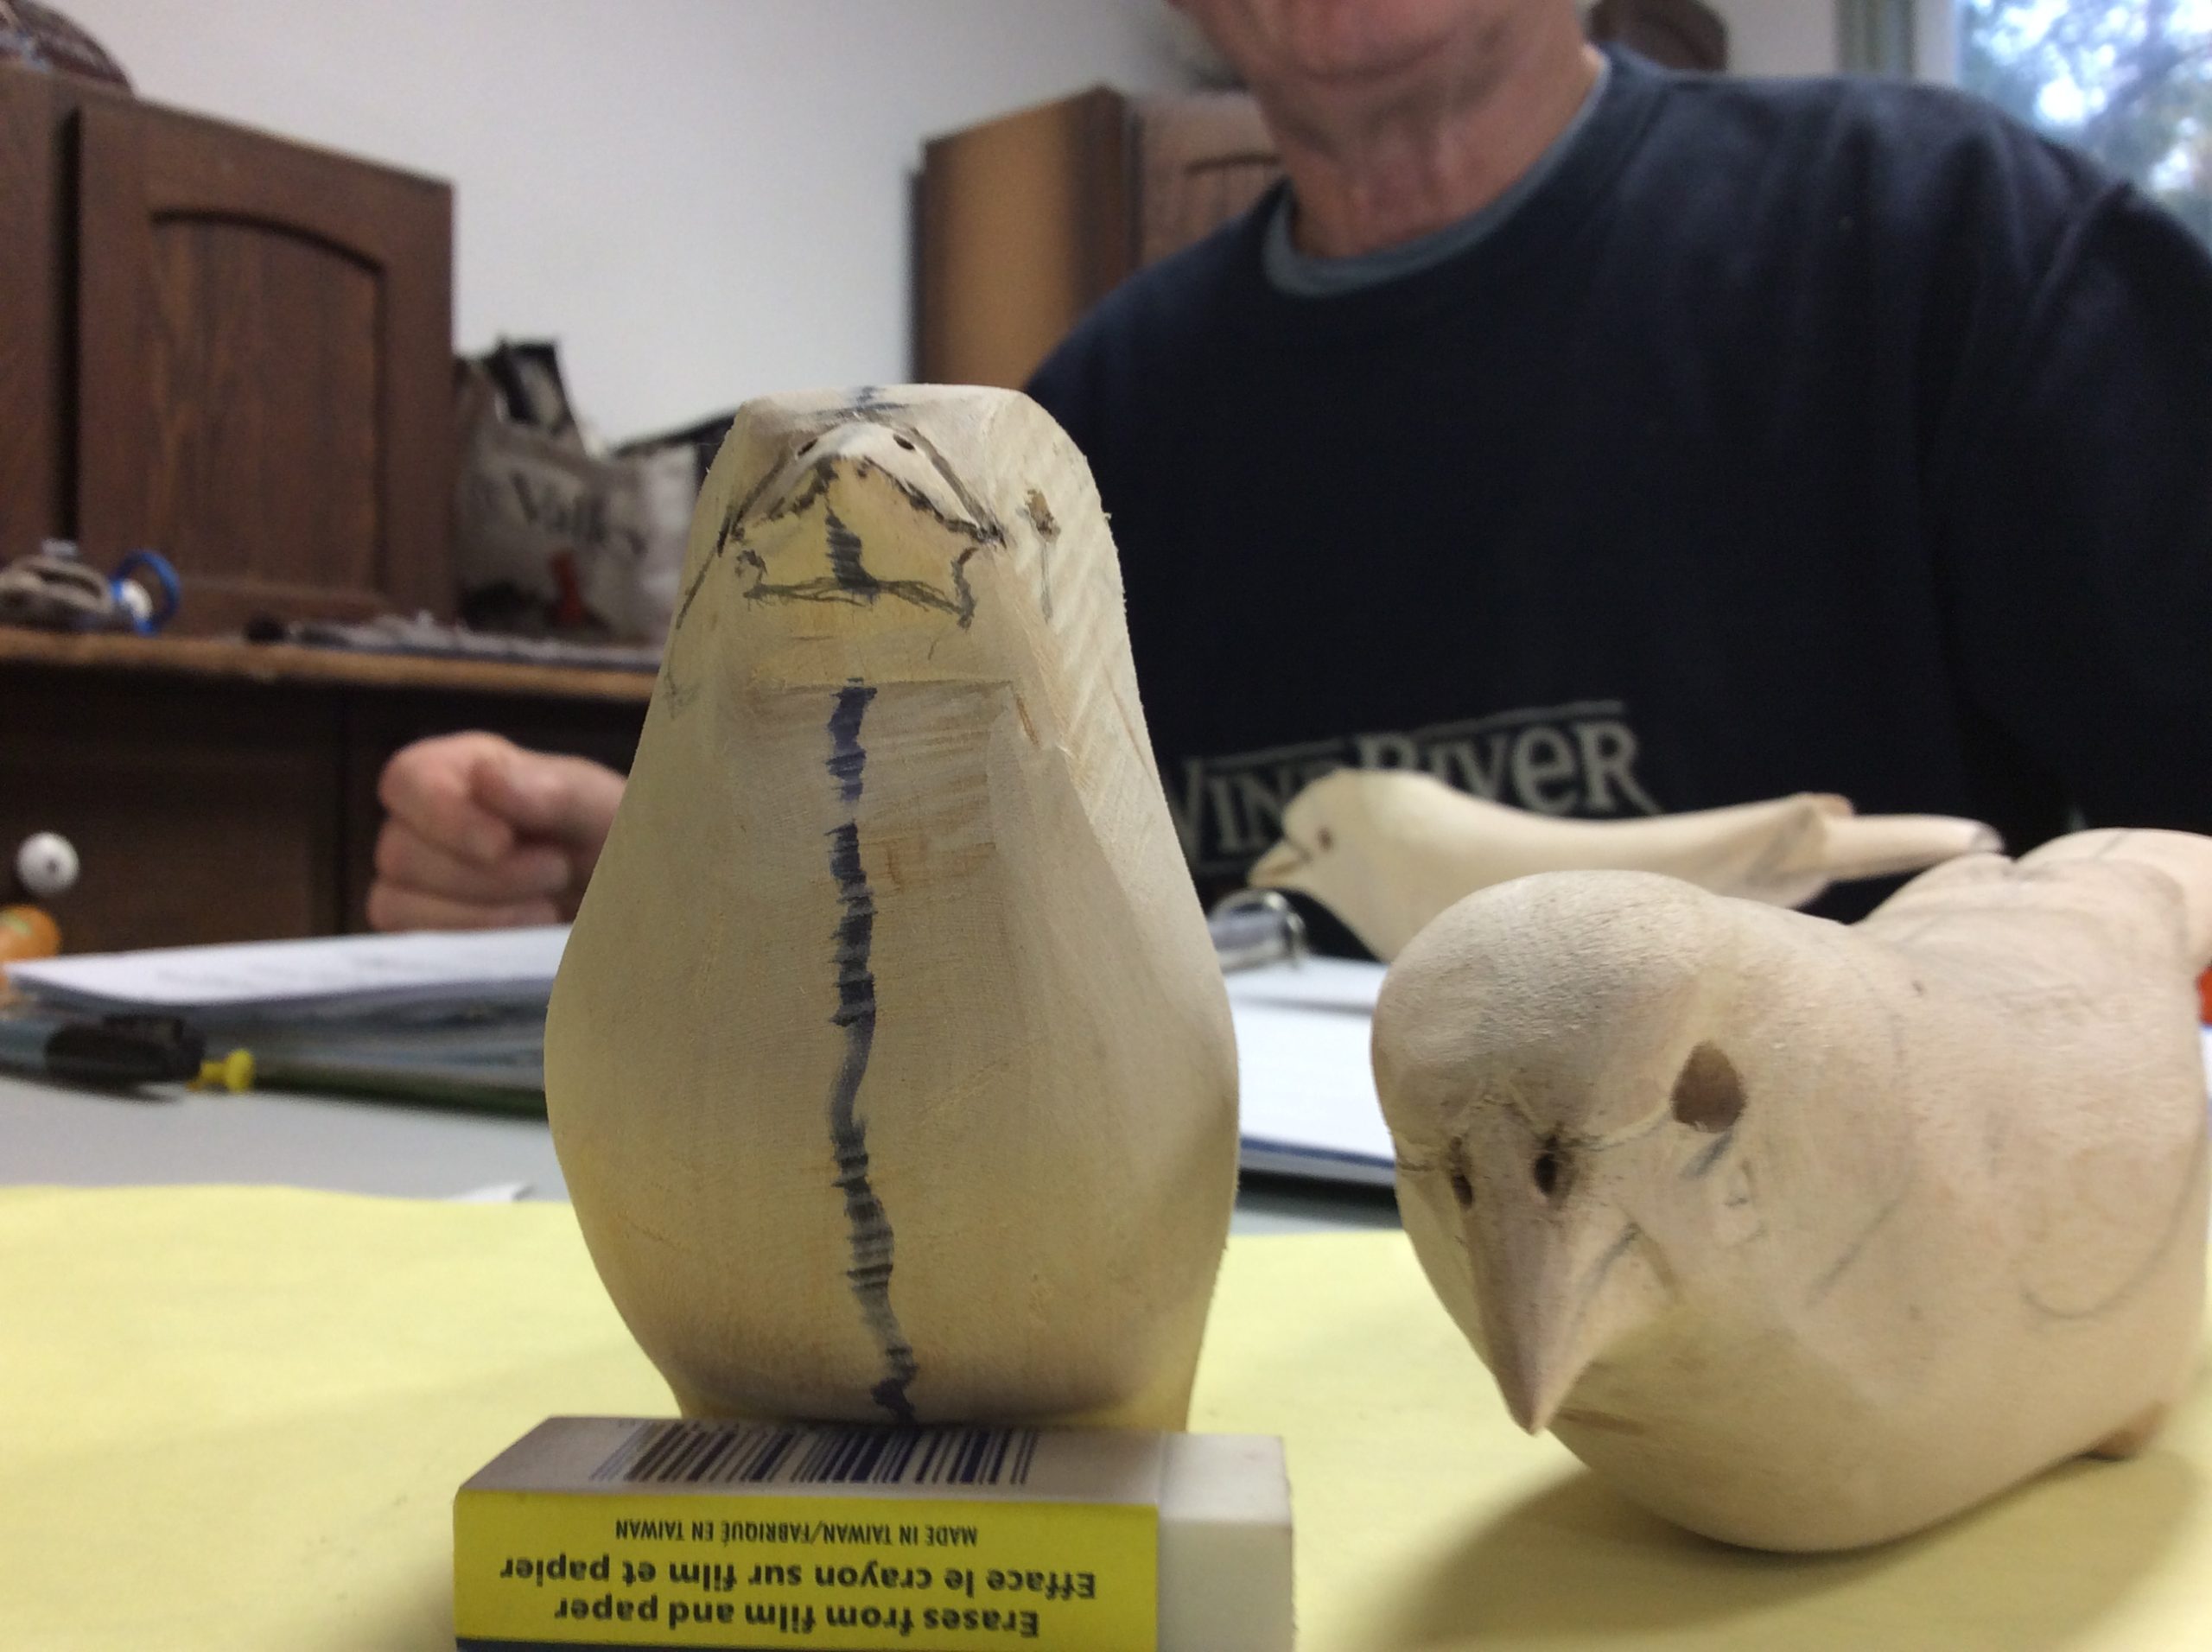
Mark on the eye position if you have not completed this step. Measure down from the cross line you drew and from the end of the beak. Put in pins to check that the location is symmetrical, and then drill small holes so you will not loose the location when you carve and sand
Step 5:
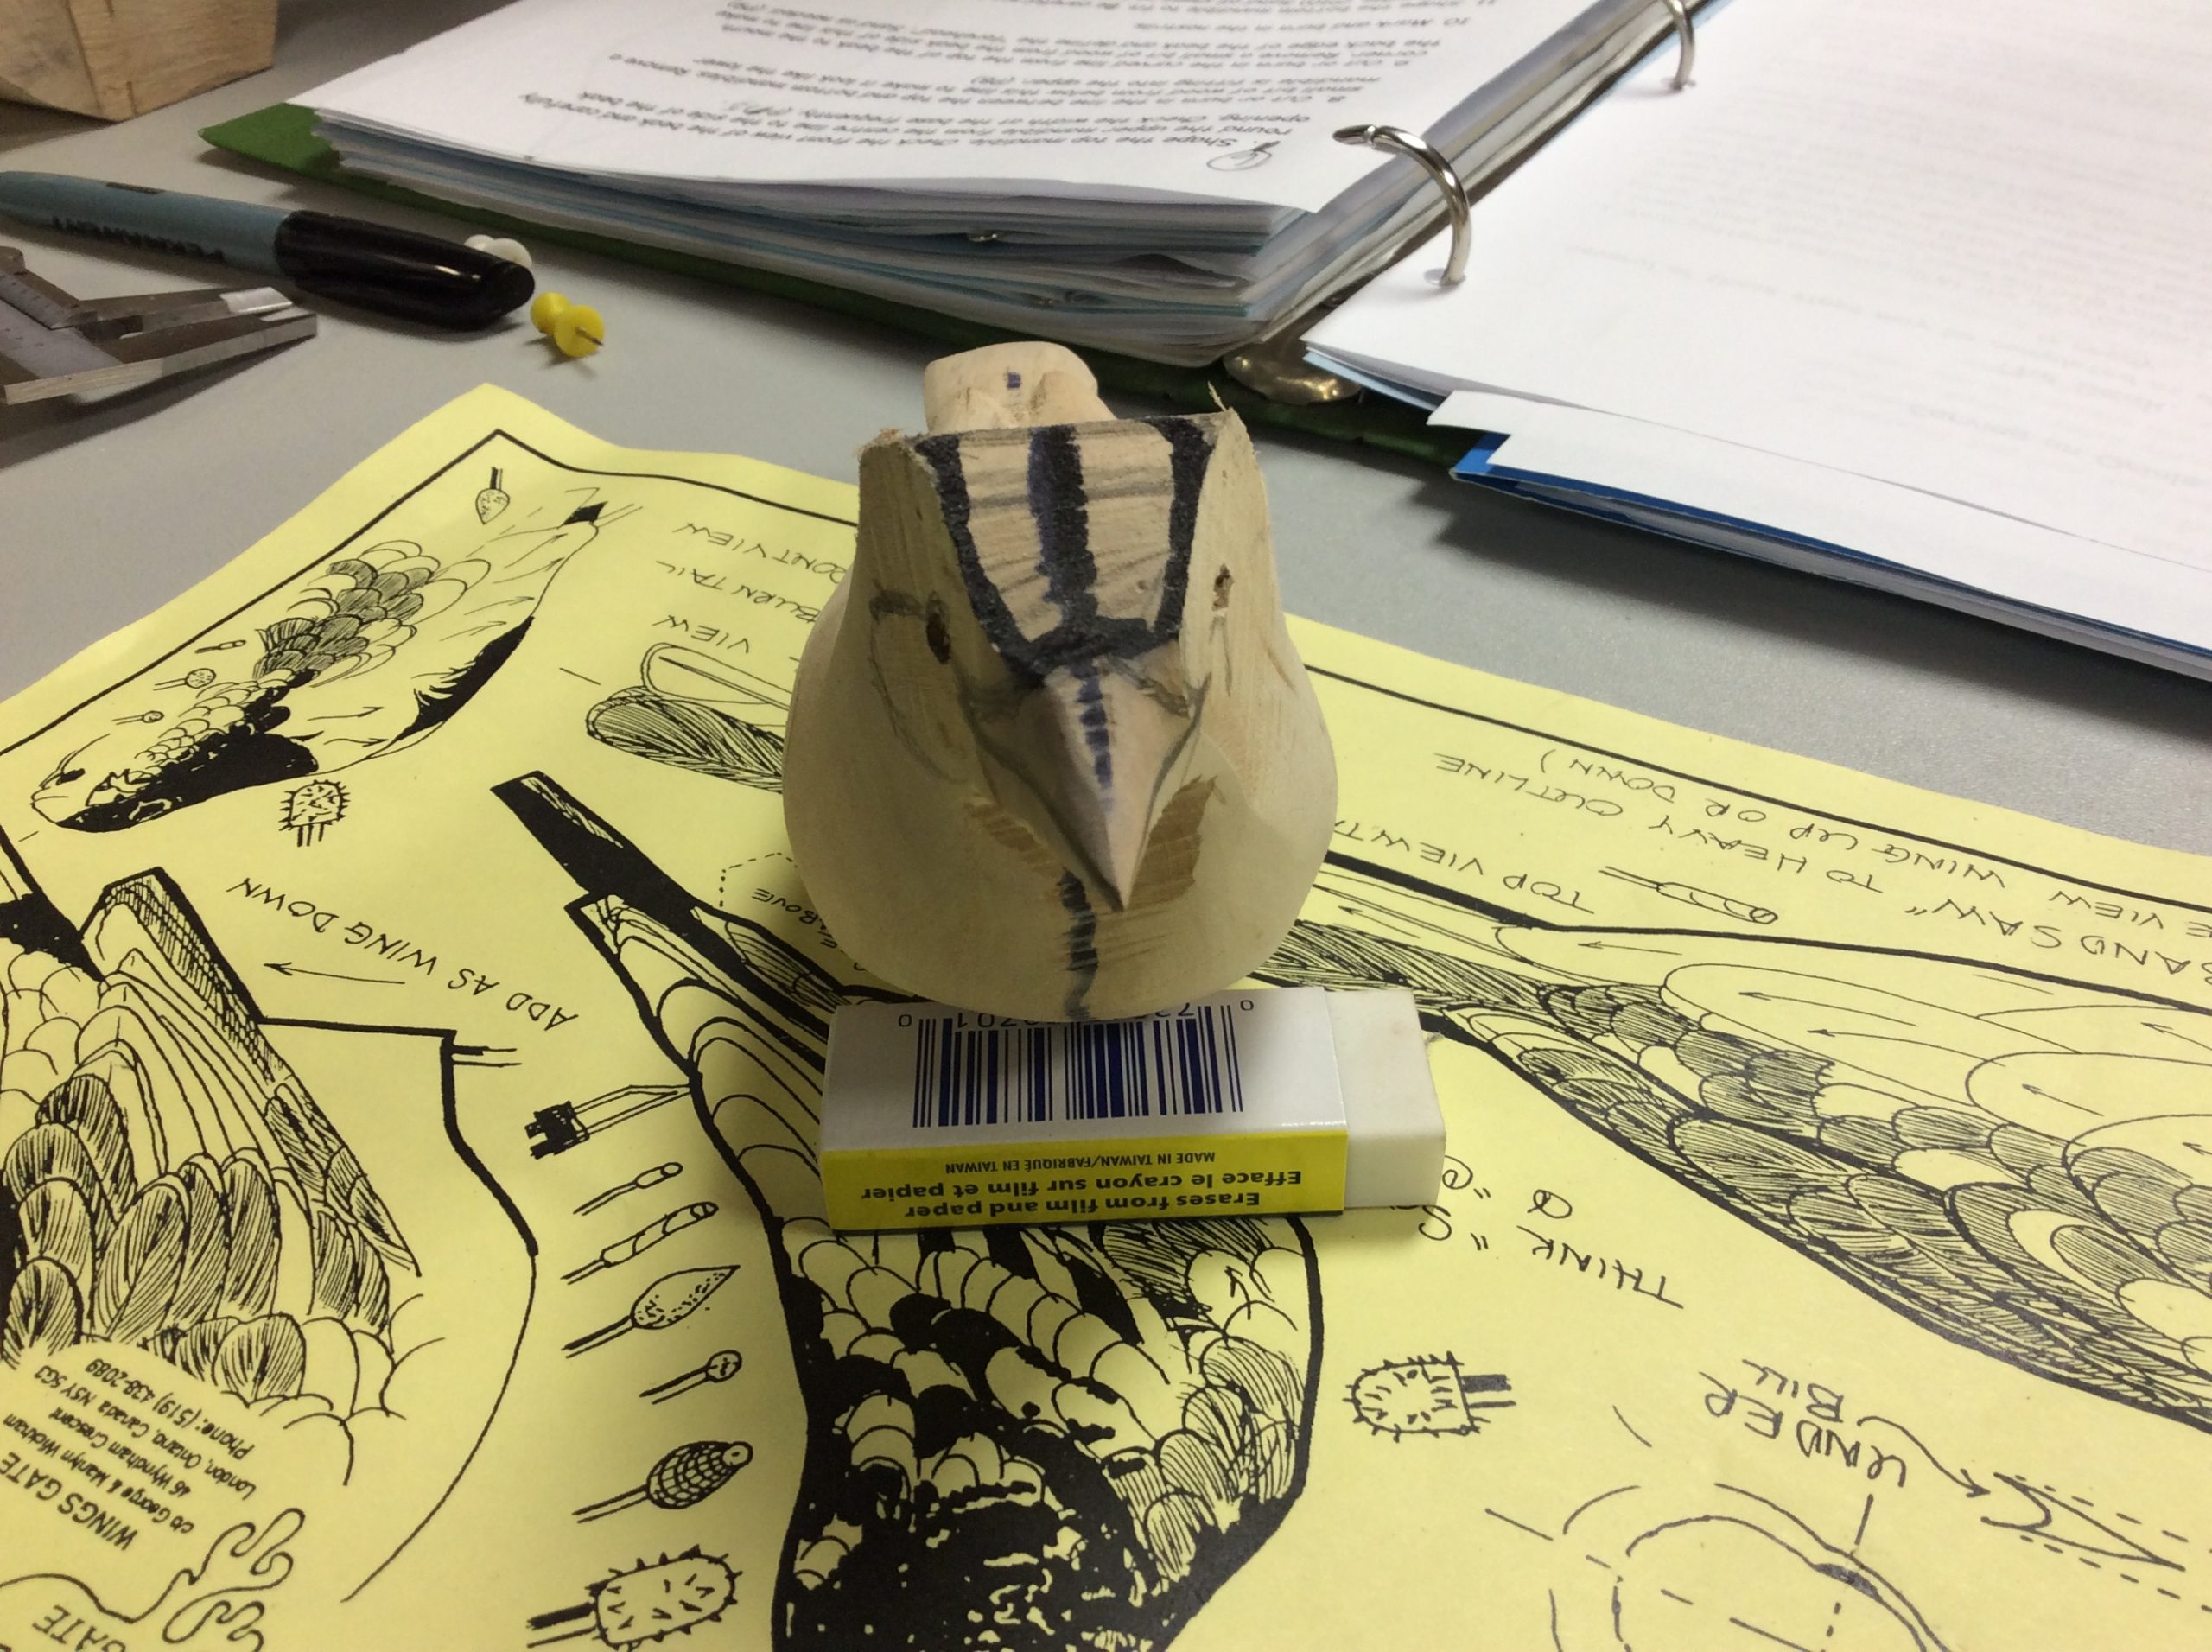
Measure and mark on both sides of the beak opening. Draw in the line of the upper mandible. (top part of the beak).The top end of this line should be just below the eye. Be sure to keep it symmetrical. Check the overall width.
Step 6:
Shape the top mandible. Check the front view of the beak and carefully round the upper mandible from the top centre line to the side of the beak opening. Check the width at the base frequently.

Step 7:
Measure and mark on the top of the beak to create the forehead. This line goes down to the beak opening. This line often looks like a backwards number three. Re draw the centre line if needed.
Step 8
Cut or burn in the line between the top and bottom mandibles. Remove a small bit of wood from below this line to make it look like the lower mandible is fitting into the upper.
Step 9
Cut or burn in the curved line from the top of the beak to the mouth corner. Remove a small bit of wood from the beak side of this line to make the back edge of the beak and define the “forehead”. Sand as needed.
Step 10
Mark and burn in the nostrils.
Step 11
Shape the bottom mandible to fit. Be careful not to damage the upper mandible edge. Sand all steps as needed.