Use the following links below if you have not completed the previous steps:
- The Body (View Instructions)
- The Tail (View Instructions)
- The Beak (View Instructions)
- The Head (View Instructions)
- Feathering (View Instructions)
- Texturing the Tail (View Instructions)
We still have the cape, side pockets, breast, head and neck, back, tail coverlets, feet, and painting to do to complete our bird. Yea! The end is in sight, but what’s the rush we have to stay home anyway.
You will need to decide how you are going to finish the remaining parts of your bird. You have several options:
a) texture it with feathers drawn in and burned or stoned.
b) You may cover the entire area or any part with burned or stoned lines to represent feathers following the flow lines that are drawn on your pattern.
c) The last choice is to sand it to be like glass and leave it as a smoothie.
d) You may even decide to do combinations of all three.
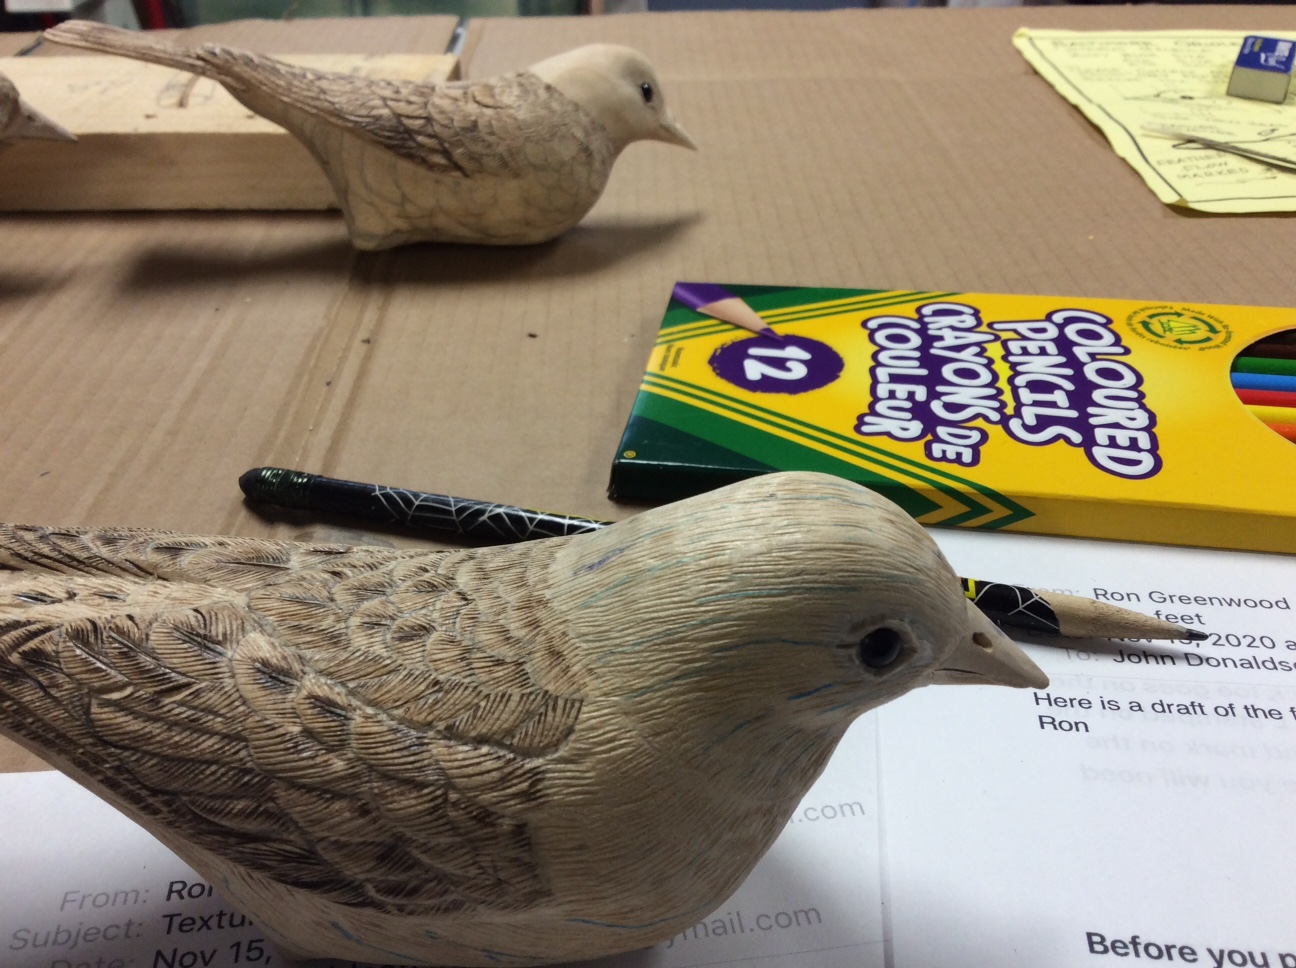
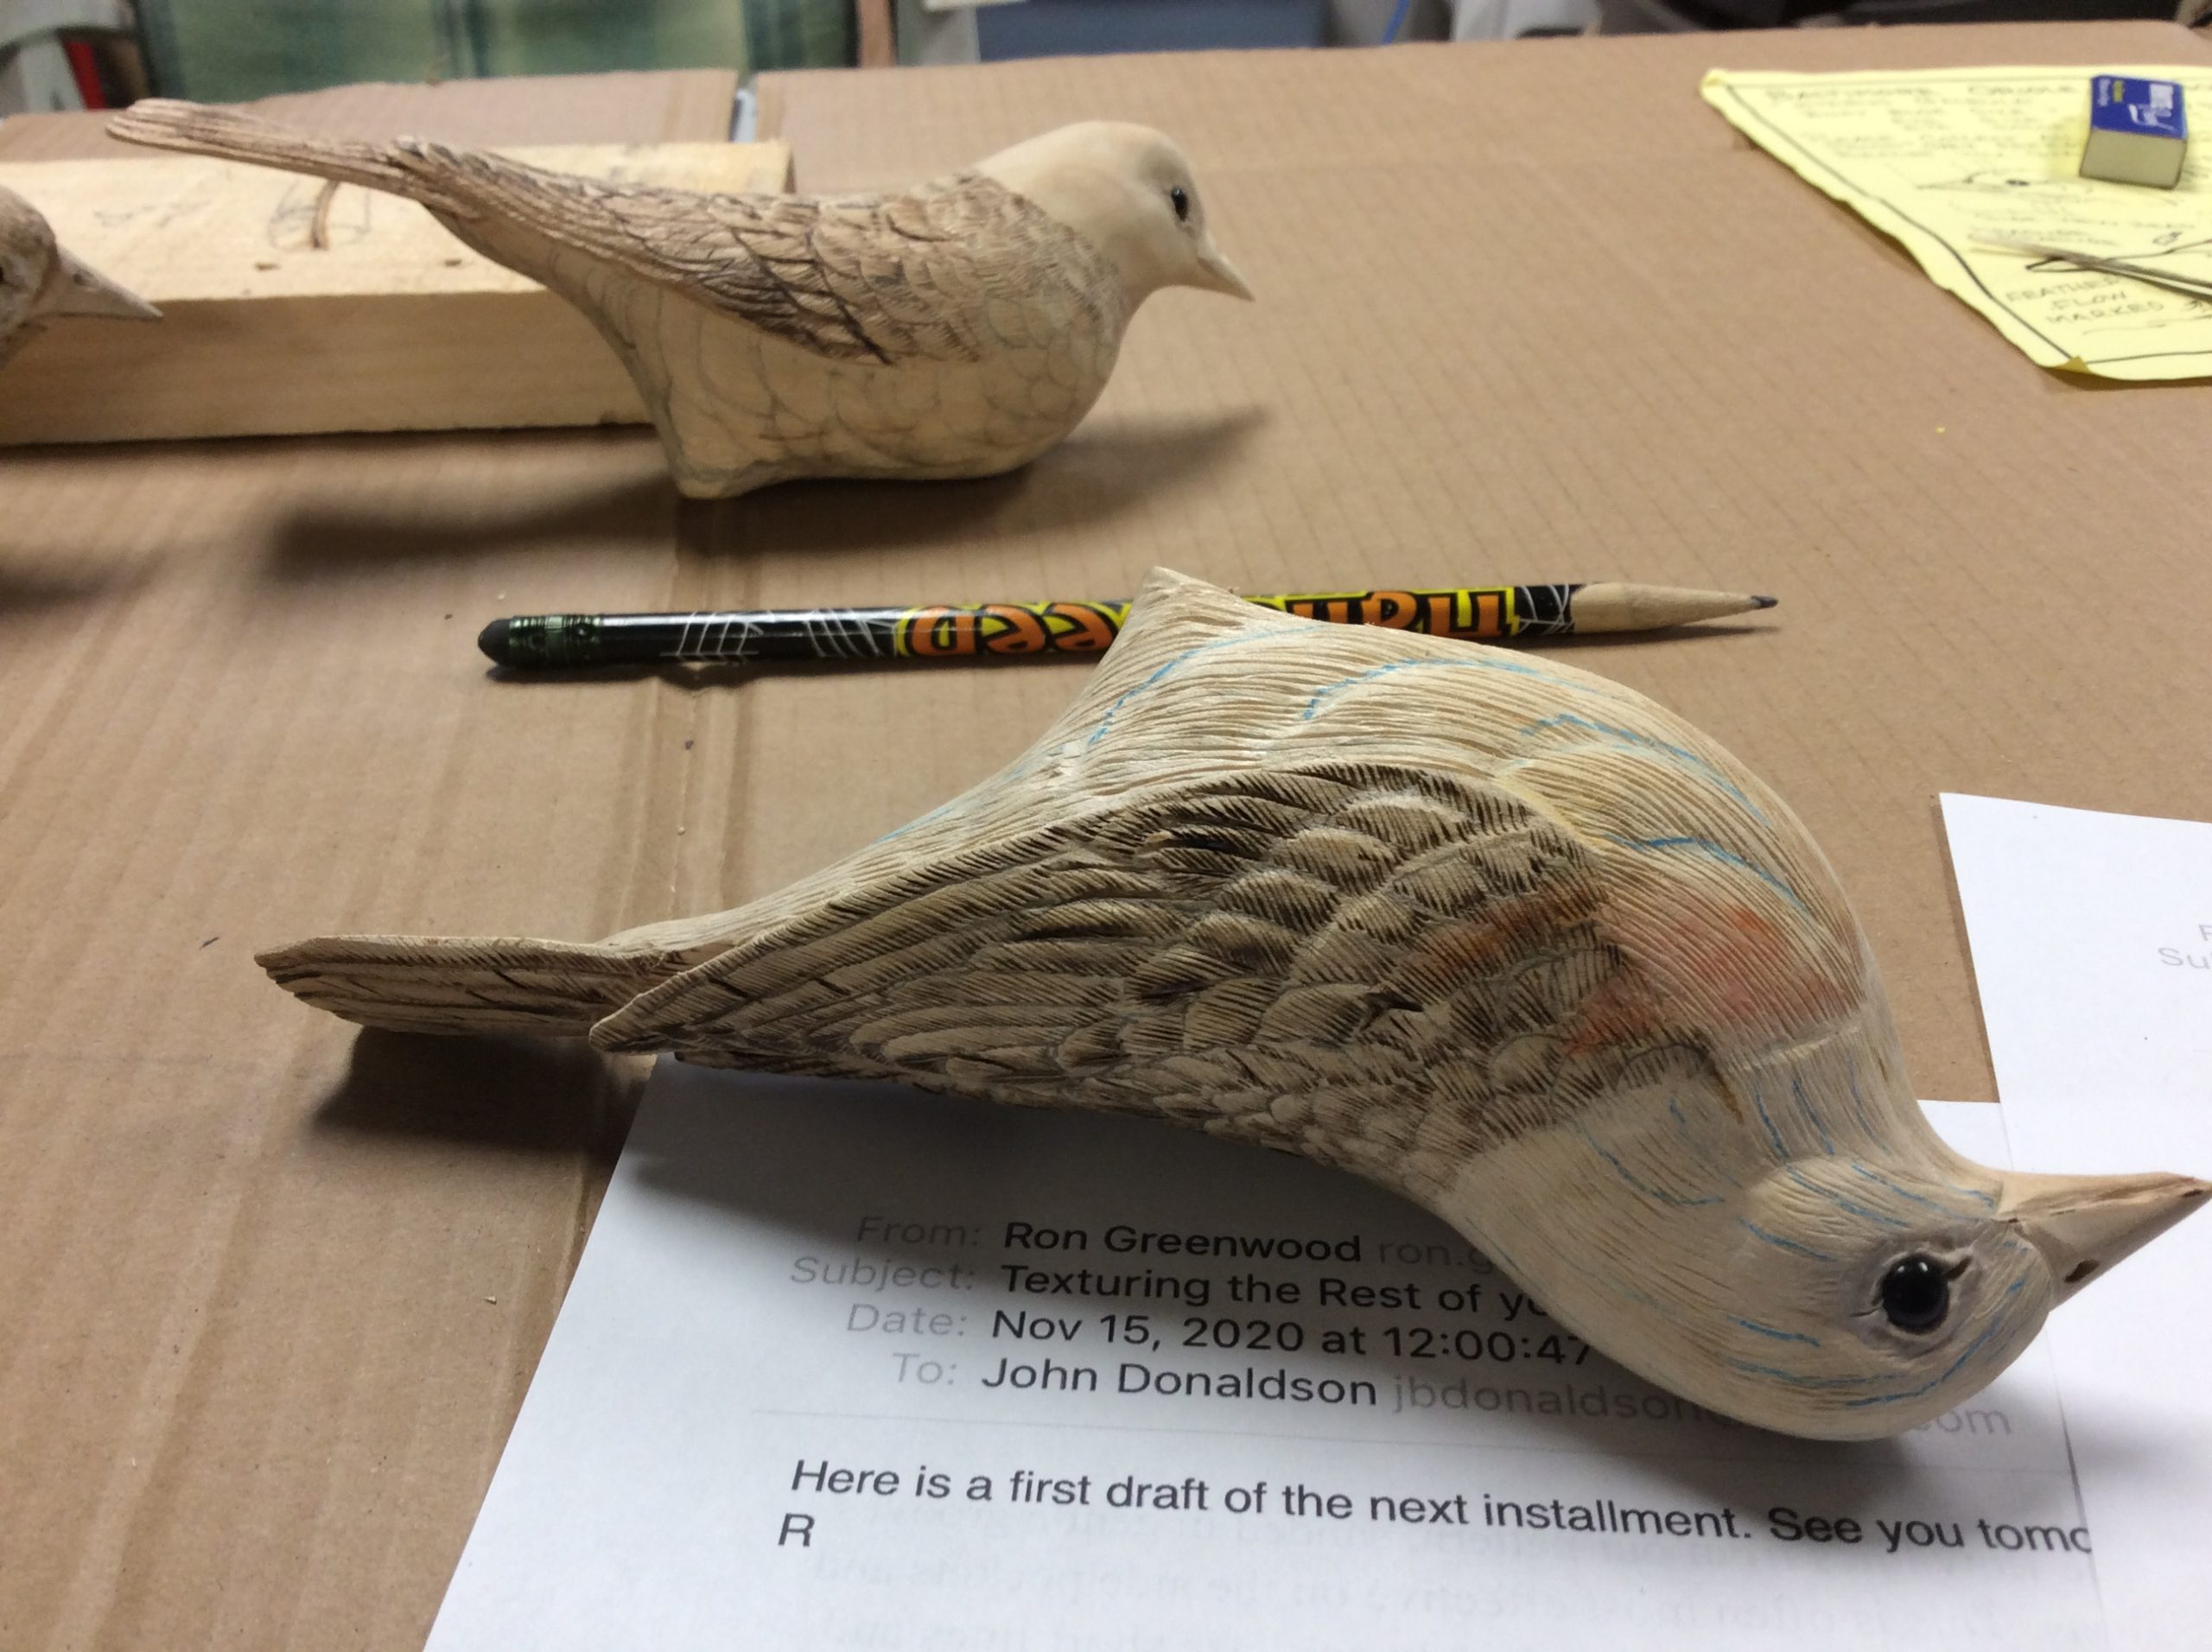
We will show pictures of the first two. At this point the rest of your bird is a smoothie already. You can pick and choose. You may decide to texture the cape, back and tail coverlets, put small lines on the head and neck and leave the chest etc. smooth. It is up to you.
Step 1:
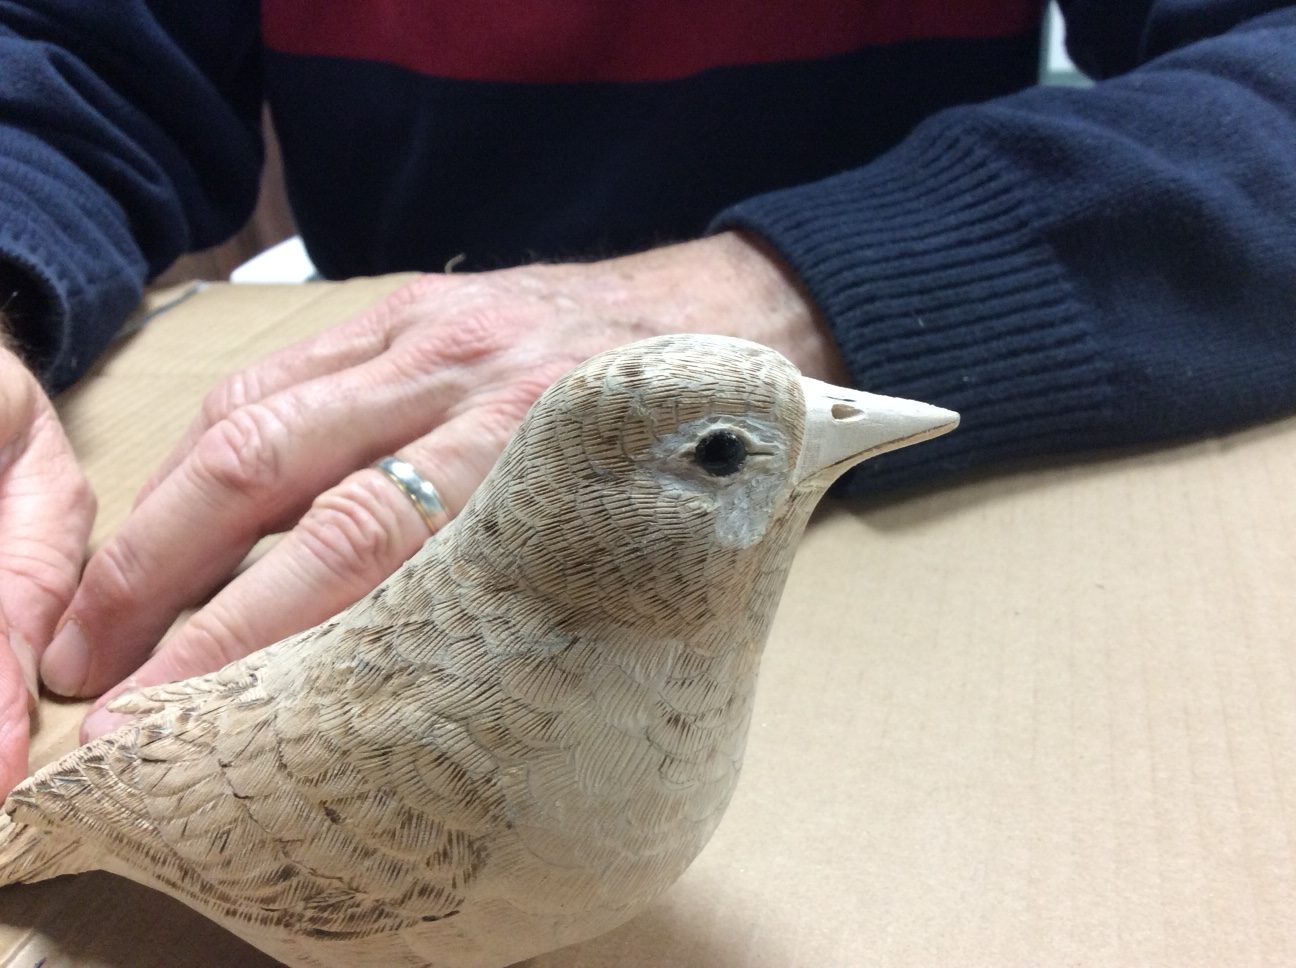
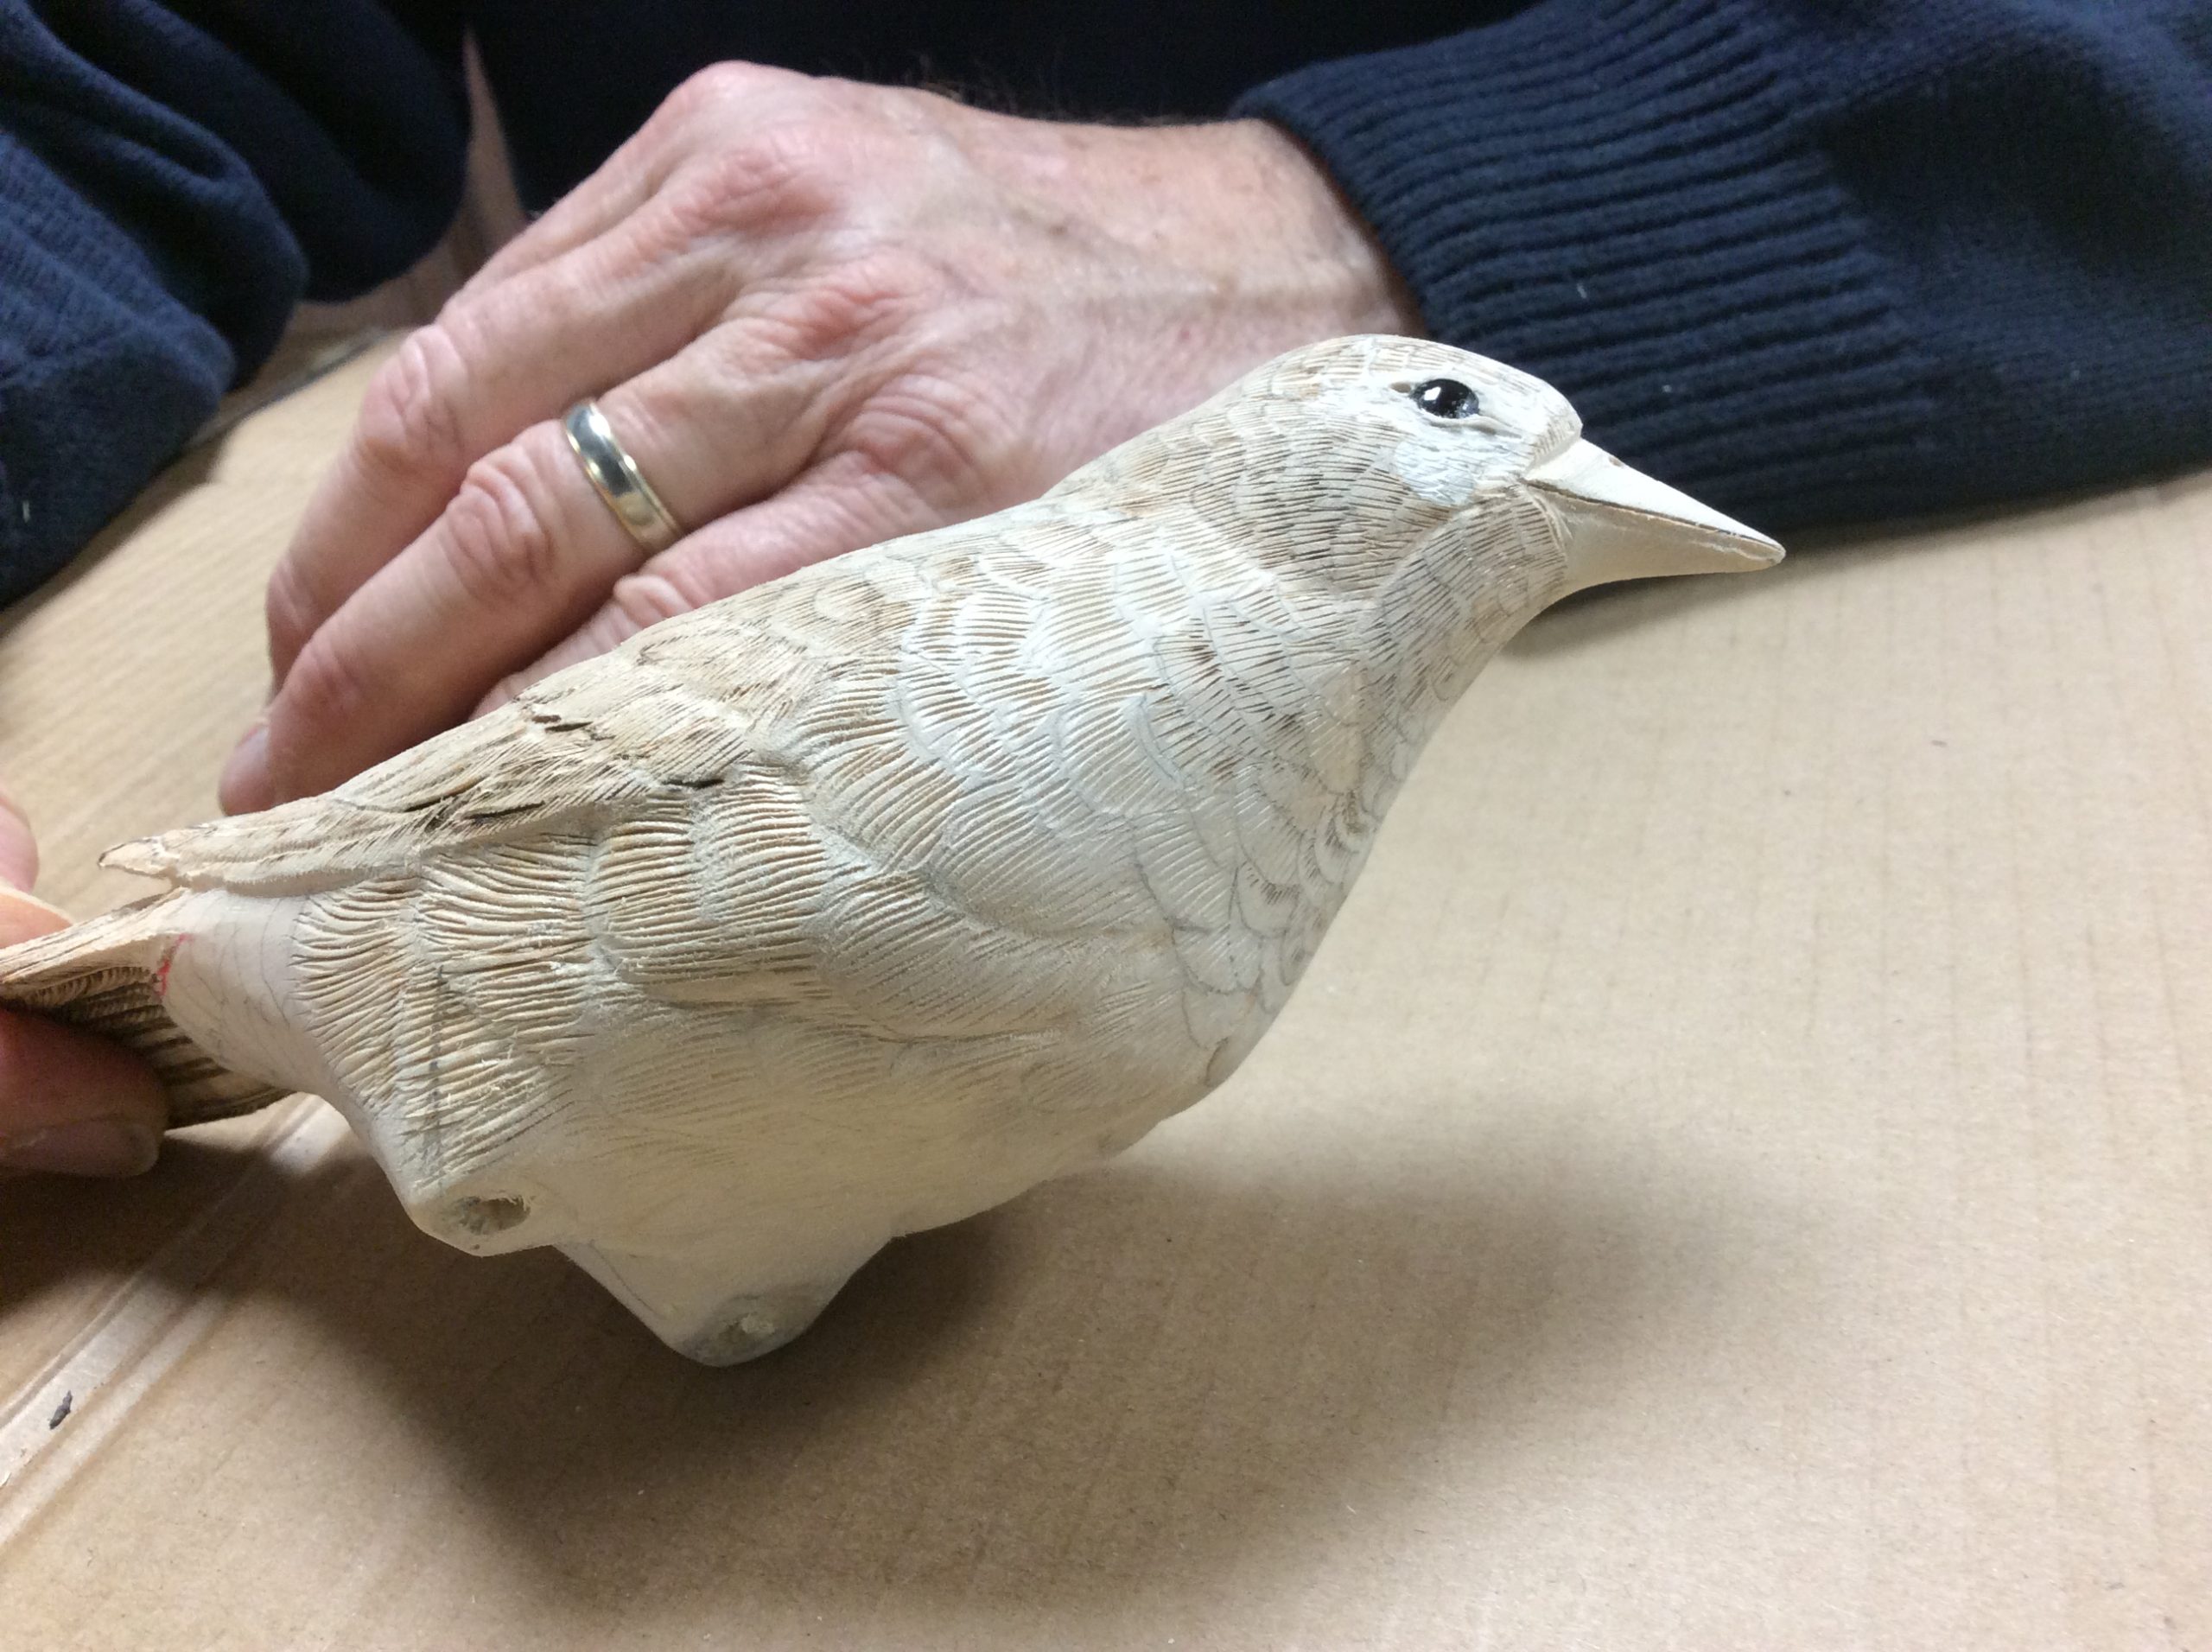
First I drew on all of the remaining feathers. I sanded some of the flow lines on the chest and side pockets to create a shallow groove to make the feathers look fluffy. Then I burned and stoned (grinding the texture in with a rotary tool and bit) the areas. Some of these feathers have a quill showing; most do not. Keep your burn lines close and remember to curve them a little to avoid creating a lot of tiny Christmas trees. Burning the feathers will create a smoother appearance, and stoning it, usually gives us a fluffier look.
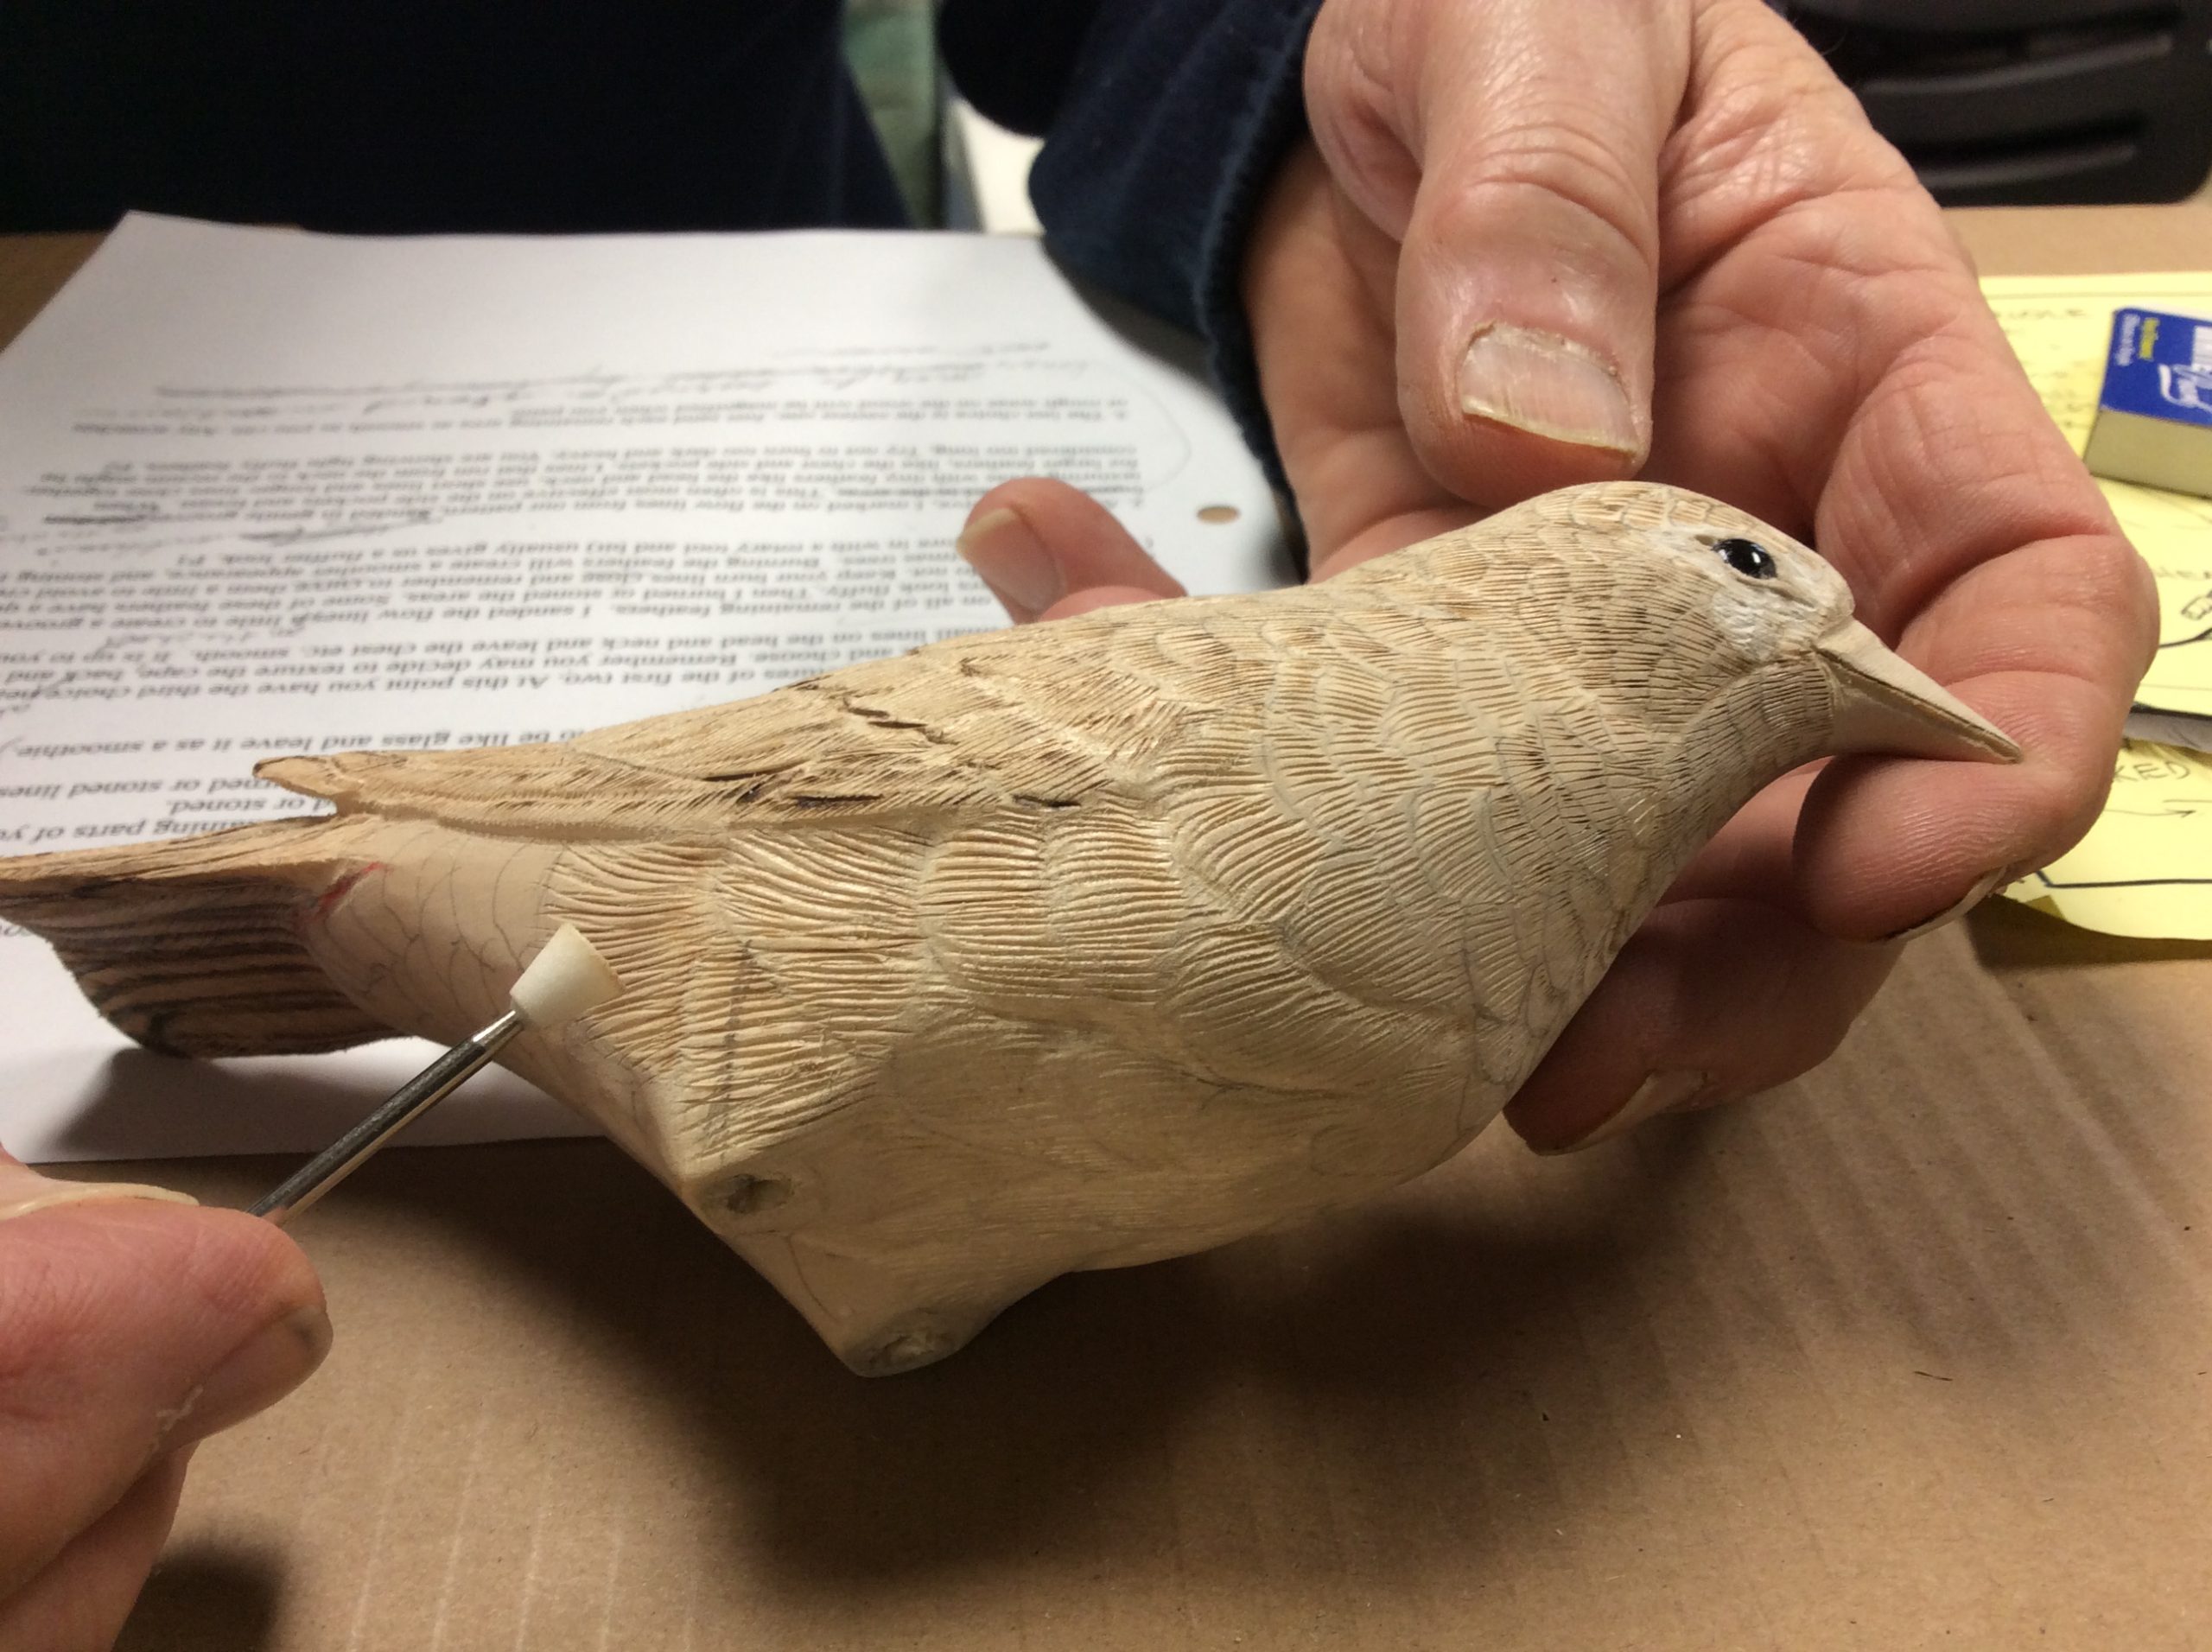
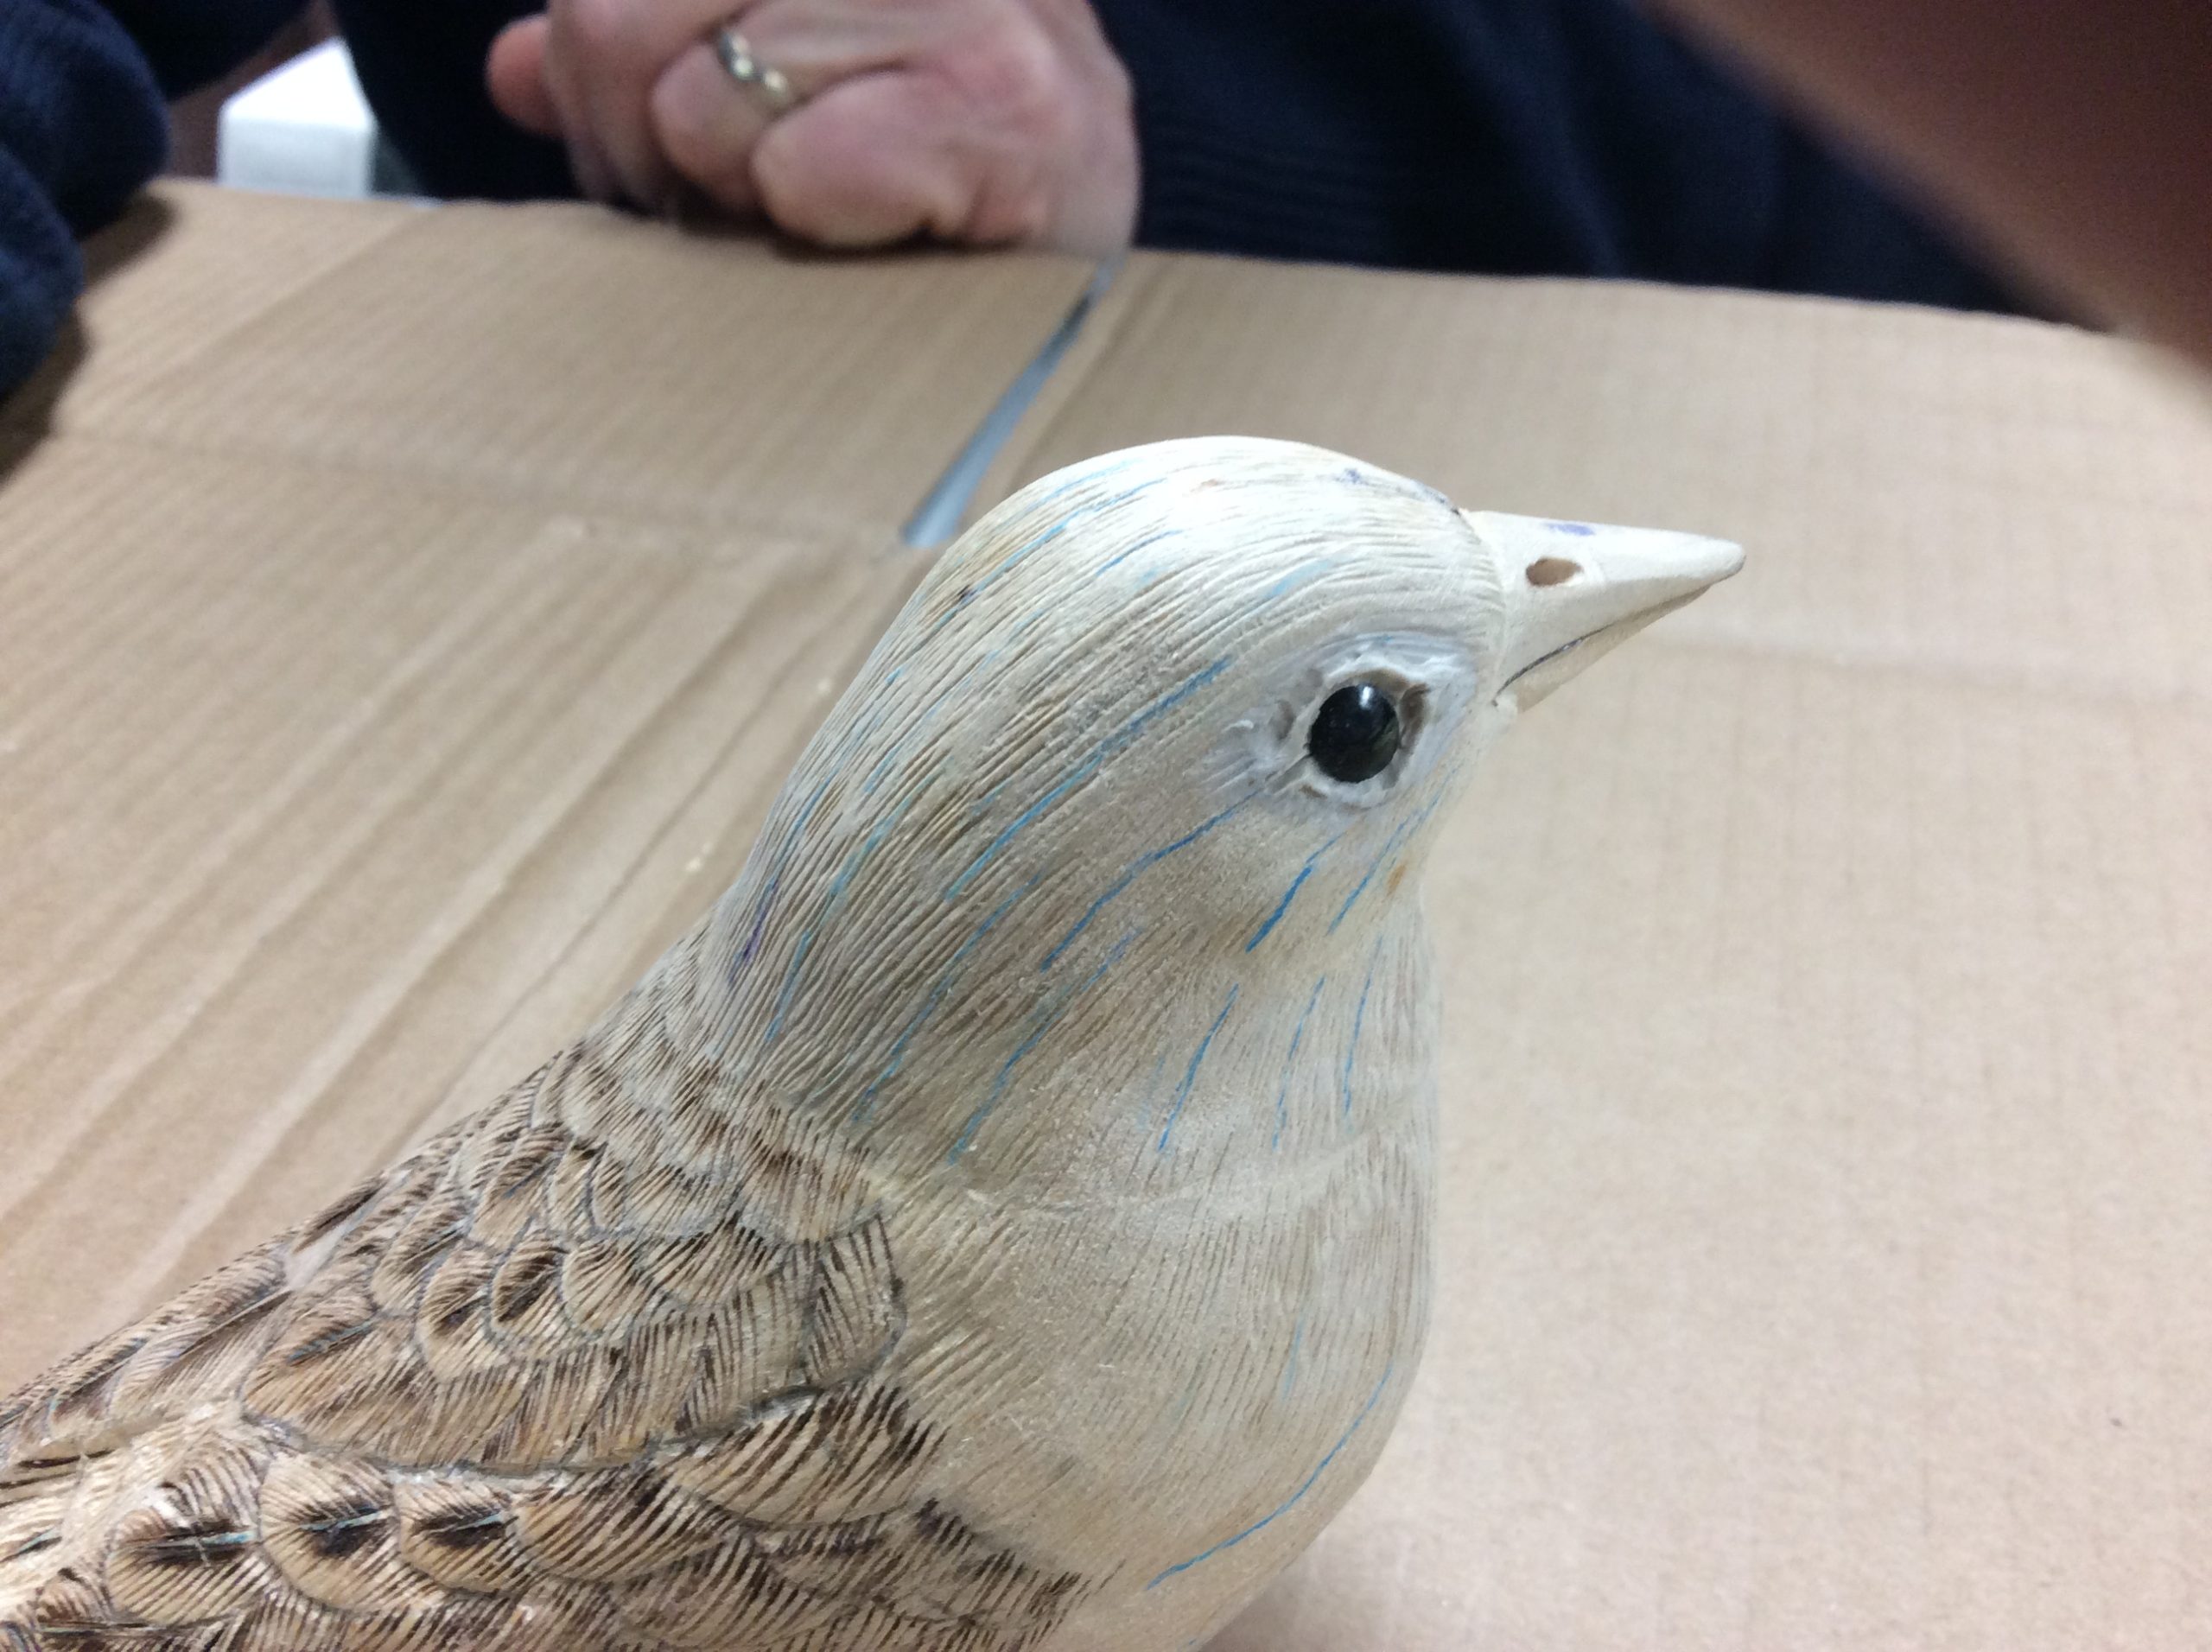
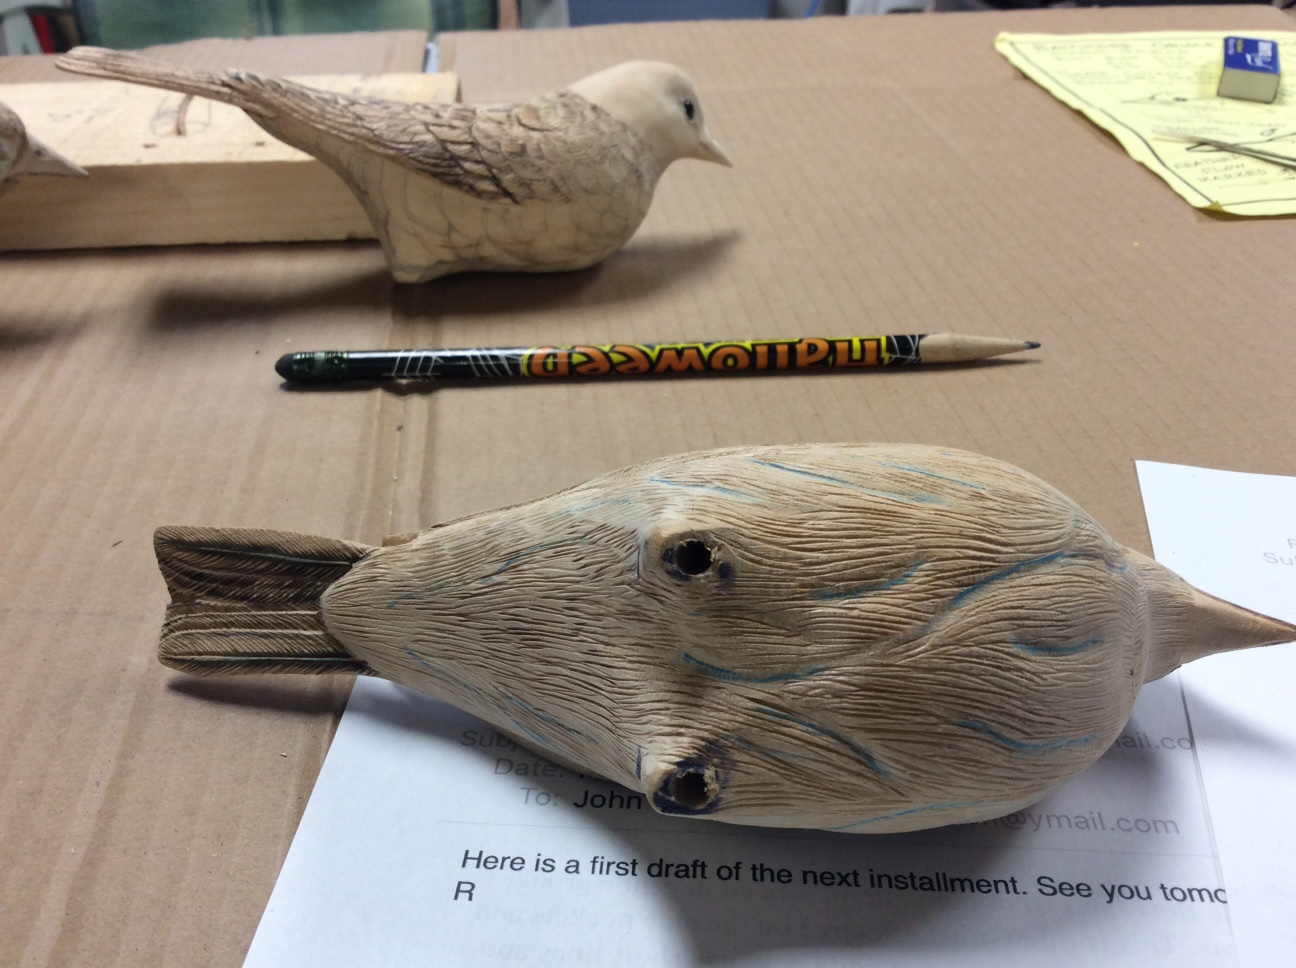
Step 2:
As an alternative, I marked on the flow lines from our pattern in blue. I sanded in gentle grooves on the chest and side pockets to define the larger feather groups. Then you can burn or stone lines in each area which will look like feathers after it is painted. This is often most effective on the areas with fluffier feathers like side pockets and the breast. When texturing areas with tiny feathers like the head and neck, use short lines. Use longer lines close together for larger feathers, like the chest and side pockets. Lines that run from the neck to the rectum might be considered too long. Try not to burn too dark and heavy. You are showing light fluffy feathers.

Step 3:
Below are a few extra photos of different shots that you can use for reference.