
Use the following links below if you have not completed the previous steps:
- The Body (View Instructions)
- The Tail (View Instructions)
- The Beak (View Instructions)
- The Head (View Instructions)
- Feathering (View Instructions)
- Texturing the Tail (View Instructions)
- Texturing the Remainder of your Bird (View Instructions)
Before you put in the feet, it may help to choose the base you wish to use. You may need to angle the legs a little to get your bird to stand level and balanced. Sometimes this can be achieved by creating a larger hole for the leg to go in and then you can move the leg forward or back, or put it in a little deeper if your mount is uneven.
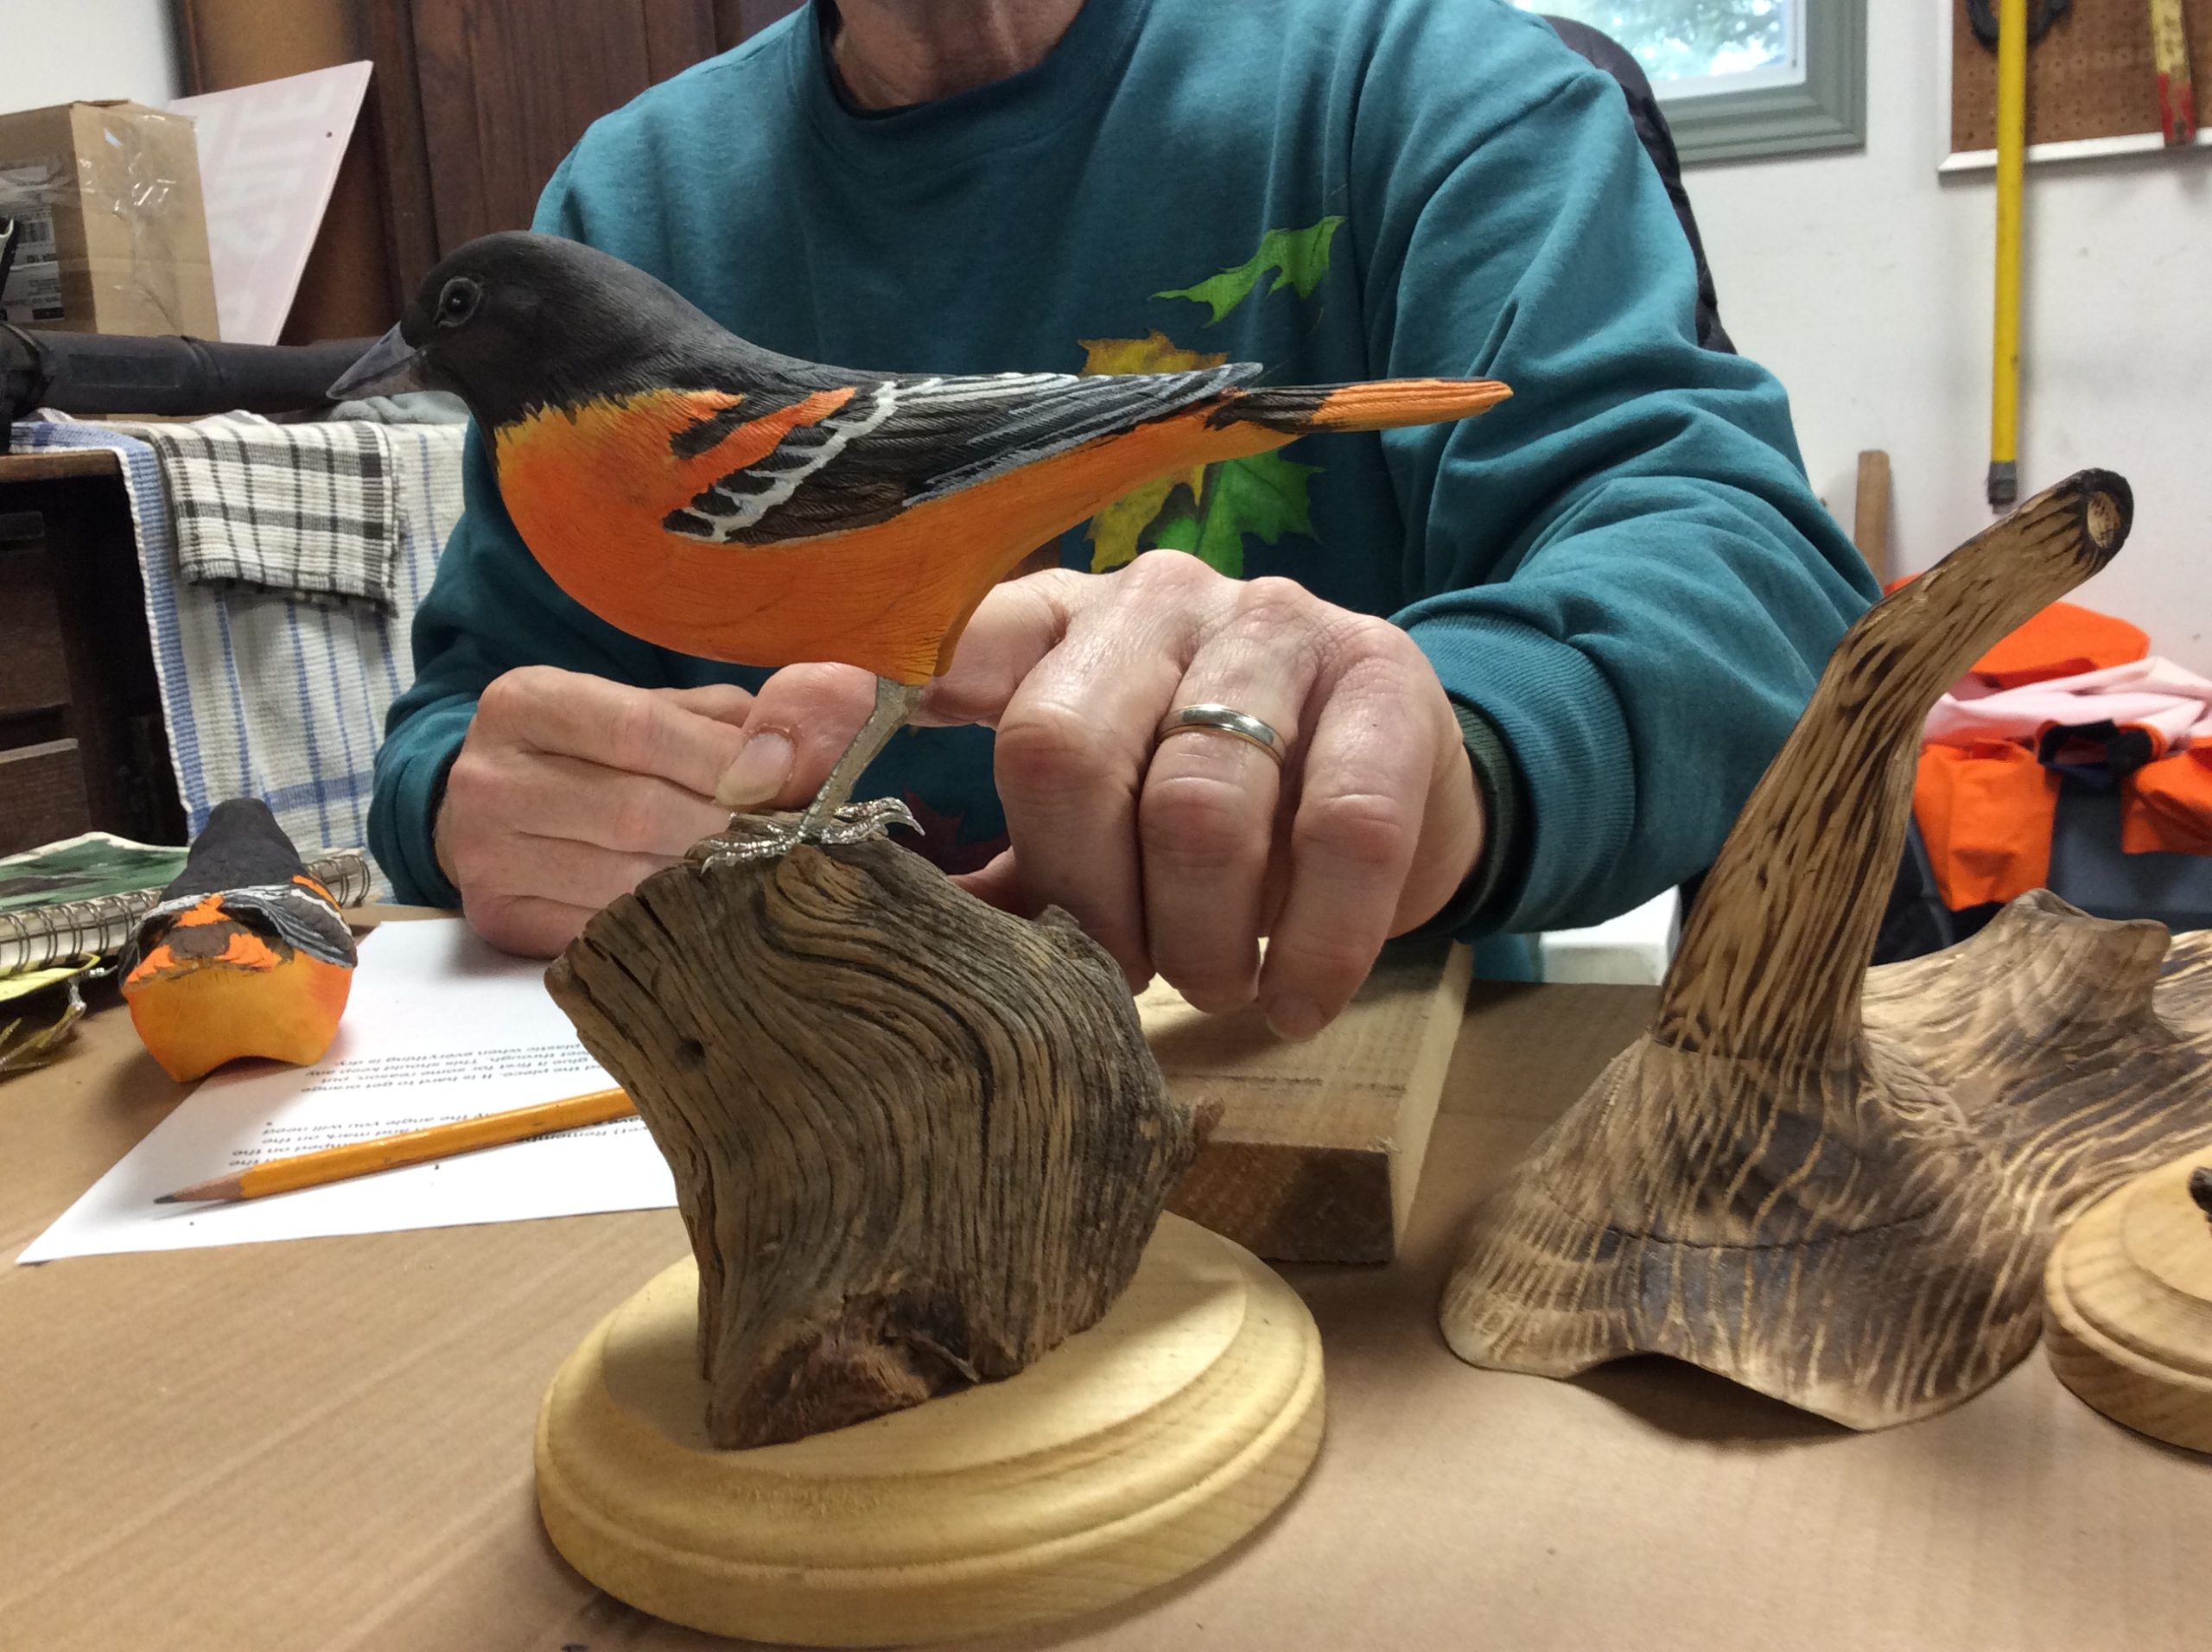
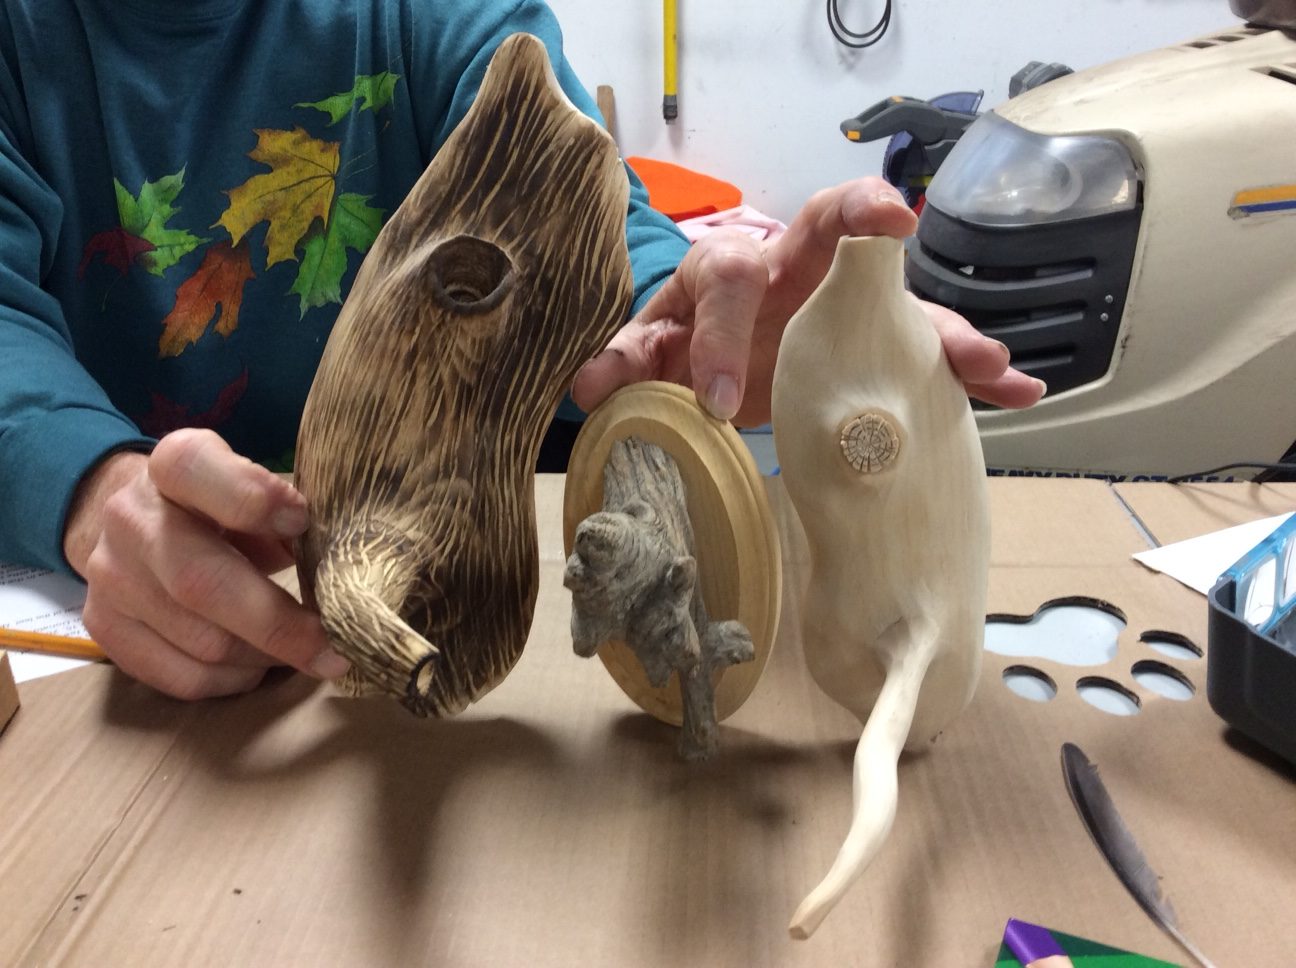
You may wish to use a table mount using a stump, drift wood, or something you created. Making a wall mount from natural materials mounted on a plaque will work well, or build an armature like the one we did with the wire and leaves. Look online for some ideas, and try it. Remember the bird is the part you want people to see, so don’t overwhelm it with your mount. At the end of this segment you will find a couple of examples of natural mounts.
Step 1:
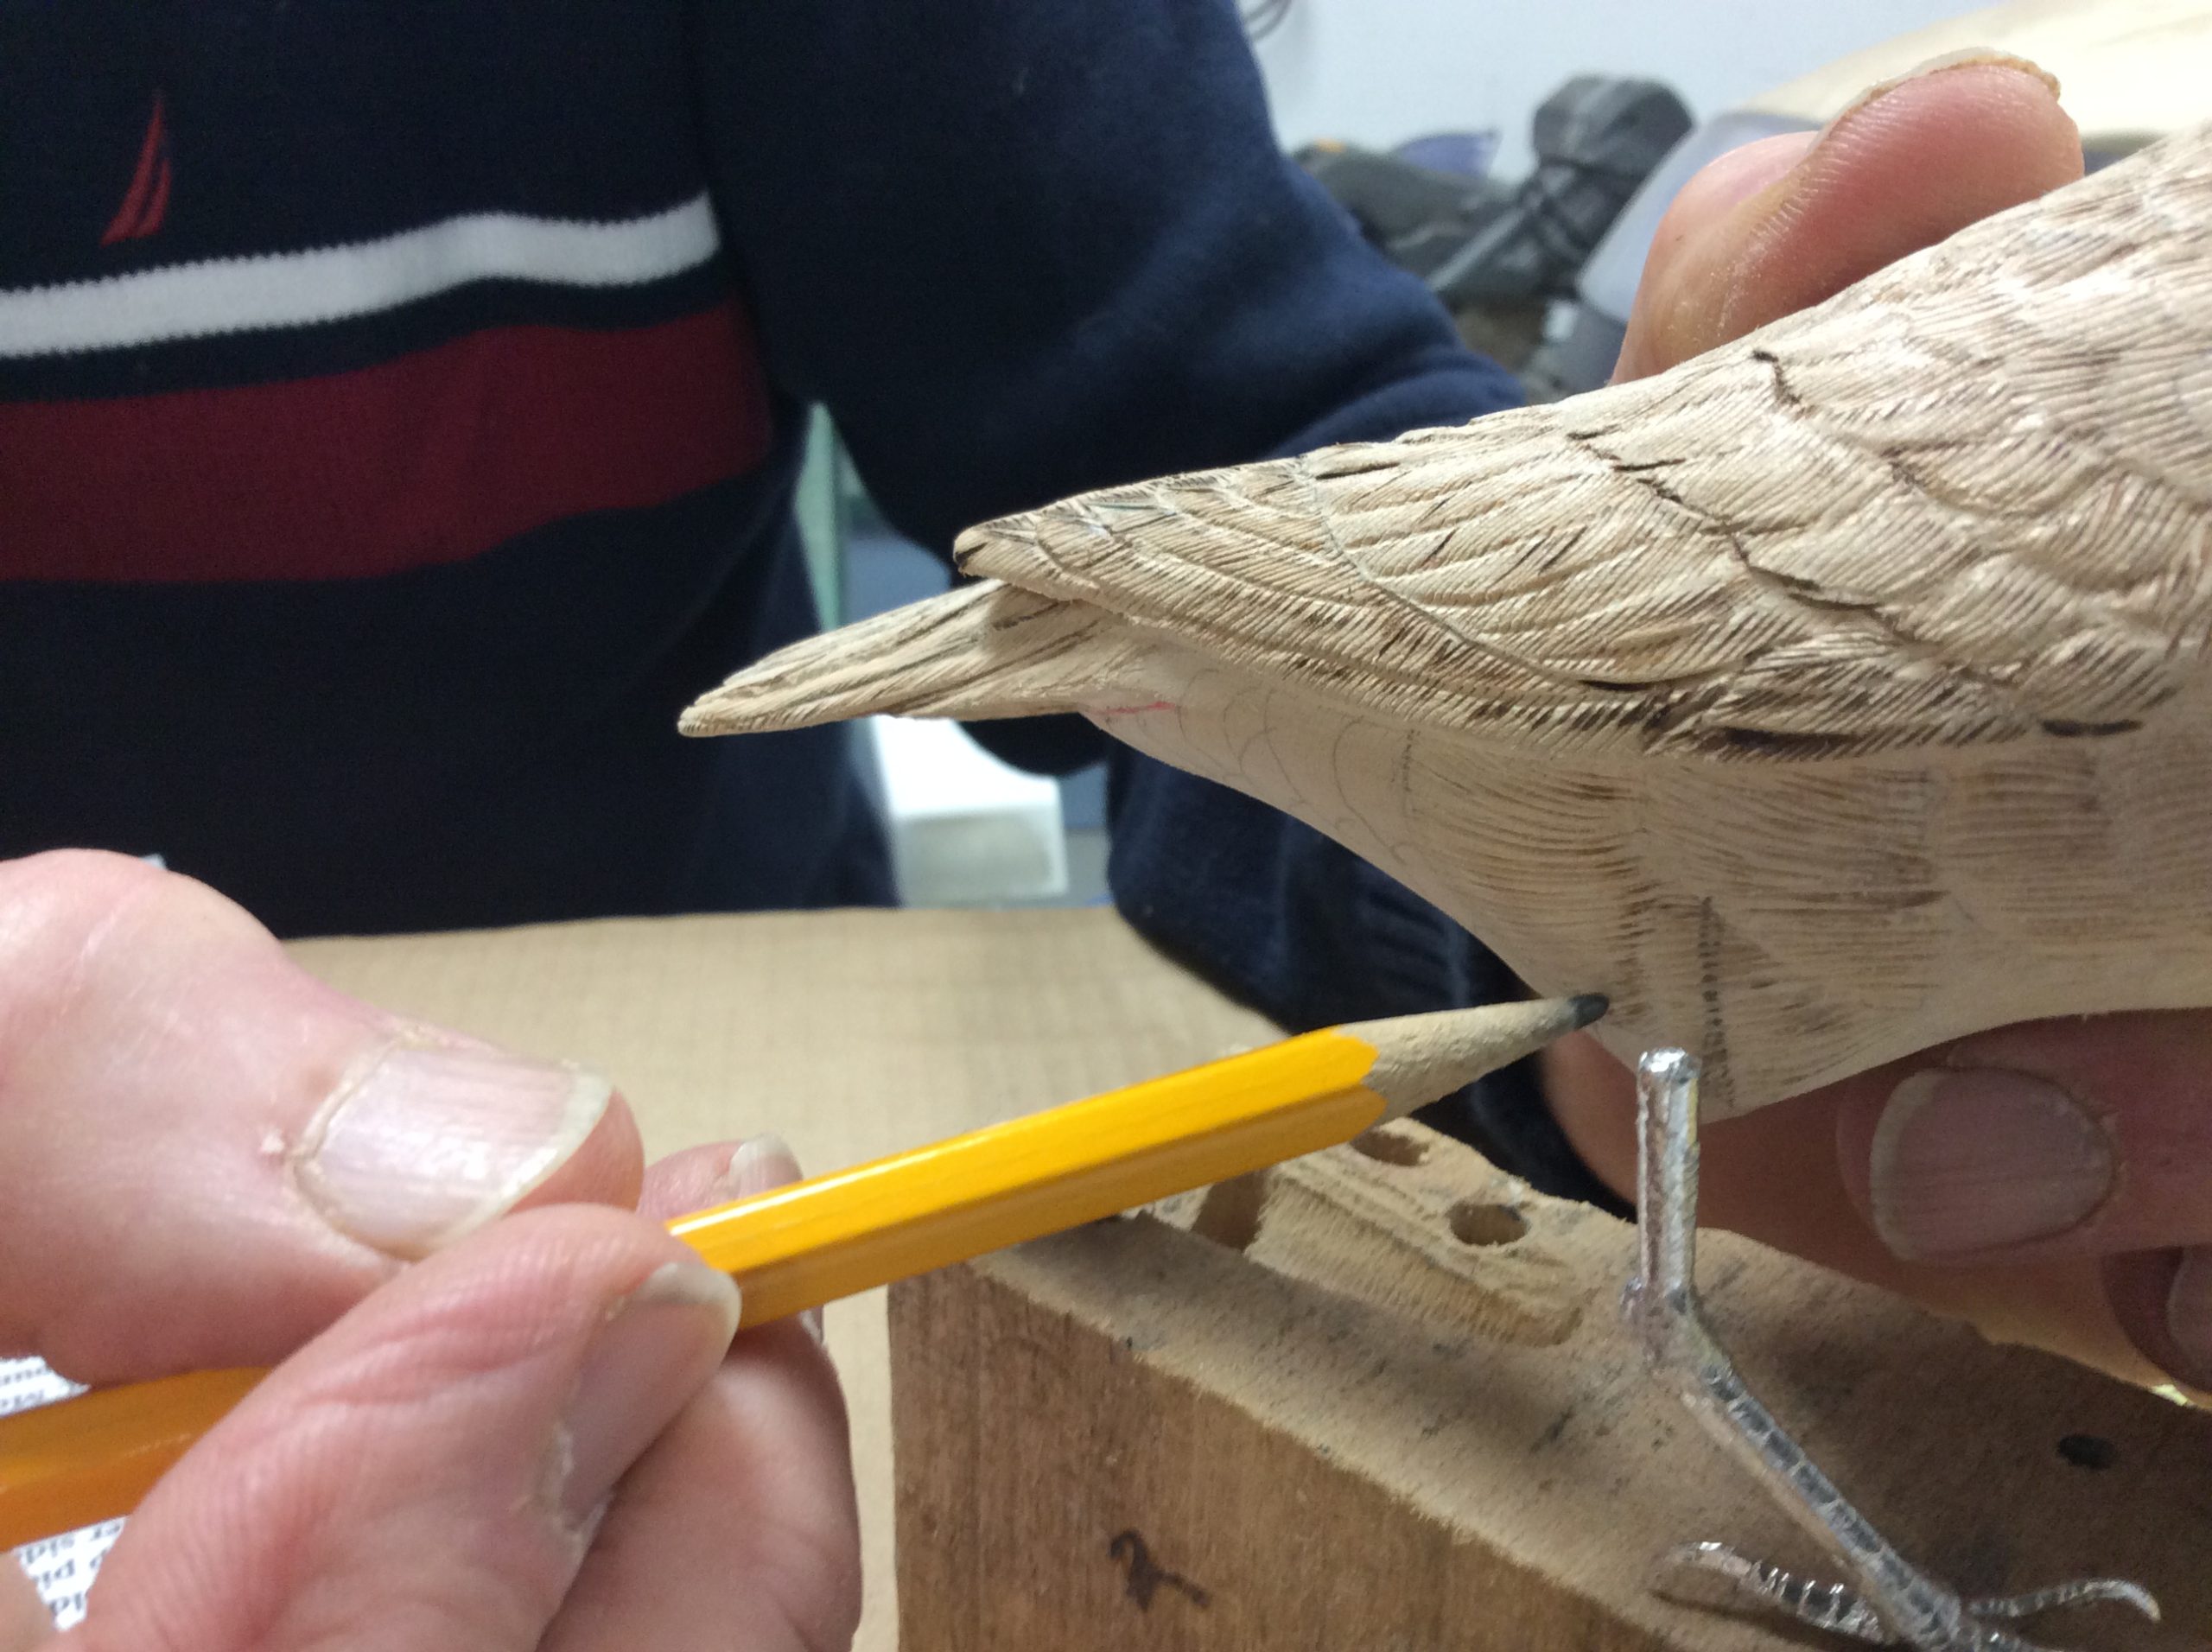
Drill a hole to hold a leg in a scrap piece of wood. Hold your bird the way you wish it to stand beside the leg. Draw a line on the side of the bird, to get the angle right so the bird stands level. Repeat on the other side.
Step 2:
Use an awl to mark the location of each leg on your bird, then drill a vertical hole with about a one eighth inch bit or a little larger that follows the angle you drew. Make it deep enough to accommodate the shank of the leg.
Step 3:
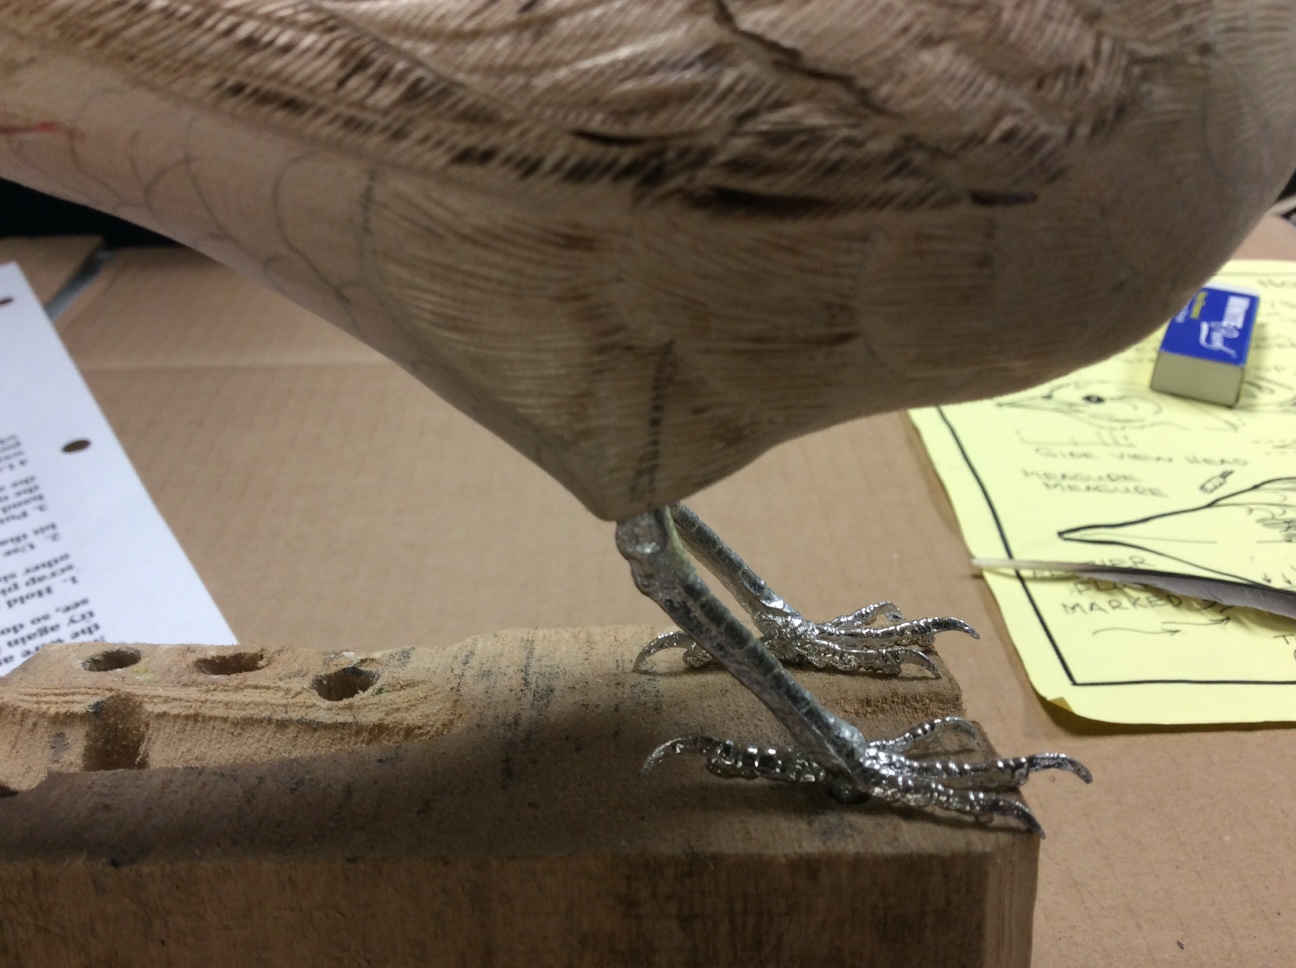
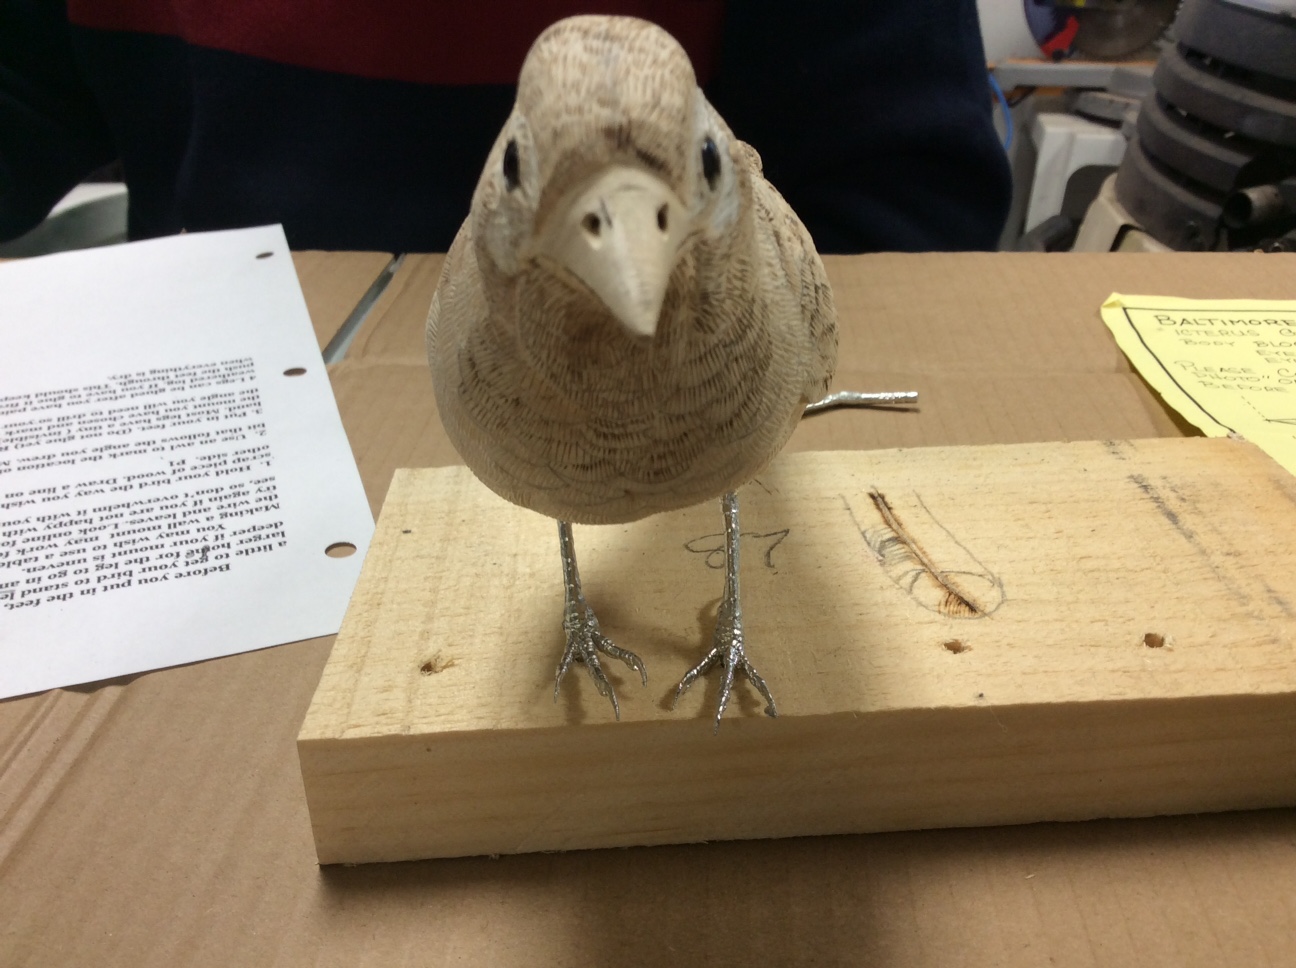
Put in your feet. (Do not glue yet) Remember that the back toe goes on the inside like your hand. Most legs have a tiny ( invisible) Right and Left stamped on the shank. Hold your creation over the mount you have chosen and mark on the location of the holes to hold the feet. Check carefully the angle you will need to drill so your piece stands level.
Step 4:
When you have the leg holes drilled in your mount and the bird you may find that you need to bend the toes a little to look like it is holding on. Pewter legs melt very fast and toes break off even faster. That is why I suggest you find a way for your bird to stand without bending the toes too much. You will need to heat the metal by putting the foot in a cup of boiling water. Then put it on the mount and apply gentle pressure to the toes to bend them down to the mount surface. You may need to reheat the foot several times. Then work on the second foot. If you happen to break off a toe you can glue it back on when the foot is in place. Some people prefer to use a hair dryer to warm the toes but a heat gun will melt the metal.
Tip:
Legs are usually glued in, after you have painted the piece. It is hard to get orange paint out of a weathered log. If you have to glue it first for some reason, put plastic wrap over your mount and push the feet through. This should keep any paint off your mount. It is easy to remove the plastic when everything is dry.